PCB Etching with 3D Printer Agitatior
thingiverse
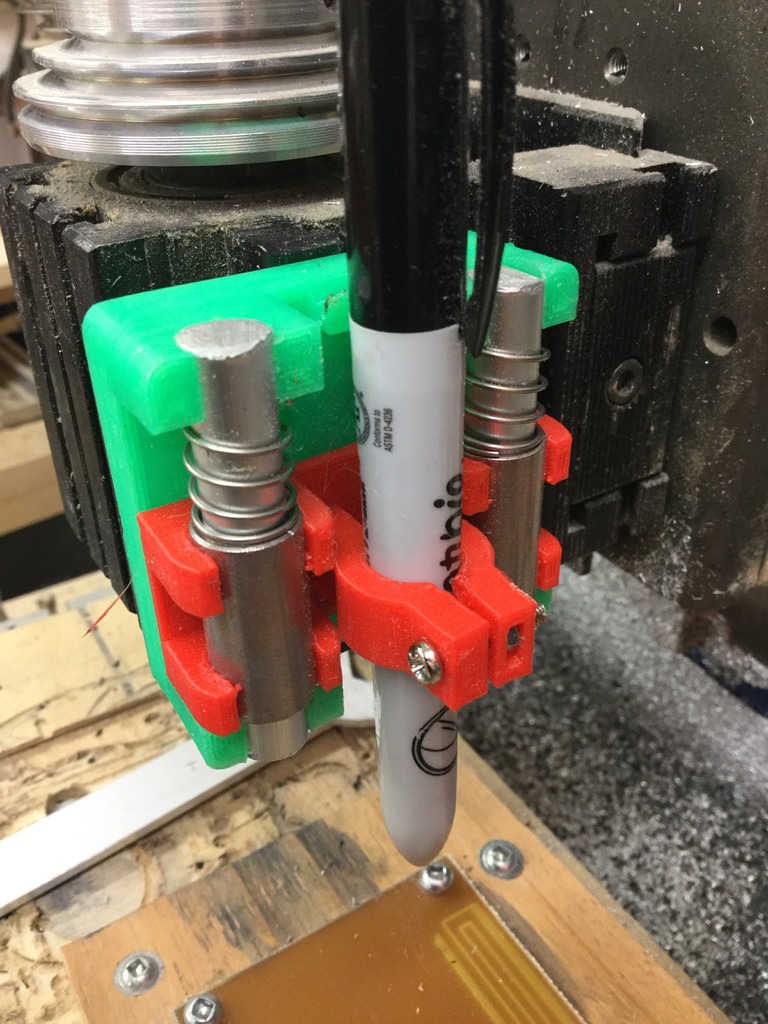
I crafted Tech2C's Pen holder on Thingiverse, specifically #2459624. I utilized it on my Milling machine to apply sharpie ink as an etch resist. A video demonstration can be found at https://youtu.be/vKqAf8pkKJ0. Next, I employed my 3D printer to heat and agitate the Ferric Chloride solution with the PCB in it. The GCODE commands used were: g1 y0 f4000 g1 y50 g1 y0 f200 g1 y50 Multiple copies can be made; execution takes approximately 15 seconds. Sample PCB traces produced using this technique are visible. To achieve optimal results, increase the overlap of sharpie lines and print twice to ensure a good resist. Thin lines were printed with one layer of sharpie; they worked but got slightly undercut. A video showcasing the process can be seen at https://youtu.be/UFc9t4WyRU4. I discovered that setting my bed temperature to 100C kept the Ferric Chloride solution below the recommended 55C maximum, which is beneficial for my thick plastic tray. If anyone has a reliable method for importing PCB gerbers into Fusion 360, please message me or comment on this thing.
With this file you will be able to print PCB Etching with 3D Printer Agitatior with your 3D printer. Click on the button and save the file on your computer to work, edit or customize your design. You can also find more 3D designs for printers on PCB Etching with 3D Printer Agitatior.
