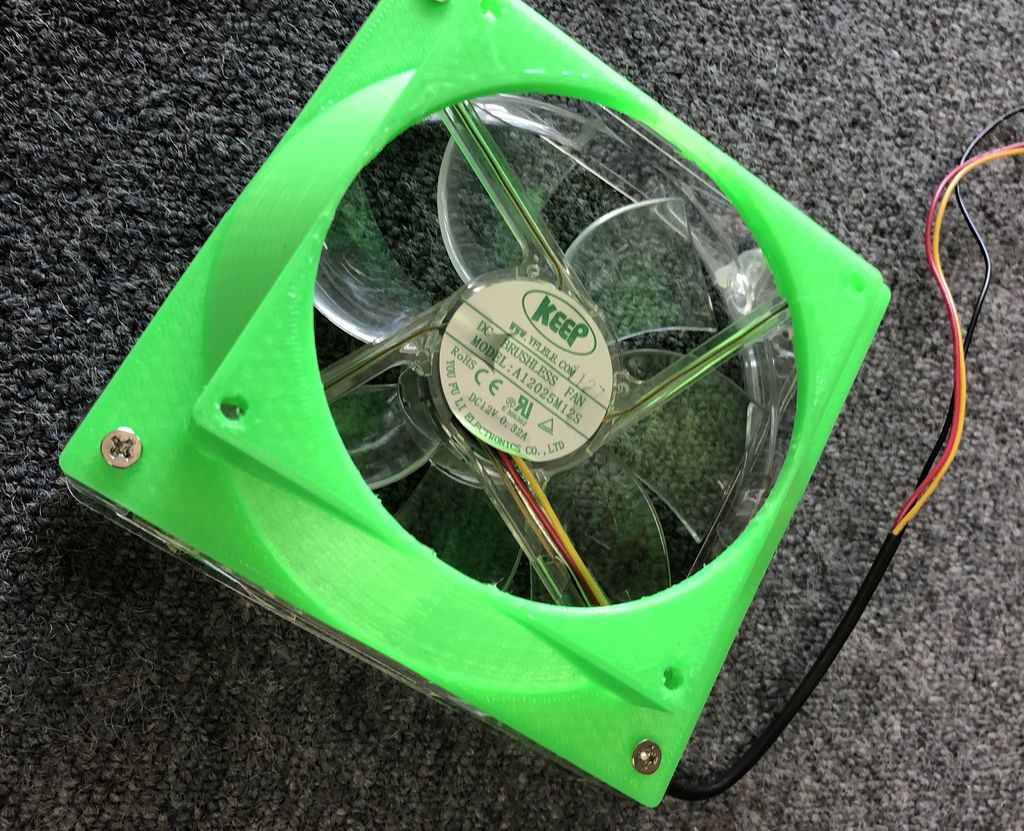
PC FAN Converter 120-60mm
thingiverse
Converting a 120-millimeter PC fan to a 60-millimeter PC fan or vice versa requires careful consideration of the fan's dimensions and mounting system. To convert a 120-millimeter fan, first, remove the fan from its housing by unscrewing the screws that hold it in place. Next, locate the fan's motor and electrical connections, which are usually attached to the rear of the fan. Gently pull the motor away from the fan blades, taking care not to damage either component. Now, measure the 60-millimeter fan's dimensions to ensure a proper fit within the existing housing. If necessary, cut or modify the housing to accommodate the smaller fan. Once the housing is ready, insert the 60-millimeter fan into its new home, making sure it is securely fastened with screws. Conversely, when converting a 60-millimeter fan to a 120-millimeter fan, follow these steps: measure the dimensions of the existing 120-millimeter fan and compare them to the smaller fan. If the fans are identical in design, you may be able to simply swap them out without any modifications. However, if the fans have different mounting systems or electrical connections, additional work will be required. In this case, you'll need to disconnect the electrical connections from the original 60-millimeter fan and attach them to the new 120-millimeter fan. Ensure that all connections are secure to prevent any damage or electrical shock. After completing these conversions, test both fans to ensure they are working properly and drawing air at the correct speed. If either fan is not functioning as expected, inspect the wiring and mounting system for any potential issues.
With this file you will be able to print PC FAN Converter 120-60mm with your 3D printer. Click on the button and save the file on your computer to work, edit or customize your design. You can also find more 3D designs for printers on PC FAN Converter 120-60mm .
