Party Noisemaker
pinshape
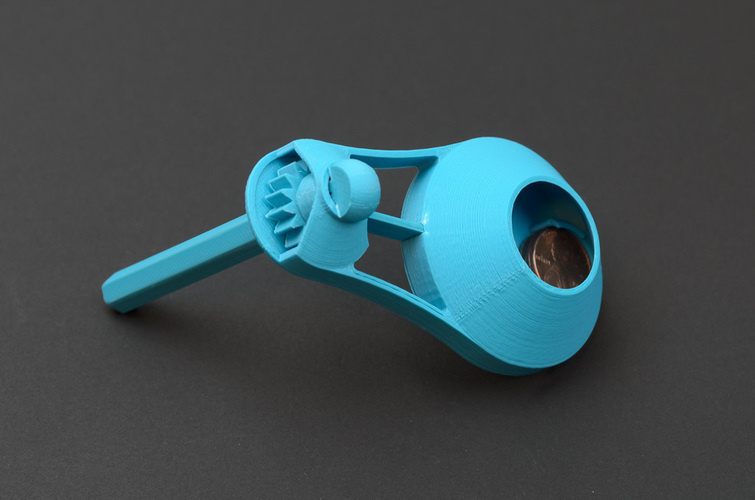
Summary: REVISED Clicker Design Works Better Now!!! The new design reduces breakage significantly, making it a more reliable option. The sound chamber produces a loud noise, which is actually a desired feature. I've created two prototypes so far using 4-5 US pennies as the weight inside the sound chamber. For detailed instructions, please see below. Instructions: Printing and Assembly To print this design, use a layer thickness of 0.2mm with 15% fill density. This setting works well without requiring a raft or supports. The clicker part is designed to be a separate replaceable piece as it tends to wear out first. To remove the circular tabs, simply break them off and smooth out any rough edges. The clicker should fit snugly into the T-slot, but you may need to file or trim the slot in the main housing to ensure proper fit. When assembling the spacer, place its beveled edge facing away from the gear. Insert the handle through the top and out the bottom. You'll know it's properly seated when you hear a distinct click as it engages with the gear. To complete the sound chamber, place at least 4 US pennies inside, which should snap into place. Five pennies provide even better results.
With this file you will be able to print Party Noisemaker with your 3D printer. Click on the button and save the file on your computer to work, edit or customize your design. You can also find more 3D designs for printers on Party Noisemaker.