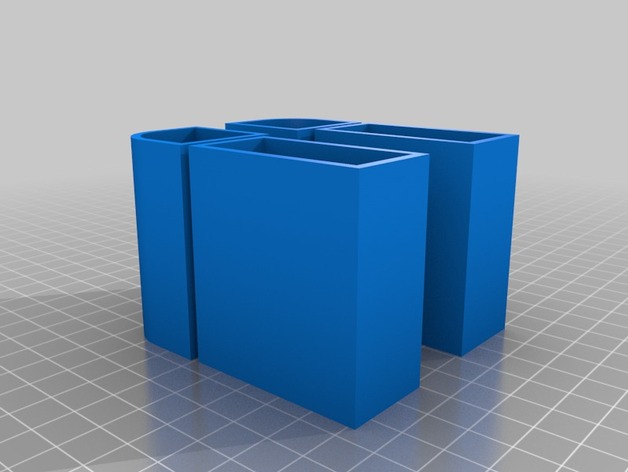
Parts for CoreXY laser engraver - Part 2 - Legs
thingiverse
Core XY Laser Engraver Step 1: Core XY Laser Engraver The Core XY laser engraver is a compact, portable device that uses the XY gantry system to create precise and intricate designs on various materials. This project combines a laser module with a microcontroller for control and precision. Materials Needed: - Microcontroller (Arduino or Raspberry Pi) - Laser Module (5mW or 20mW) - XY Stage (with bearings and motors) - Power Supply - Laser Diode Driver - Aluminum Frame - Heat Sink - Thermistor - Heatsink Compound Step 2: Assemble the Core XY Gantry Attach the XY stage to the aluminum frame using screws or adhesive. Make sure it is level and secure. Step 3: Connect the Electronics Connect the laser module, microcontroller, and power supply to each other. Install the laser diode driver and thermistor on the heat sink. Step 4: Add the Heatsink Compound Apply heatsink compound to the laser diode for optimal cooling performance. Step 5: Final Assembly and Testing Attach all components together and test the device. Make any necessary adjustments to ensure proper function and accuracy. The Core XY Laser Engraver is a versatile tool that can be used for engraving various materials, such as wood, plastic, or metal.
With this file you will be able to print Parts for CoreXY laser engraver - Part 2 - Legs with your 3D printer. Click on the button and save the file on your computer to work, edit or customize your design. You can also find more 3D designs for printers on Parts for CoreXY laser engraver - Part 2 - Legs.
