Part 3 M1EL one cylinder engine keychain ball bearings
thingiverse
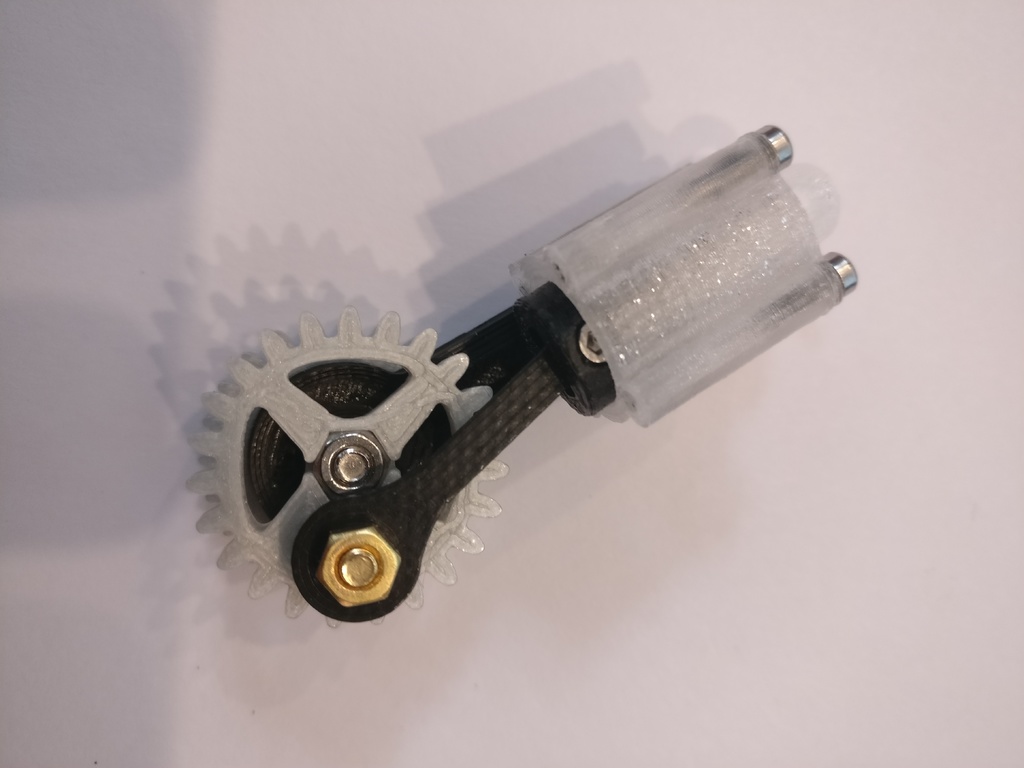
This is Part 3 of our workshop series - we're sticking with the same single-cylinder engine from Parts 1 and 2, but this time we're upgrading to the luxury version with ball bearings for extremely smooth running. We're reusing the same piston, cylinder, and cylinder head as before. However, we've changed up the base, crankshaft, and connecting rod. Additionally, a handwheel is now possible in this version. This extra gear (Module 1) makes driving easier and also allows for electric drives. To assemble this engine, you'll need two screws and two ball bearings: * Two ball bearings with dimensions 3 x 6 x 2.5mm * One M3 x 8mm countersunk screw attaching the crank to the connecting rod * One M3 x 12mm cylinder-head screw with nut on the base when using the handwheel, or * One M3 x 12mm countersunk screw at the base with nut The assembly process should be visible in the pictures and takes around 10 minutes. The ball bearings are designed to fit snugly into the 6mm holes - if you're printing them on a 3D printer, they might come out slightly undersized. To get an even smoother running engine, try lightly sanding or filing the piston and cylinder bore with a key file or sandpaper. This will help everything run together like clockwork!
With this file you will be able to print Part 3 M1EL one cylinder engine keychain ball bearings with your 3D printer. Click on the button and save the file on your computer to work, edit or customize your design. You can also find more 3D designs for printers on Part 3 M1EL one cylinder engine keychain ball bearings.