Parkside Lamp
thingiverse
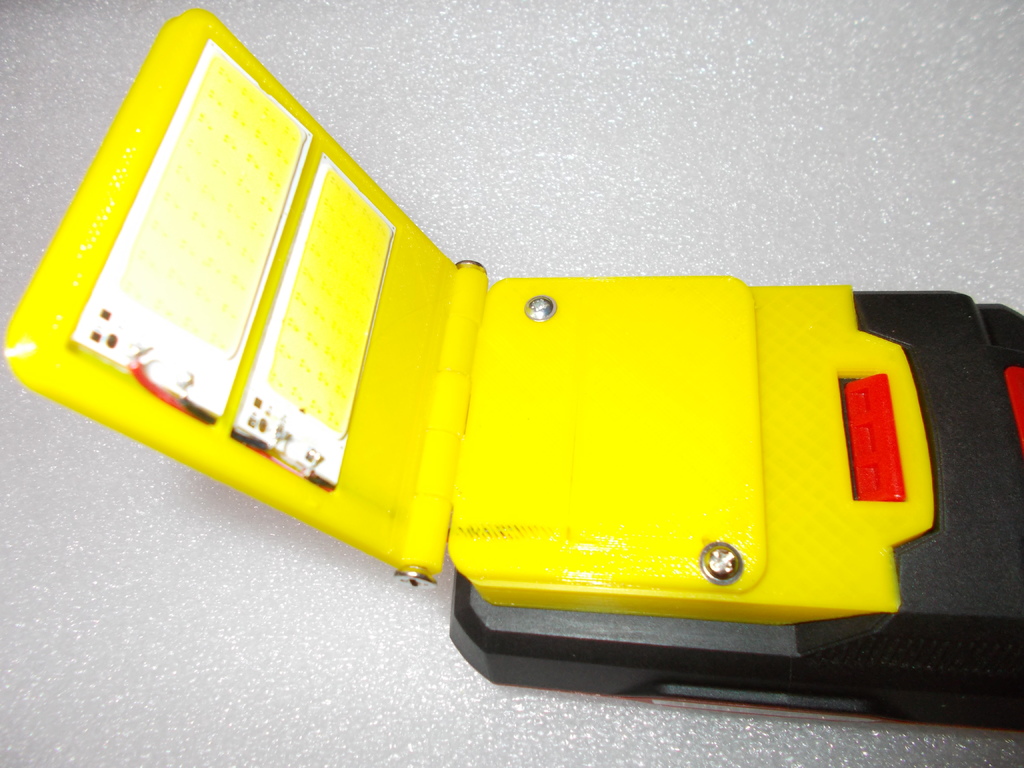
The Lidl Xteam 20v battery system is incredibly versatile when it comes to tools, offering endless possibilities for customization. I regret missing out on the add-on lamp during its sale, but I was determined to create an even better version. The key difference between this and the Parkside version lies in its adjustable LED light, allowing users to precisely target specific areas while working. This feature significantly enhances productivity and accuracy. To build a customized lamp, you'll need several parts: scrap copper for contacts, two off LED COB lights sourced from eBay or Aliexpress. These units are sold in pairs, complete with adaptors perfect for car interiors. The 50x20mm 36-LED modules were an absolute bargain but can be modified to accommodate separate LEDs. Additional components required include a 47ohm 1/2 watt resistor or two 100 ohm 1/4W resistors. The wiring process is straightforward, involving the parallel connection of LEDs and the series addition of the resistor to lower the voltage. However, please note that this setup may generate excessive heat; in such cases, consider using two 100 ohms in parallel. During assembly, I opted for a lighter-colored demo shell to facilitate photography. To avoid transparency issues, it's recommended to use a darker color.
With this file you will be able to print Parkside Lamp with your 3D printer. Click on the button and save the file on your computer to work, edit or customize your design. You can also find more 3D designs for printers on Parkside Lamp.
