Parametrizable power adapter holder with optional engraved/protruded text
prusaprinters
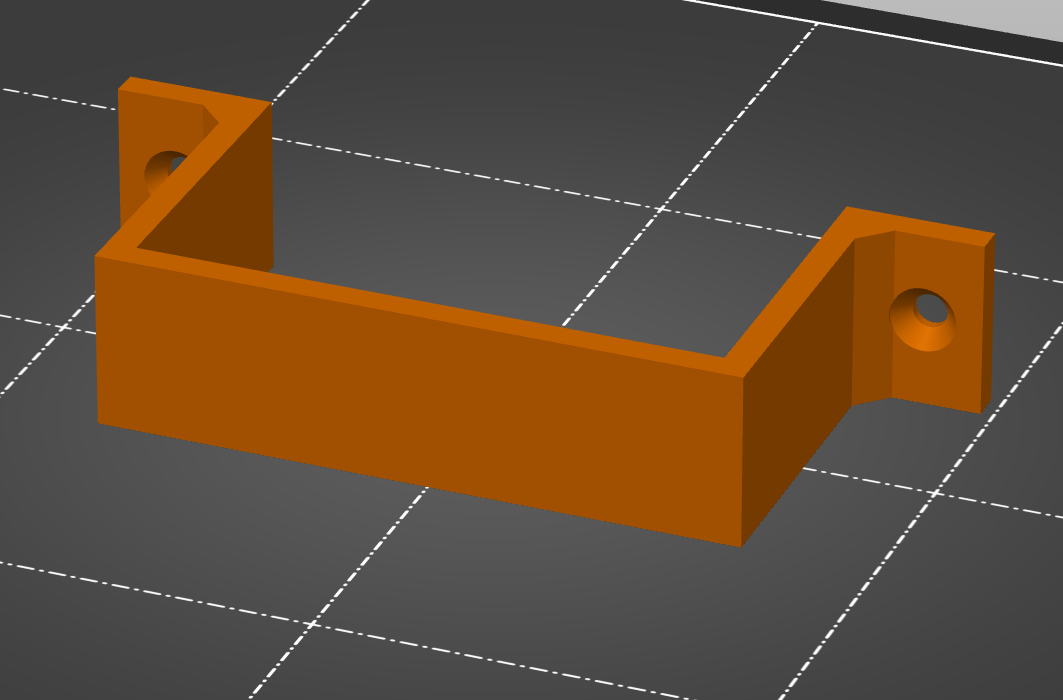
<p><i><strong>Important note: </strong></i>Adding text to the holder requires <strong>PrusaSlicer version 2.3.2</strong> (in beta, as of July 3, 2021, available to download at <a href="https://github.com/prusa3d/PrusaSlicer/releases/tag/version_2.3.2-beta">https://github.com/prusa3d/PrusaSlicer/releases/tag/version_2.3.2-beta</a>) <strong>and above</strong>. The older version contains a bug that prevents slicing a model with a text correctly. Models without the text work fine in any version. Other slicers should work as well.</p><p> </p><p>Parametrizable template for printing a holder/wallmout for e.g. a laptop charger or any object of rectangular(ish) shape. Generated one holder as an example. You can generate your own in a matter of seconds.</p><p><strong>Note:</strong> <i>The print time and material used are for this particular dimensions. Your will differ (most often, it will be faster and consuming less material as the uploaded holder is rather large compared to an average one).</i></p><h4><i>Changelog:</i></h4><h5><i>[2021-06-30] Version 2.0</i></h5><ul><li><i>Height calculation now takes thickness in account (previously, the height was "thickness" smaller than it was supposed to be</i></li><li><i>Parametrization now complies with OpenSCAD/Thingverse customizers</i></li><li><i>Added optional text engraving/protruding on the top of the holder with option to write left-to-right or top-to-bottom</i></li></ul><h5>[2021-06-05] Version 1.0</h5><ul><li>Generation of a power adapter holder based on the parameters</li></ul><h4>Instructions</h4><ol><li>Download the <code>.scad</code> file</li><li>Open it in <a href="https://openscad.org/index.html">OpenSCAD editor</a> and change parameters you need. <strong>In most cases, you just need to change 2 parameters.</strong><ul><li>Make sure you are using OpenSCAD's Customizer (can be found in Window→Customizer in the top toolbar)</li><li>Once enabled, you can easily adjust parameters in there and immediately see their impact on the model</li></ul></li><li>Render your holder (press <code>F6</code> on your keyboard) and then save rendered object as an STL file (<code>F7</code>)</li><li>Load it into your slicer app, slice it, and send it to the printer. Enjoy!</li></ol><h4>Parameters</h4><p>You can adjust the following parameters:</p><h5>Power adapter dimensions</h5><ul><li><code>Power_adapter_width</code> - width of your power adapter.</li><li><code>Power_adapter_height</code> - height of the adapter (from wall to its top). Do not forget to include also any adapter pads to the calculation.</li></ul><h5>Model other dimensions</h5><ul><li><code>Holder_thickness</code> - thickness of the holder sides. Since most power adapters are not very heavy and once installed you don't interact with them, 3mm thickness if more than enough for majority of the holders; and you can go also with 2mm thickness for smaller chargers (e.g. with widht 60mm and height 40mm).</li><li><code>Holder_width</code> - widht of the holder. I'd recommend a value between 15-20mm for majority of the holders.</li></ul><h5>Used screw dimensions</h5><ul><li><code>Screw_body_diameter</code> - diameter of the screws (including the thread) you are going to use for the installation on the wall. This value reflects in the size of the holes for screws in the holder's pads.</li><li><code>Screwhead_diameter</code> - diameter of the screw head. Especially usefull when putting screw holes too close to the holder sides, or when "Cylindric_head" is set to true, since it makes holes to fit those screw heads. Use a ruler or a caliper to measure it.</li><li><code>Cylindric_head</code> - true, if you are going to use screws with either flat or oval screwheads. It will generate a small cylindric hole in the pads to fit these screws. Set as false otherwise. For more information on different types of screwheads, either google it or go <a href="https://www.homestratosphere.com/types-of-screws/#I_Screwhead_Buying_Guide">here</a>.</li><li><code>Screwhead_height</code> - distance from the top of the head to a point where the screwhead has the same width as the screw body. This parameter is used only when <code>Cylindric_head</code> is set to <code>true</code> (so only if you are using screws with either flat or oval screwheads). It is used to create a cylindric hole in the pads that fits the screwheads</li></ul><h5>Engraved / Extruded text settings</h5><ul><li><code>Name</code> - name at the top of the holder; keep empty to disable this feature</li><li><code>Font_size</code> - height of letters in <code>Name</code> in milimeters. Experiment with this to achieve the best fit</li><li><code>Text_depth</code> - depth of text engraving/height of protruding;<ul><li>"<i>0</i>" for no text (the same result as with keeping <code>Name</code> empty)</li><li><i>Positive number</i> - engraved text with the depth of <code>Text_depth</code> milimiters</li><li><i>Equal to (or greater than) </i><code><i>Holder thickness</i></code><i> </i>- a hollow text (goes completely through the top of the holder). If you go "hollow", pay attention to certain letters (e.g. "d") that cannot be printed properly due to their interior having no connection to the rest of the model., negative for a protruded text.</li><li><i>Negative number</i> - protruded text. Make sure you position the holder the right way (and enable supports) so it is printable</li></ul></li><li><code>Text_direction</code> - selects whether the text will go from left to right (ltr), or from top to bottom (ttb). Only orientation of the letters is changed. Experiment with this to figure out which option you like more.</li><li><code>Offset_left</code> - use this to move the text left (negative values) or right (positive values) from its center position</li><li><code>Offset_top</code> - use this to move the text up (negative values) or down (positive values) from its center position</li></ul><h5>Pads setting</h5><ul><li><code>Pads_size</code> - size of the pads for screws (for mounting the holder to a wall). Unless you have a a very specific needs, you can leave this at its default value.</li><li><code>Strengthen_pad_connections</code> - if true, adds an extra material on the connection of pads to the holder leg, preventing them from breaking. I recommend keeping it true.</li><li><code>Screw_hole_offset</code> - moves the screw holes closer to either holder leg (-) or the outside of the pad (+)</li></ul><h4>Printing instructions</h4><p>As mentioned above, the majority of power adapters are not that heavy and the work with this holder fits into a category “install & forget”. Therefore, no extra settings are needed. I keep using <strong>PLA & the predefined “0.25mm DRAFT” print setting with 20% infill and no supports</strong> on my Průša MINI and it works just fine.</p><p>One advice though - do not screw the screws too tightly especially when using the <code>Cylindric_head</code> parameter - the material around the screwhead is weaker and may crack.</p><p>Happy printing & mounting!</p>
With this file you will be able to print Parametrizable power adapter holder with optional engraved/protruded text with your 3D printer. Click on the button and save the file on your computer to work, edit or customize your design. You can also find more 3D designs for printers on Parametrizable power adapter holder with optional engraved/protruded text.