Parametric E-Cor tower + G-Code generator ( for extruder linearity correction calibration)
prusaprinters
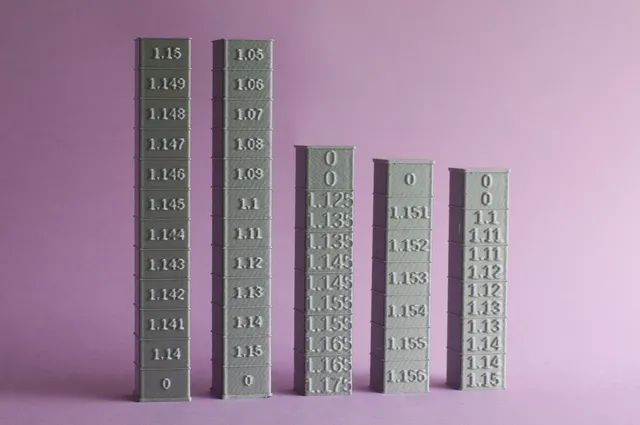
This is a version that can help you fine-tune the sometimes finicky extruder linearity correction. Please read carefully the knowledgebase article to check that you really need, or may be interested in, this kind of calibration that is for more experienced users.This allows you to set the steps and overall range, as much as how many layers will the pattern be repeated. The overhang lines mark, as a ruler, the place where you can find the exact correction indicated by the numbers above and below; but you can “group layers” with the same correction, and if that group is a whole block, only a number will be displayed (there is no “range” in that segment). The numbers are printed upside-down on the back side of the tower. You can also add a recycling symbol to help identify the material and dispose of the tower appropiately.The OpenSCAD console will output the G-Code for Prusa firmware, to add in the “After Layer Change G-Code" section of the “Printer Settings” in your slicer. The GCode does not only change the wave factor, but also —as the original tower— the current step factor, setting it at 5*wave factor.Note that this is not compatible with other firmwares, as nonstandard gcodes must be used; but you can use a search and replace editor to change D2130E!wave to TMC_SET_WAVE and D2130E!step to TMC_SET_STEP.I suggest to use an opaque and silk filament and a good spot light source (a torch or lamp will do), to better see the banding that you have to look for (and discard!). In my experience, bad calibration of the extruder linearity is most noticed with flat, shiny vertical surfaces (hence the silk filament suggestion) where the light reflex, instead of being flat, linear or spot, is made of "slanted bands" —this may be hard to notice, and you need the appropiate viewing and light reflection angle, but once you've seen it you cannot unsee it!So, use different iterations of this tower until you get a reflex or texture that you're happy with. Note that just the numbers add some “interference”, so it's better to be safe than sorry and print several, with increasingly smaller intervals, to pin down the right value.It is likely that you'll find several values with similar results. This may mean (my educated guess) that you've found different resonances of the same wave (that is, one value results in a wave that is a multiple of the other, or rather has an integer ratio to it —resonance). Don't expect much “logic” in the correction factor number ratios, as they're used as powers (i.e., they don't behave linearly, even if they're for the linearity correction!). If you're interested in the most gory details, check out the original Prusa E-Cor tower, the document referenced there, and TMC drivers info sheet.The OpenSCAD customizer file uses the Recymbol library. It's not mandatory to have it installed to run the customizer (the program will just throw some errors), but Recymbol is a breeze to install, and it's not only useful for recycling purposes but also is a great way to identify a material.As seen in the pictures, the recycling symbol can be printed in another color, without an MMU, with the “print-on-print” technique by Davin Montes. It's more detailed in the Recymbol entry, but in a nutshell you just print the symbol, remove purge line and skirt, change filament, and print the tower just on it ("print-on-print"). There's an offset to the negative spaces in the tower so there's no smearing or dragging.You might want to check also my other calibration utilities, all parametric and customizable:The extruder multiplier calibration cubeThe simple temperature tower, with G-Code generatorThe advanced temperature tower, with G-Code generator and tests for bridges and overhangs.The parametric overhang test, with support enforcer generator.The ironing calibration matrix, with modifier generator.And, also, the non-parametric-but-modifiable precise Live-Z calibration test.Once you're done testing and calibrating, sample your filaments with the parametric swatches!Happy printing!
With this file you will be able to print Parametric E-Cor tower + G-Code generator ( for extruder linearity correction calibration) with your 3D printer. Click on the button and save the file on your computer to work, edit or customize your design. You can also find more 3D designs for printers on Parametric E-Cor tower + G-Code generator ( for extruder linearity correction calibration).