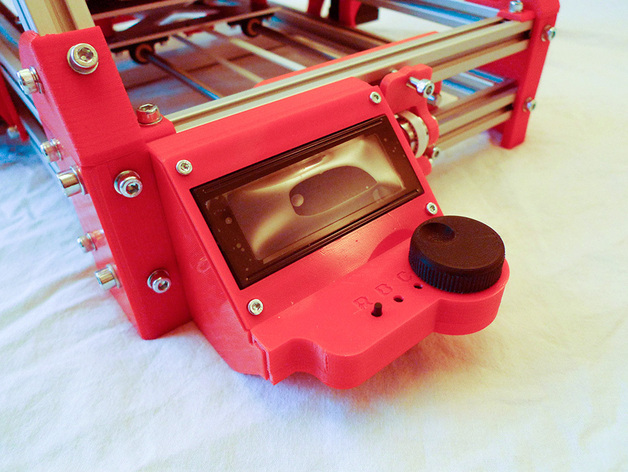
Panelolu Box for MendelMax
thingiverse
This mounting box is designed for attaching a Panelolu to a MendelMax. Consult the Panelolu documentation at this link: http://blog.think3dprint3d.com/2012_06_01_archive.html. The design was inspired by this Thingiverse model: http://www.thingiverse.com/thing:25617. Note that it currently doesn't include a hole or bracket for the SDSL card reader. To assemble, print all parts and place 4 M3 nuts from the Panelolu kit into the Left and Right parts. Install 4 t-bolts on the front left section of your MendelMax extrusions. Fit the Left part to MendelMax with 2 M5 x 10mm screws. Position the Right part relative to the Left, using the Screen part as a guide. Secure it with 2 more M5 x 10mm screws. Connect the LCD cables and place the LCD screen. Fasten the Screen part to the Left and Right parts with M3 bolts from the kit. Attach the Panelolu PCB to the Control part with self-tapping screws provided in the kit. Screw the bottom Control part to the top part using more self-tapping screws. Connect cables, then fit the control panel on the Left and Right parts. Finally, attach the knob. You'll need 1 LCD - Screen, 1 LCD - Left, 1 LCD - Right, 1 LCD - Control, and 1 LCD - Knob, as well as 4 t-nuts, 4 M5 x 10mm screws (or 12mm with 4 washers), and 2 small self-tapping screws from the Panelolu kit.
With this file you will be able to print Panelolu Box for MendelMax with your 3D printer. Click on the button and save the file on your computer to work, edit or customize your design. You can also find more 3D designs for printers on Panelolu Box for MendelMax.
