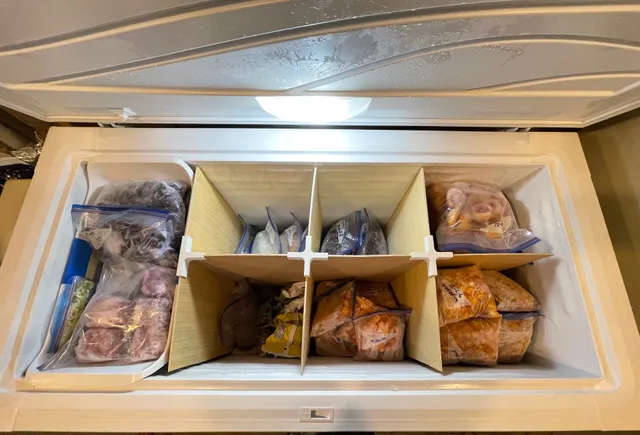
Panel Clips for DIY Chest Freezer Organizer
prusaprinters
I was frustrated with constantly digging around in my chest freezer so I decided to create cubbies to help with organization. Steps to build your own chest freezer organizer:Figure out the dimensions you need for each panel in the cubby.Figure out what size of panel you need to cut out all those individual cubby panels from. I purchased a 96" x 48" panel and used a little over half of it.Purchase panel.The panel I bought from Home Depot was sold as “5.0 mm utility panel”. A 1/5" thick panel (like this) or a 3/16" thick panel should work well. It may be best to print one of these clips and take it to the home store to find a panel that fits it well.Cut out the various panels you need. Cut interlocking slits into panels that will overlap. This video demonstrates the required joint nicely. This doesn't require precision, its OK to be a little off or to have slits that are a bit too wide.Press on the clips to keep things in place and make the structure more firm.Lower into empty freezer and organize!You may need to thaw the freezer first to get things to fit if there's a lot of frost build up.
With this file you will be able to print Panel Clips for DIY Chest Freezer Organizer with your 3D printer. Click on the button and save the file on your computer to work, edit or customize your design. You can also find more 3D designs for printers on Panel Clips for DIY Chest Freezer Organizer.
