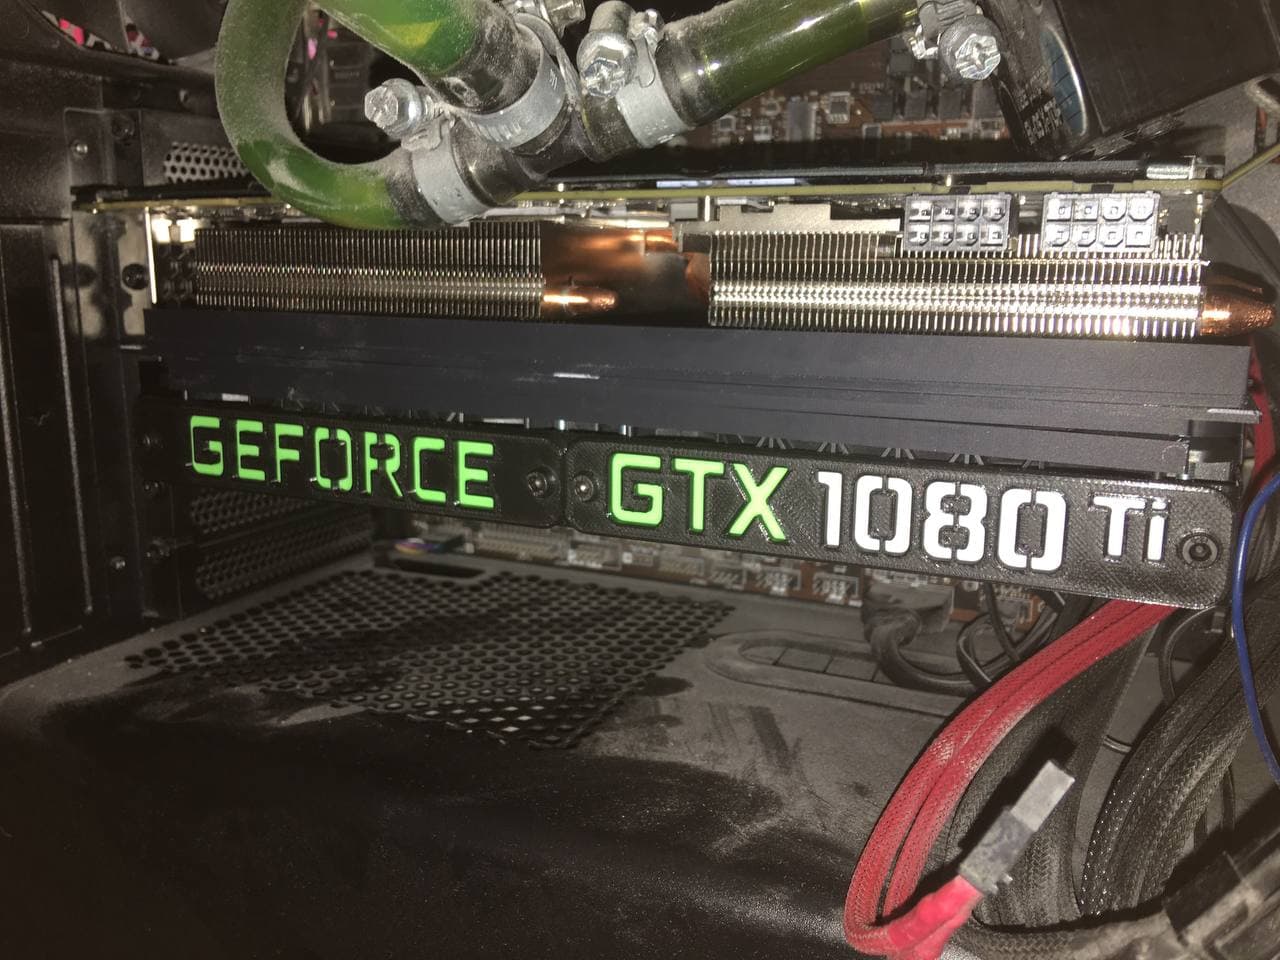
Palit Gainward Geforce GTX 1080 Ti overkill fan upgrade 10cm to 12cm full height nvidia
prusaprinters
<p>Hello.</p><p>I need to “repair” my 1080Ti fans because they started to make some weird noises and low the rpms, temperatures go higer, and… why no temperature and noise reduction upgrade ?</p><p>First I want say the photos are of the first functional prototype, works flawless but I broken some thin walls (0,85mm) when I was manipulating the GPU, I manage to make sturdier or remove… in the final model, some of the thin walls are now 1,25mm or 1,6mm, removed some height.</p><p>The final model has a taller fan case and shorter thin walls in mounting plate, the air deflector now are 1,20mm.</p><p>Playing back 4 blood or BF5 I have 38-42ºC on GPU with no noticeable noise, with furmark I reached 56ºC, I forgot to take screenshot with 30 minute run sorry, I uploaded one with temperature “stabilizated".</p><p>Print instructions:</p><ul><li>AVOID PLA !!!!!</li><li>Use ASA or ABS for the mounting plate, I think PETG can be no-go if you has high temperatures in your case</li><li>Fan top, plates, etc… can be PETG</li><li>Use supports un fan top.</li><li>I put some antiwarping tabs on the mounting tab to aid you...</li></ul><p> BOM list:</p><ul><li>A lot of m3 nuts.</li><li>M3x40 screws (8) , you need to shorten three of them to 32-33mm</li><li>M3x8 , M3x10 screws , about 10-14 depend if you mount the plates</li><li>Whaser for M3 screws, the heatsink has the holes displaced in Z distance about 1-2mm various of them.</li><li>Corsair ML120 fans (or whatever you want, but I warn you I used the space of the corner to accomodate the nut traps of the fan top for the plates)</li><li>thermoretractable tube for cable management (optional)</li><li>Some soldering is required if you use the actual fan conector of the GPU. I solder an adaptor to the mini fan board that is in the fan top.</li></ul><p>Assembly instructions:</p><ul><li>You need first to dissasemble your heatsink and remove the fans.</li><li>Put first the m3 nuts, some of it are unnaccesible when plate is mounted, the nuts of the air deflector are optional, I put nut traps if you want don't mount the air deflector.</li><li>Screw all the screws from the heatsink to mounting plate, it is mandatory that none of the screws pass the nut completely, it must lie flat on the nut.</li><li>Put the fans on the top, now is good time for cable management</li><li>Put all the nuts in the nut traps of the fan top</li><li>Put the fan top and screw, take care, some of the holes require a shortened m3x40 screw because hits the heatsink. Start with the side that face with the mainboard.</li><li>Put the m3x40 screws on the other side and fit the air deflector, then put the nuts and thigthen.</li><li>Now you can fit the plates, I made the model that not need a MMU unit, fit te color plate inside the plate frame, now put on the top the plate and then screw to the fan top. The thin frame is to aid installation of two color plate and hide the color on the side.</li><li>Connect the fans to the gpu</li><li>Fit the gpu on your case</li></ul><p>I hope you enjoy with this mod :)</p>
With this file you will be able to print Palit Gainward Geforce GTX 1080 Ti overkill fan upgrade 10cm to 12cm full height nvidia with your 3D printer. Click on the button and save the file on your computer to work, edit or customize your design. You can also find more 3D designs for printers on Palit Gainward Geforce GTX 1080 Ti overkill fan upgrade 10cm to 12cm full height nvidia.
