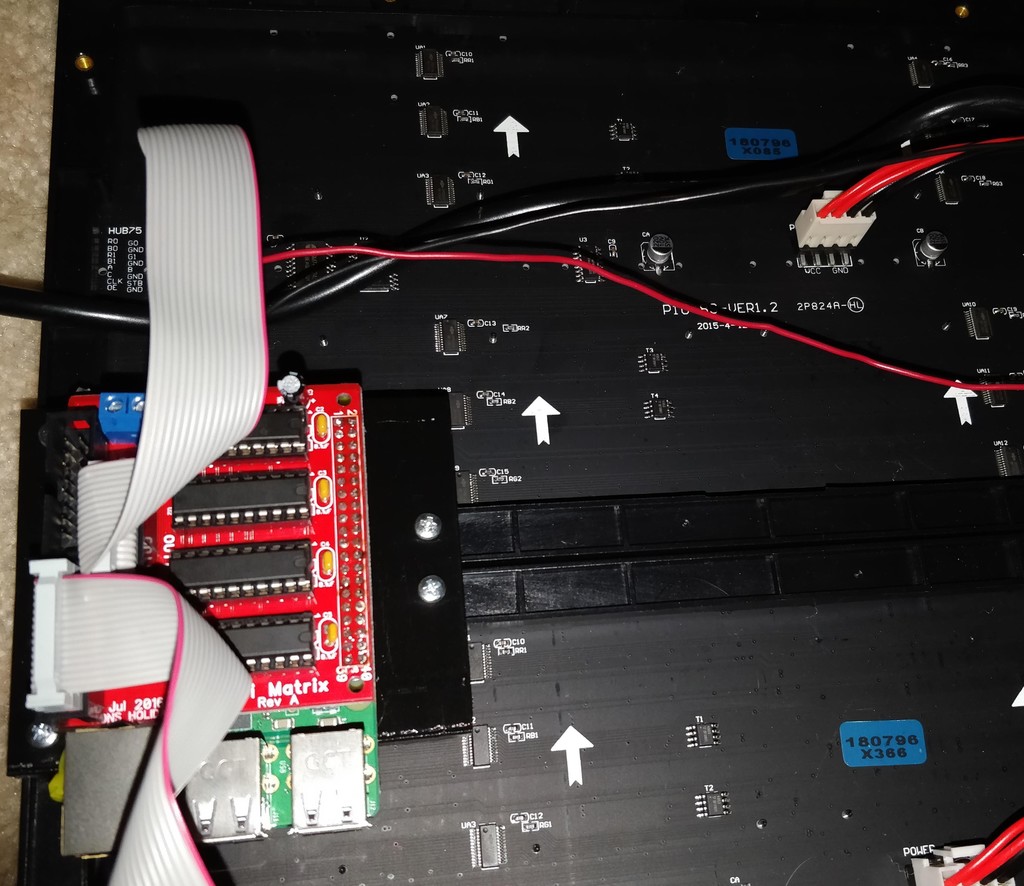
P10 LED panel Raspberry Pi mount
thingiverse
Raspberry Pi enthusiasts often seek innovative ways to enhance their projects, and creating a custom mount for two P10 panels is one such endeavor. This project involves designing a unique framework that securely holds the Raspberry Pi and the panels in place, allowing for a seamless integration of these components. To begin, gather materials such as plywood or MDF for the base plate, aluminum channels for support, screws, and a power source for the Raspberry Pi. First, cut the base plate to the desired size, taking into account the dimensions of the Raspberry Pi and the P10 panels. Next, attach the aluminum channels to the base plate using screws, providing a sturdy foundation for the panels. Position the Raspberry Pi on top of the base plate, ensuring it is centered and secure. Then, carefully place the P10 panels onto the aluminum channels, making sure they are evenly spaced and securely attached. To add an extra layer of stability, attach additional supports between the base plate and the panels using screws or adhesive. This will prevent any movement or vibrations that could affect the performance of the Raspberry Pi. Once the mount is assembled, connect the power source to the Raspberry Pi, and test the system to ensure it functions as intended. With a custom-made mount for two P10 panels, enthusiasts can enjoy an immersive and interactive experience with their Raspberry Pi projects.
With this file you will be able to print P10 LED panel Raspberry Pi mount with your 3D printer. Click on the button and save the file on your computer to work, edit or customize your design. You can also find more 3D designs for printers on P10 LED panel Raspberry Pi mount.
