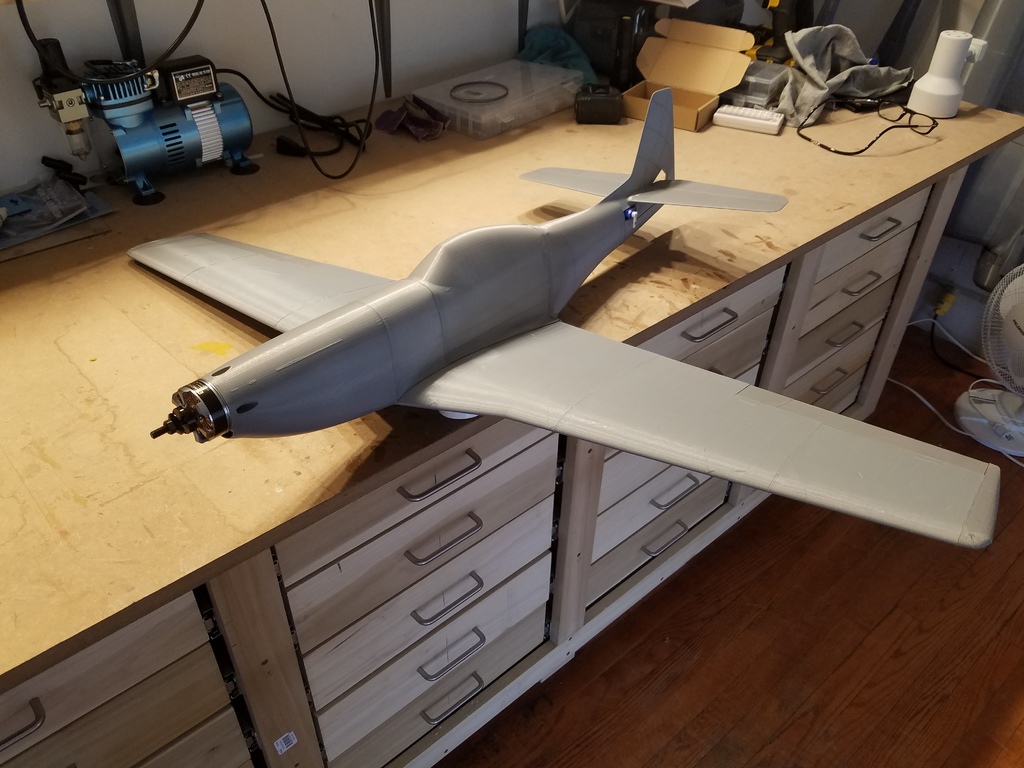
P-51 Mustang - Wing Servo Connectors - 3DLabPrint
prusaprinters
<p>And another "Wireless Wing" to add to the collection.</p> <p>B-25 Mitchell <a href="https://www.thingiverse.com/thing:4121096">https://www.thingiverse.com/thing:4121096</a></p> <p>F4U Corsair <a href="https://www.thingiverse.com/thing:4178322">https://www.thingiverse.com/thing:4178322</a></p> <p>Spitfire Mk IX <a href="https://www.thingiverse.com/thing:4143803">https://www.thingiverse.com/thing:4143803</a></p> <p>Il-2 Sturmovik <a href="https://www.thingiverse.com/thing:4132256">https://www.thingiverse.com/thing:4132256</a></p> <p>EDGE 540 46” <a href="https://www.thingiverse.com/thing:4128056">https://www.thingiverse.com/thing:4128056</a></p> <p>EDGE 540 73" <a href="https://www.thingiverse.com/thing:4368656">https://www.thingiverse.com/thing:4368656</a></p> <p>Qtrainer <a href="https://www.thingiverse.com/thing:4137667">https://www.thingiverse.com/thing:4137667</a></p> <p>Focke-Wulf Ta152H <a href="https://www.thingiverse.com/thing:4195584">https://www.thingiverse.com/thing:4195584</a></p> <p>2.54mm JST-XH connectors with standard servo connectors.</p> <p>Easy, templated install.</p> <p>Uses 3 ea M3 x 8mm self-tapping screws.</p> <p>Designed for and installed in a fully assembled plane, with plenty of access/space to install electronics.</p> <h3>Print Settings</h3> <p><strong>Printer:</strong></p> <p>My Mi3 and AluMaker</p> <p><strong>Rafts:</strong></p> <p>No</p> <p><strong>Supports:</strong></p> <p>Yes</p> <p><strong>Resolution:</strong></p> <p>Normal, .15 in Cura</p> <p><strong>Infill:</strong></p> <p>10%</p> <p><strong>Filament:</strong> eSun is what I used PLA or PLA+ (my preference)</p> <p>Your choice</p> <p><strong>Notes:</strong></p> <p>Print parts according to the build plate illustration.</p> <p>Support Touching the Build Plate (Cura) is needed for the W-Mount Plate and W-Plug Plate.</p> <p>Support Everywhere (Cura) is needed for the F-Plug Plate and F-Template.</p> <p>Trim away the 2 little locking tabs in the slots of the XH connector that is to be used in the Fuselage.</p> <p>If you find that this makes your flying sessions MORE enjoyable with LESS hassle, please consider buying me a cup of coffee at</p> <p>paypal.me/MakeItMakeItMakeIt</p> <p>Thank You!</p> <h3>Post-Printing</h3> <p><strong>Wing Component Installation</strong></p> <p>Sand/file/grind/smooth the areas circled in the image.</p> <p>This will permit proper fitment of the W-Template and the W-Mount Plate.</p> <p><strong>Clean Me Up, Scotty.</strong></p> <p>Fit the W-Template to the wing.</p> <p>It straddles the air inlet while hooking over and being flush to the trailing edge of the wing.</p> <p>Tape the template firmly in place.</p> <p><strong>W-Template in place</strong></p> <p>Test the fitment of the W-Mount Plate to the wing in the W-Template.</p> <p>Ensure it is flush to the wing.</p> <p><strong>Fitment Test</strong></p> <p>Glue the W-Mount Plate in place according to the template, then remove and discard/recycle the template.</p> <p><strong>W-Mount Plate Glued and Template Removed</strong></p> <p>Compose your desired wiring.</p> <p><strong>Wing Wiring</strong></p> <p>Assemble the W-Plug Plate components to the W-Mount Plate using 2 M3 screws, as shown.</p> <p>NO glue used here.</p> <p>Tighten the screws snug, then loosen 1/4 turn or so.</p> <p>You should be able to easily move the W-Plug Plate but it shouldn't flop or rattle.</p> <p><strong>W-Plug Plate Assembly Installed</strong></p> <p>Connect and tuck in the wires, and we're ready for the fuselage.</p> <p><strong>Wing Ready to Fly</strong></p> <p><strong>Fuselage Component Installation</strong></p> <p>Place the W-Template as shown and tape firmly in place.</p> <p><strong>W-Template Placed</strong></p> <p>Fit the F-Bracket between the fuselage walls and against the Template as shown.</p> <p>Ensure it sits flat on the inner sidewall rails.</p> <p>Clean up as necessary.</p> <p>When you are satisfied with the fit, glue the F-Bracket in place according to the Template, then remove and recycle/discard the Template.</p> <p><strong>F-Bracket Installed, Template Removed</strong></p> <p>Apply a bead of glue to the edges of the F-Bracket where it meets both fuselage side walls as indicated.</p> <p><strong>Fuselage Side Wall Glue Bead</strong></p> <p>Compose your Fuselage Wiring.</p> <p>Assemble the XH connector into the F-Plug Plate using some glue on both long sides before inserting.</p> <p>Align the slots in the XH connector towards the mounting hole.</p> <p><strong>Fuselage Wiring - Slots Toward Mounting Hole</strong></p> <p>Install the F-Plug Plate Assembly into the F-Bracket, routing the wiring as necessary, then secure it with 1 screw.</p> <p><strong>F-Plug Plate Installed, Ready To Fly</strong></p> <p><strong>Wing Installation</strong></p> <p>The 1st time may require some wiggling/moving/adjusting of the W-Plug Plate.</p> <p>Once you have found the mark, you can tighten the screws to keep the plate in alignment.</p> Category: R/C Vehicles
With this file you will be able to print P-51 Mustang - Wing Servo Connectors - 3DLabPrint with your 3D printer. Click on the button and save the file on your computer to work, edit or customize your design. You can also find more 3D designs for printers on P-51 Mustang - Wing Servo Connectors - 3DLabPrint.
