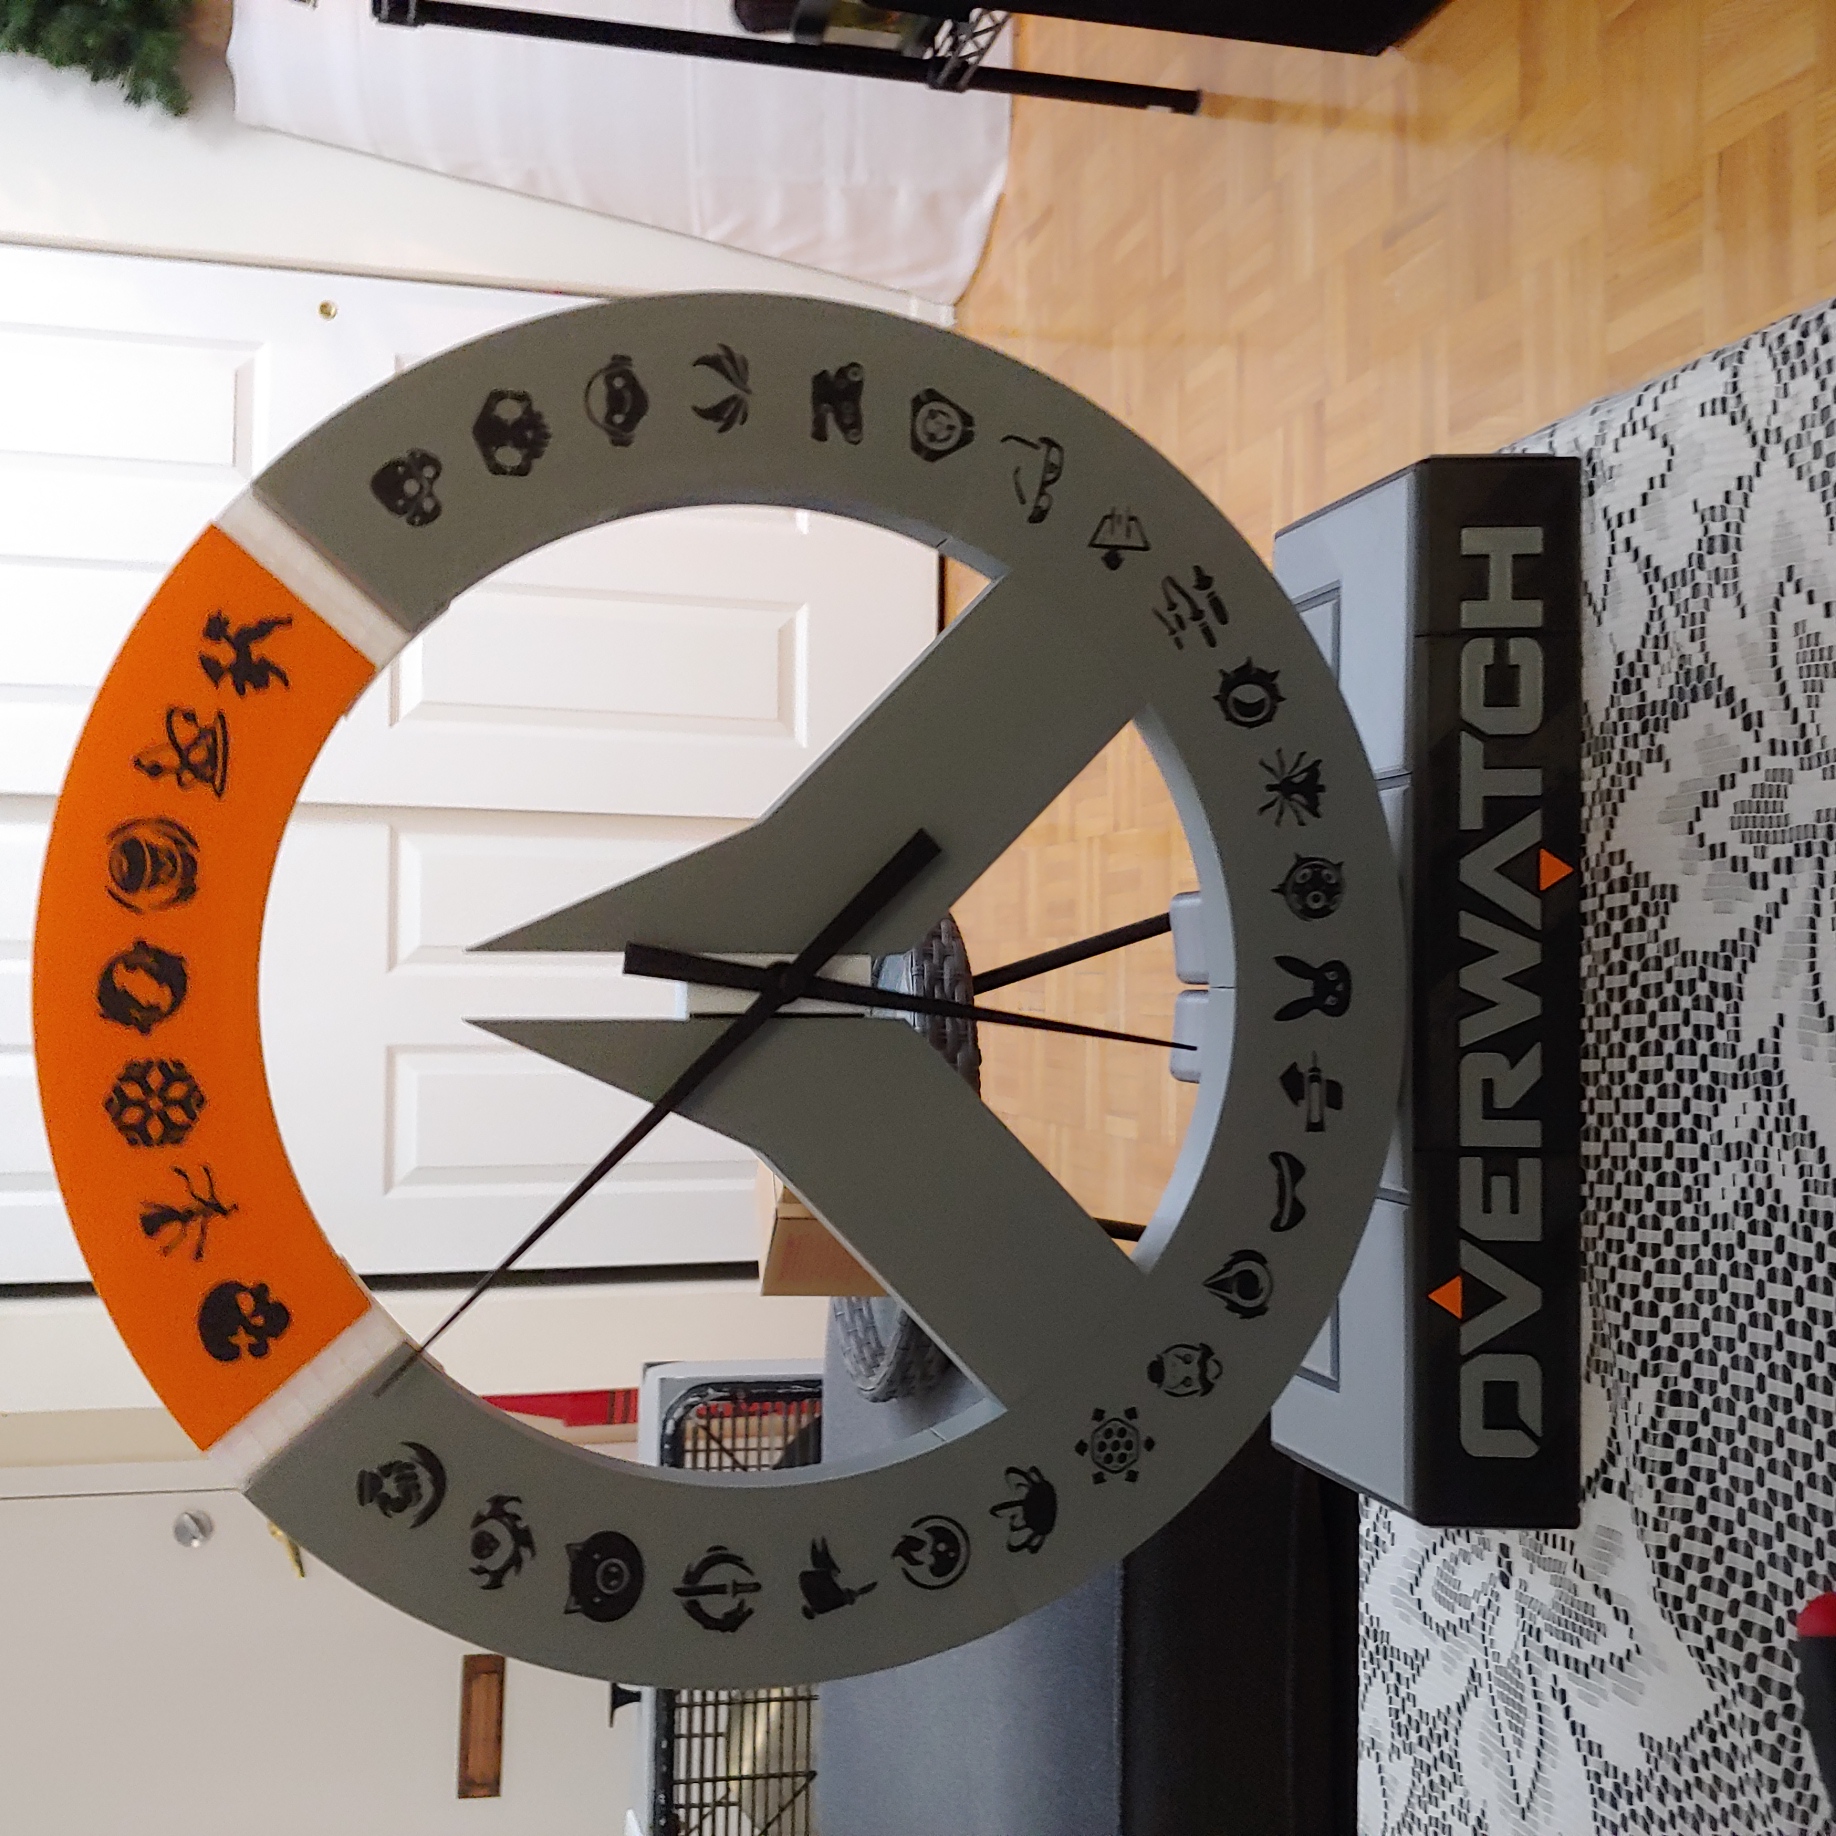
Overwatch custom Clock
prusaprinters
<p>Hello Here's the breakdown.</p><p>this model has 189 3d printed parts in one file it's meant to be printed on a multi-color printer. starting with the hardware You can use a clock motor measuring 56.4 mm2 x 19.8 in-depth or you can use the one I used on the link below.</p><p>To go along with this build the clock wall kit from Amazon. </p><p><a href="https://www.amazon.ca/gp/product/B085R87W8C/ref=ppx_yo_dt_b_asin_title_o08_s00?ie=UTF8&psc=1">https://www.amazon.ca/gp/product/B085R87W8C/ref=ppx_yo_dt_b_asin_title_o08_s00?ie=UTF8&psc=1</a></p><p>here's the list of screws used.</p><p>M5x30x2pcs, used on the Clamp arm to keep the clock upright</p><p>M5x25x8pcs, 6 used on the inner ring of the clock, 2 to fasten clamp to the stand.</p><p>M5x20x12pcs, to fasten stand together.</p><p>M5x16x9pcs, to fasten the 4 quadrants of the ring together</p><p>M5 nuts x 31pcs self-explained </p><p>Keep in mind don't over-tighten the clock face screws, depending on infill and perimeter count.</p><p>CLA glue for clock motor housing, panels, and wording panel on the stand, and if you decide to wall-mount, glue is used on the Top center ring and holders to the main body otherwise it can be held friction fit while on the stand. I've also included double-sided tape locations if you don't what to use a screw mount. the screw holes measuring from the clock center to either side are 185mm I supplied a technical drawing.</p><p><strong>Clock Face (MMU) Printing</strong></p><p>The clock face, Colour used - primary name, secondary part, Colour used.</p><p> </p><p>Top - Orange = TR, TR icons =Black </p><p>Upper Left - Gray = URR, URR icons =Black</p><p>Upper Right - Gray = ULR, ULR icons = Black</p><p>Bottom Left - Gray = BLR, BLR icons = Black</p><p>Botton Right - Gray = BRR, BRB icons = Black</p><p>Center Left - Gray = Left Center</p><p>Center Right - Gray = Right Center</p><p> </p><p><strong>Stand Parts (MMU) printing </strong></p><p>Overwatch Stand Text plate Right, Black = Right stand (1), Letter H = gray</p><p> </p><p>Overwatch Stand Text Plate Left, Black = Left stand (1), Letters OVE = gray, font upper triangle = orange</p><p> </p><p>Overwatch Stand Text Plate Middle, Black = Middle Stand (1), Letters RWATC = gray, font lower triangle = orange.</p><p> </p><p><strong>Single Colour Parts</strong></p><p>Panels (1-6) = Silver</p><p>Top Left/Ring holders = transparent or your wall matching color</p><p>Clock motor housing cover= your wall matching color</p><p>Min/Hour Hand = Black</p><p>nut cap/screw cap = Black</p><p>Clamp stand = Gray</p><p>All Parts are printed in PLA, the only sections that use support are the screw head keyway for wall mounting and the cosmetic trim for the stand both top middle screw channels.</p><p>increase infill on the 3 sections of the stand parts To help with weight</p><p>I enjoyed making this, post your builds or commit let me know how it goes. </p>
With this file you will be able to print Overwatch custom Clock with your 3D printer. Click on the button and save the file on your computer to work, edit or customize your design. You can also find more 3D designs for printers on Overwatch custom Clock.
