Oversized LEGO Build Plate Wall Hook
prusaprinters
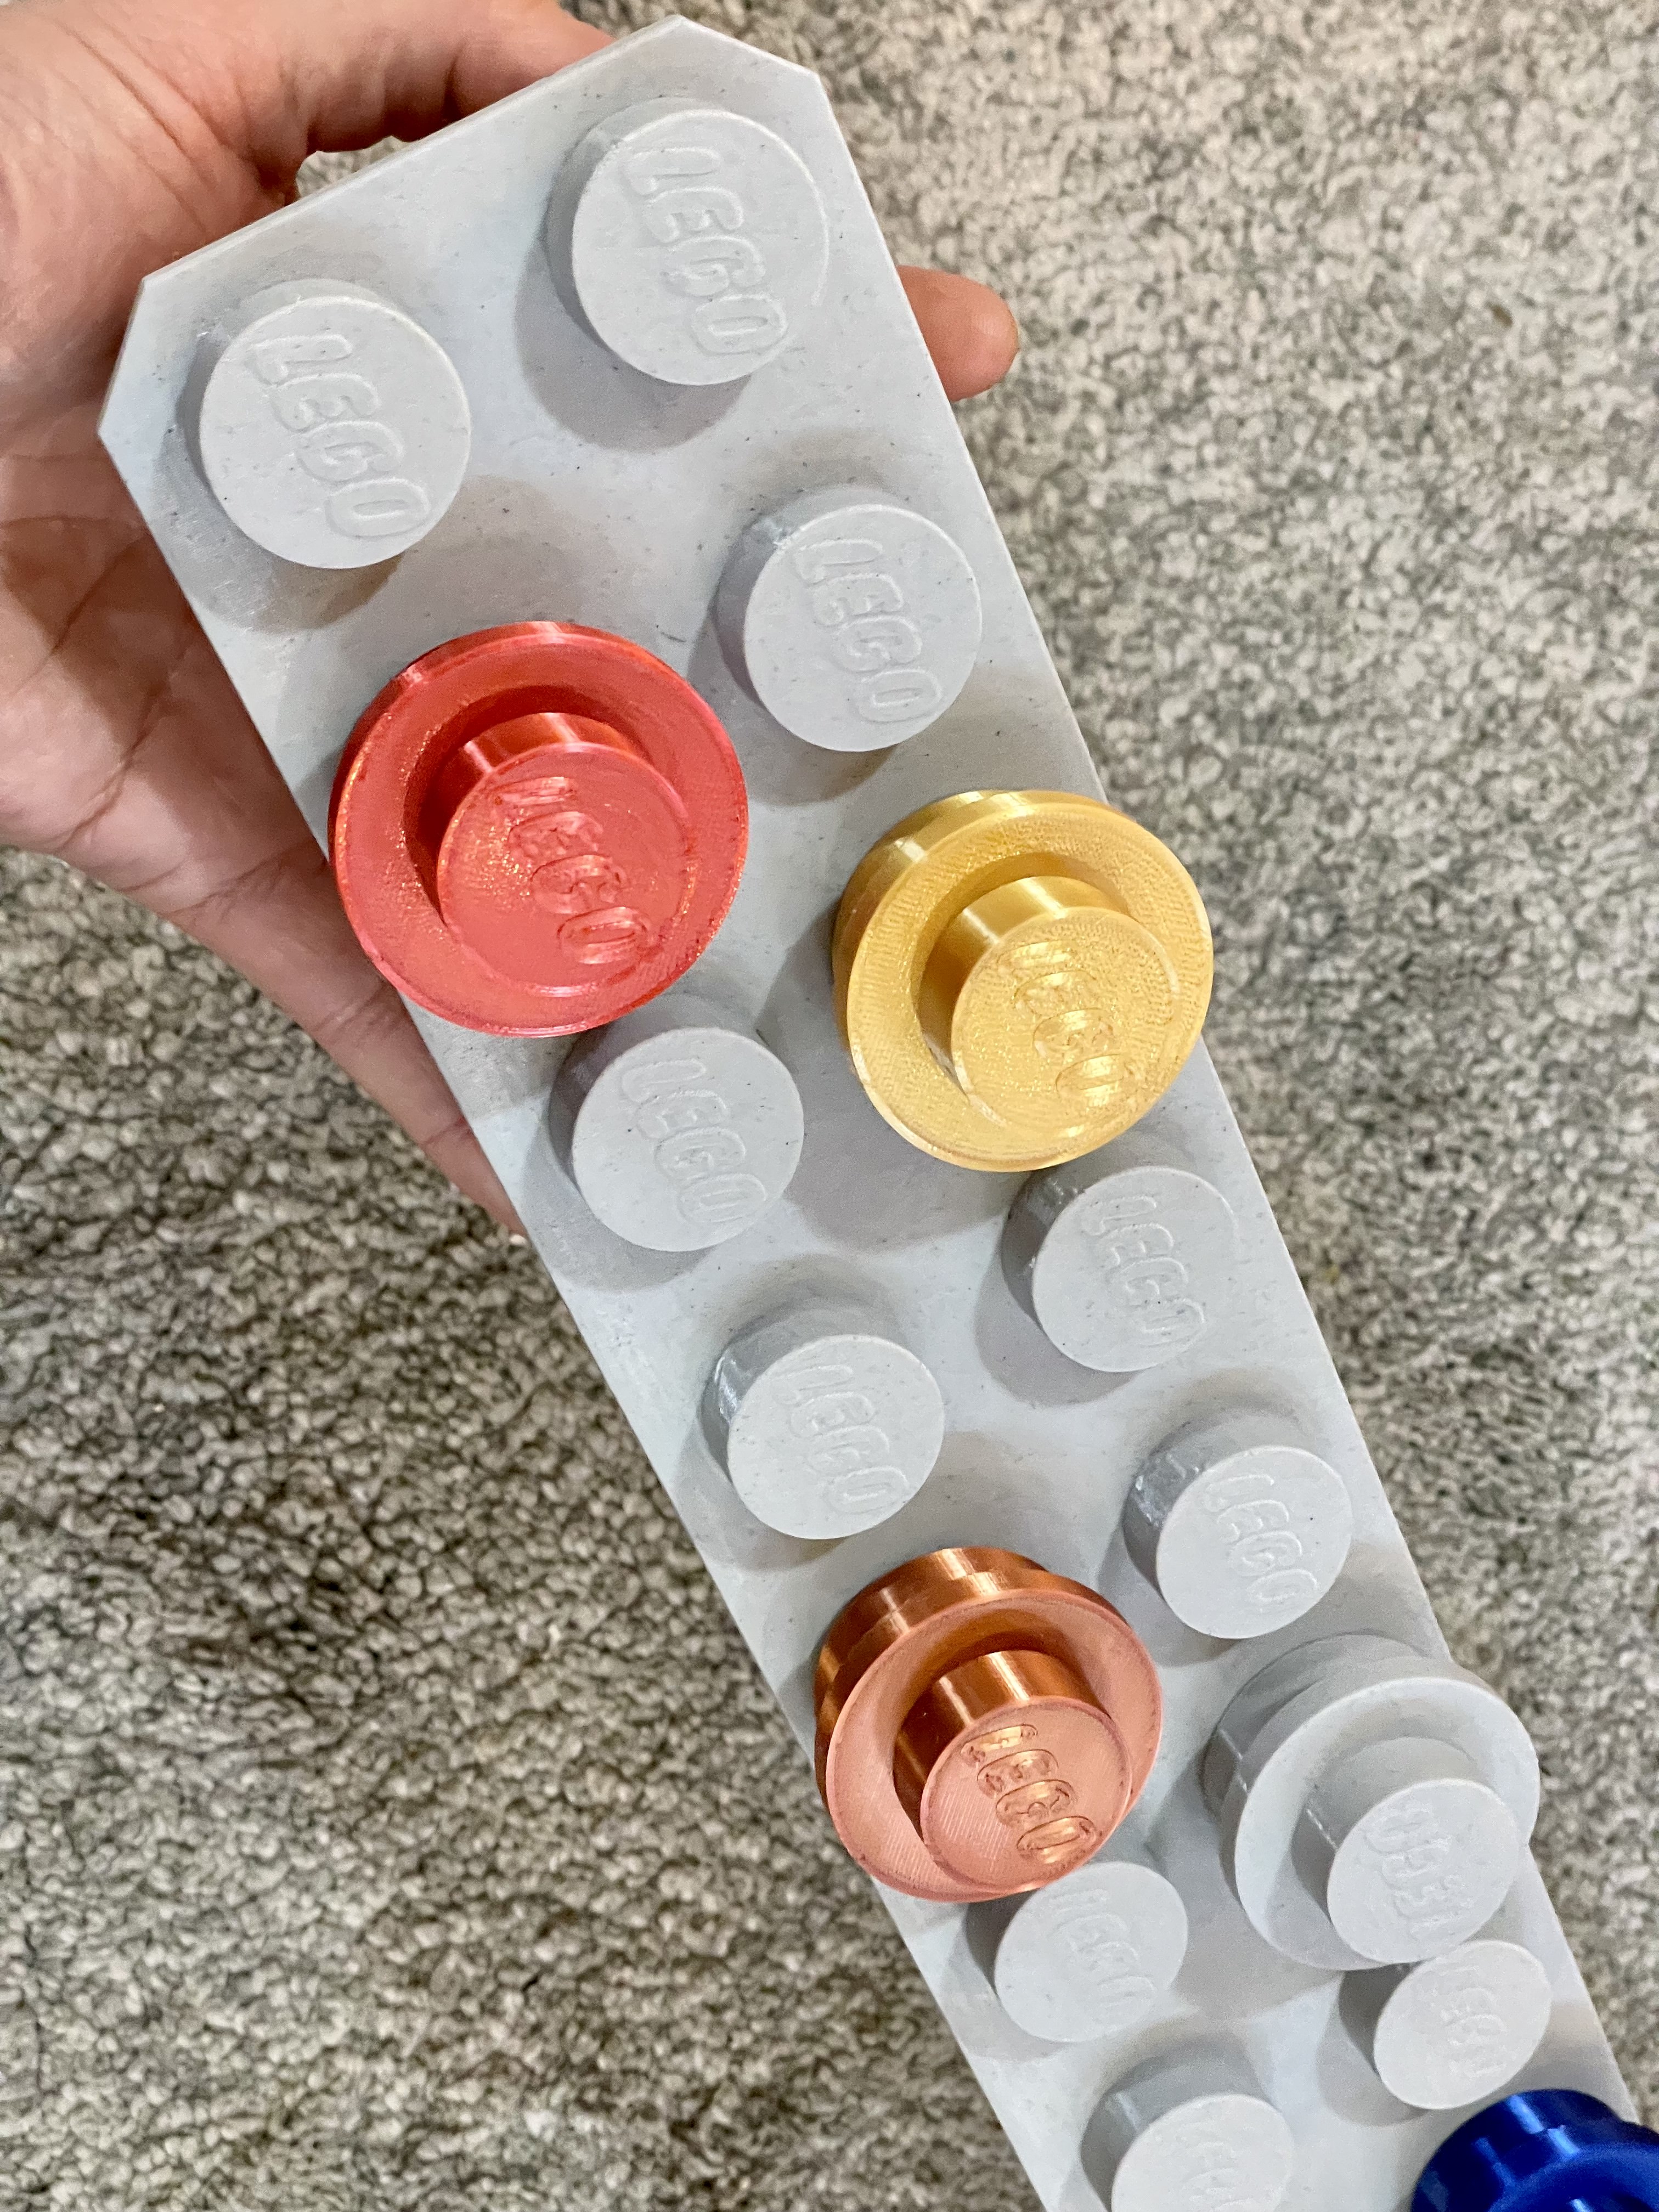
<h3>Introduction</h3><p>This is intended as a companion print for my oversized 1x1 LEGO stud (below) but can be used for other purposes.</p><p><a href="https://www.prusaprinters.org/prints/111317-oversized-lego-stud">https://www.prusaprinters.org/prints/111317-oversized-lego-stud</a></p><p>The base plate is 2 x 13 with places for four evenly spaced hooks. It's 96 x 624mm, roughly 3.75" x 24.5". That's an odd size, but that's the size of a 2 x 13 row of studs blown up 600%.</p><p>The plate is a large print that works beautifully with a belt printer, but you can print the cut sections on a smaller print bed.</p><p>The bottom of the plate is 3mm to make printing faster and use less material. This is a reduced thickness, not an accurate 6x scaling. It's enough to be stable but about as stable as the real deal at 100% size - i.e., it's a bit floppy and could be easily snapped in half. Not the sort of thing that you could use to securely hold things on a wall. You should attach it to a thicker backer board for hanging ( see <i>Assembly</i>).</p><h4>Shopping List</h4><p>You'll need a few things from your local hardware store:</p><ul><li>4 x #8 wood screws (see below for advisement on length)</li><li>1 x board (wood, MDF, or particleboard at least ½" thick and ½' x 3')</li><li>Hanging hardware of your choosing<ul><li>D-ring hooks</li><li>Keyhole hooks</li><li>Sawtooth hangers</li></ul></li><li>(Optional) Some felt or rubber pads<ul><li>Help the board sit level on the wall</li><li>Protect walls from some hanging options that might touch the wall or let the board move, like D-ring hooks</li></ul></li></ul><p>If you don't have the means to rip a board to length, ask your hardware store if they can cut your board to size for you.</p><h3>Assembly</h3><p>There are a few basic steps to assemble everything. All you need is a power drill.</p><ol><li>Rip the board down to size. You can leave it rough-cut or give it a nice finish before proceeding.</li><li>Align the build plate on your board and mark where the corners need to be chamfered.</li><li>Cut the corners and complete any finishing work you want to do on the board.</li><li>Print four (4) of the threaded 1x1 Lego studs (<i>Mounting Stud</i> and matching <i>Lego Stud</i>).</li><li>Once again, align the build plate with the edges of your board and secure it in place with a clamp, some tape, or a few dabs of CA glue in the corners.</li><li>Drill some pilot holes through each of the holes in the build plate.</li><li>Attach the four threaded bases for the studs with #8 wood screws *</li></ol><p>Choose a screw length that goes most of the way into your board without sticking out the other side. I recommend leaving the wood screws a little loose so you can tighten it with the stud. This only matters if you care if the Lego logo is oriented a certain way.</p><p><strong>Tip:</strong> If your screw options are limited and they're a little too long, you can add some washers under the mounting studs. This will add a small gap between the studs and the build plate, but they will look natural and won't hurt anything. Rubber washers work well to prevent the studs from loosening.</p><p>Before proceeding, flip the board over while the front will still lay evenly on a table or floor. Attach your selected hanging hardware and then flip it back over.</p><p>Finally, thread your studs onto the four mounting studs. Tighten them down to secure the mounting studs to the base and backer board.</p><h3>Extra Fun</h3><p>Print some of my (non-threaded) 1x1 studs in different colors to add more flair to your build plate.</p><p>I have also included additional build plates if you just want to print some giant LEGO pieces. If you download and print bricks and plates from other sources and scale them by 600% they will snap over the studs.</p><p>You can also scale the plates up or down to make build plates of different sizes. It's worth noting that scaling down will make it more and more difficult to print the LEGO branding on the studs.</p><p><strong>Note:</strong> If you reduce the size of the plates with the holes for the threaded studs you will also reduce the size of those holes. The holes are sized for the screws, so do keep this in mind. Further, you'd have to equally reduce the size of the mounting studs and matching threaded studs. You'll need to do some testing to see if everything still works with your scaling.</p>
With this file you will be able to print Oversized LEGO Build Plate Wall Hook with your 3D printer. Click on the button and save the file on your computer to work, edit or customize your design. You can also find more 3D designs for printers on Oversized LEGO Build Plate Wall Hook.