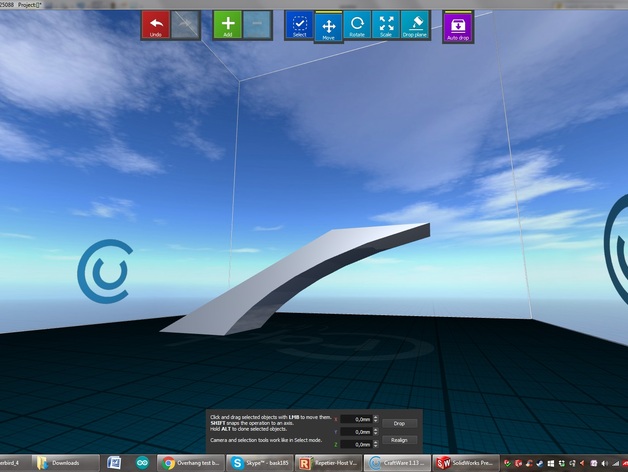
Overhang test
thingiverse
This is a test to fine-tune your slicer when diagonal printing arrives. The initial stage commences at a 45-degree angle and concludes at an 80-degree angle with increments of 5 degrees. The object stands little chance of being successfully printed. I created this test for two reasons: I was curious about how far off-diagonal I could print, and I wanted to learn the secret to getting the most attractive results. In Craftware, my go-to slicer, I can set the printing order of infills, inner loops, and outer perimeters. I printed it three times, and the best method for me was infills followed by loops, then perimeters. The last print, which employed this sequence, actually completed successfully, and my k8200 with its stock extruder managed to produce a flank at an angle under 80 degrees without support. Although it has some dangling wires and lacks polish, it still finished the job. One of the issues you'll encounter is that corners tend to curl upward slightly and leave burn marks behind. You can utilize this test to calibrate your preferred slicer for the best possible outcome. It took me approximately 45 minutes to print it.
With this file you will be able to print Overhang test with your 3D printer. Click on the button and save the file on your computer to work, edit or customize your design. You can also find more 3D designs for printers on Overhang test.
