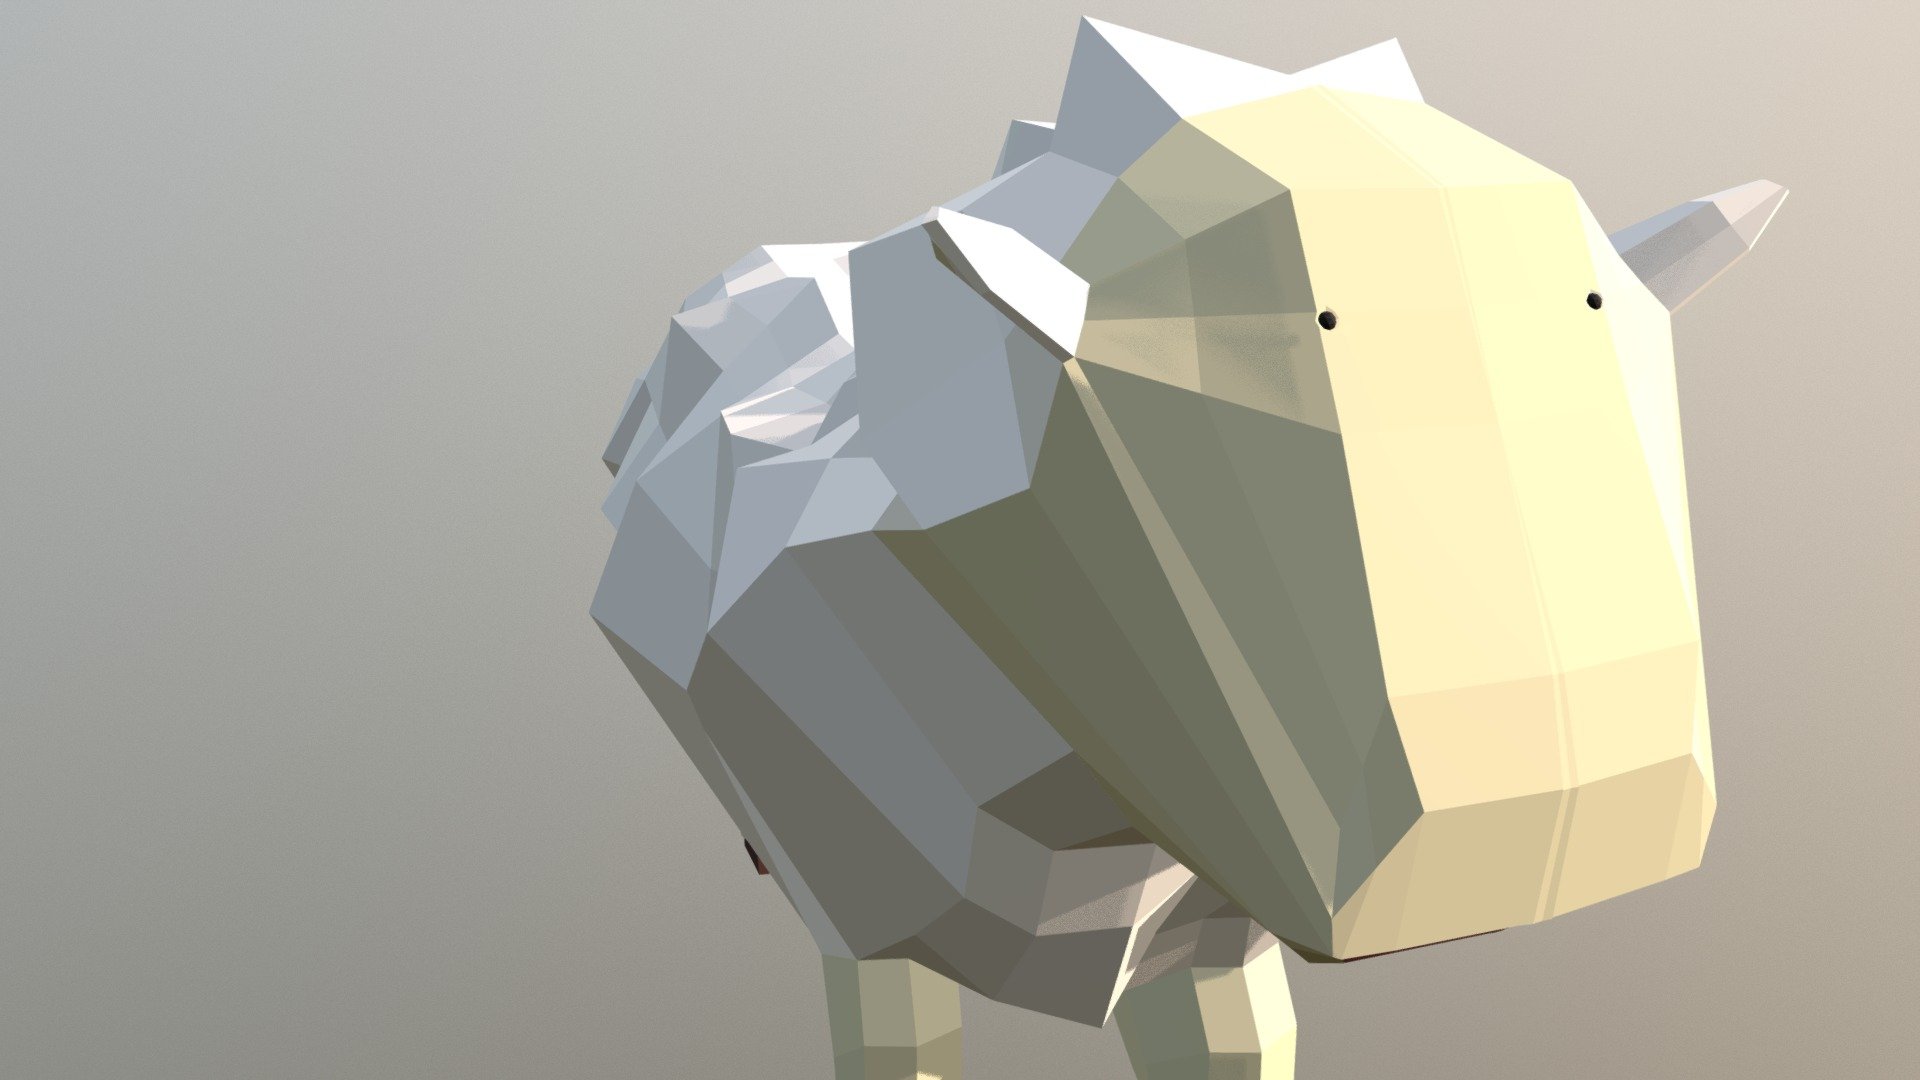
Ovelha - Blender 3D
sketchfab
Study of Animal Creation - Blender 3D Creating a realistic animal using Blender 3D involves several key steps. First, gather reference images of the desired animal to study its anatomy and movement patterns. This will help in creating an accurate and detailed model. Next, set up a new project in Blender with a suitable workspace size and units of measurement. Then, create a basic shape for the body by using the Extrude tool to add depth to a 2D shape. Add more details such as limbs, ears, and tail by duplicating and manipulating existing shapes. Use the Subdivision Surface modifier to refine the model's surface smoothness and detail. Also, make sure to use proper proportions and anatomy in the creation of each body part. This will help create a realistic look and feel for the animal. With the basic shape created, start adding details such as fur texture, skin patterns, and other characteristics that make the animal unique. Use Blender's built-in tools like sculpting and painting to add these details. Pay attention to the proportions and anatomy of each feature to ensure it looks realistic. Finally, animate the model by setting up keyframe animations for movement and action. This can be done using the Graph Editor or by manually setting keyframes in the Timeline panel. Use Blender's physics engine to create realistic simulations like fur movement or water effects. By following these steps, you can create a highly detailed and realistic animal model in Blender 3D.
With this file you will be able to print Ovelha - Blender 3D with your 3D printer. Click on the button and save the file on your computer to work, edit or customize your design. You can also find more 3D designs for printers on Ovelha - Blender 3D.
