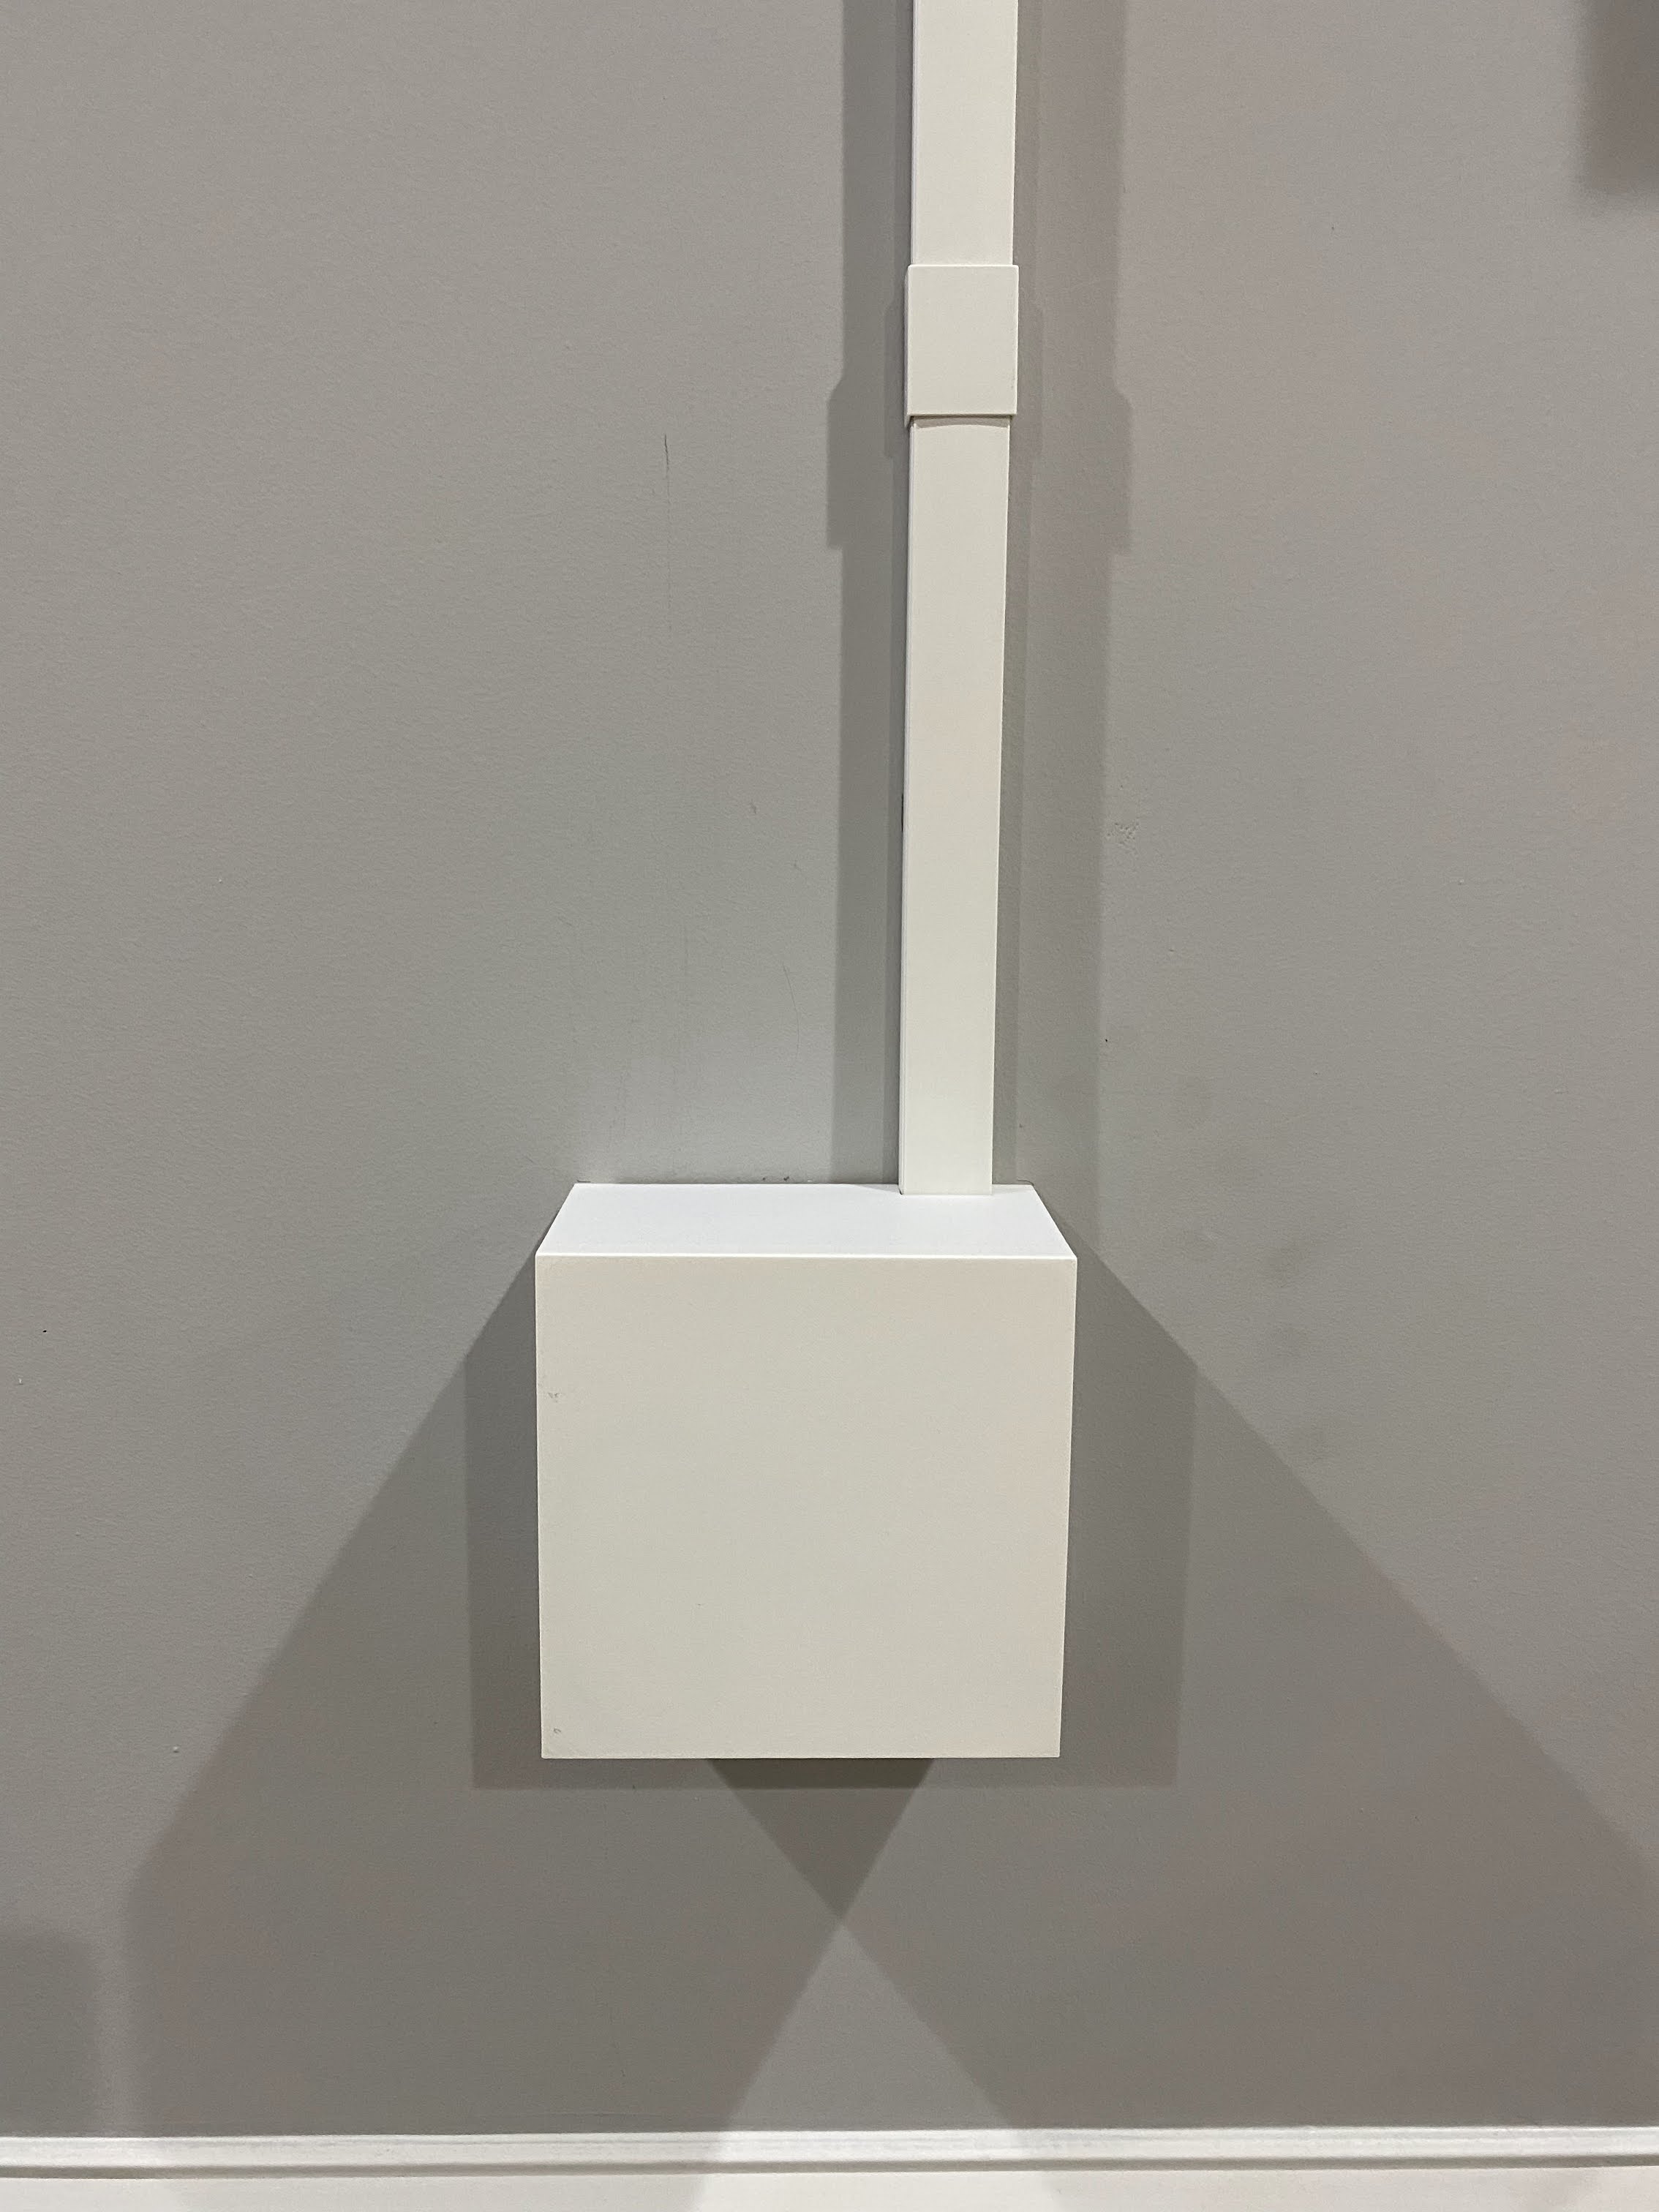
Outlet Cover
prusaprinters
<p>When I attempted to run wires through my basement wall I discovered that I had some horizontal studs blocking my ability to run wires vertically inside the wall. So I got some cable organizer channels and designed this simple box in Tinkercad to fit over my 2-gang outlet. It features 4 tabs for adding small command strips so there are no holes in the wall. </p><p>Prints without supports if placed with the large flat “front” side of the box on the print bed. </p><p>Dimensions:</p><p>2-Gang Cover = 153mm x 153mm x 89mm (~6" x 6" x 3.5")</p><p>1-Gang Cover = 115mm x 140mm x 89mm (~4.5" x 5.5" x 3.5")</p><p>Cutout for cable organizer = 30mm x 15mm (~1.2" x .6")</p><p>Link to cable concealers used: <a href="https://www.amazon.com/gp/product/B01JKO8724/ref=ppx_yo_dt_b_search_asin_title?ie=UTF8&psc=1">https://www.amazon.com/gp/product/B01JKO8724/ref=ppx_yo_dt_b_search_asin_title?ie=UTF8&psc=1</a> </p><p>Link to command strips used: <a href="https://www.amazon.com/Command-Picture-Hanging-9-packages-17202ES/dp/B073XS3CHW?th=1">https://www.amazon.com/Command-Picture-Hanging-9-packages-17202ES/dp/B073XS3CHW?th=1</a> </p><p>9/3/22 - Added Center and Left Offset openings for cable concealers</p><p>9/3/22 - Added 1-Gang models</p>
With this file you will be able to print Outlet Cover with your 3D printer. Click on the button and save the file on your computer to work, edit or customize your design. You can also find more 3D designs for printers on Outlet Cover.
