Ormerod 2 twisted Y rod fix
thingiverse
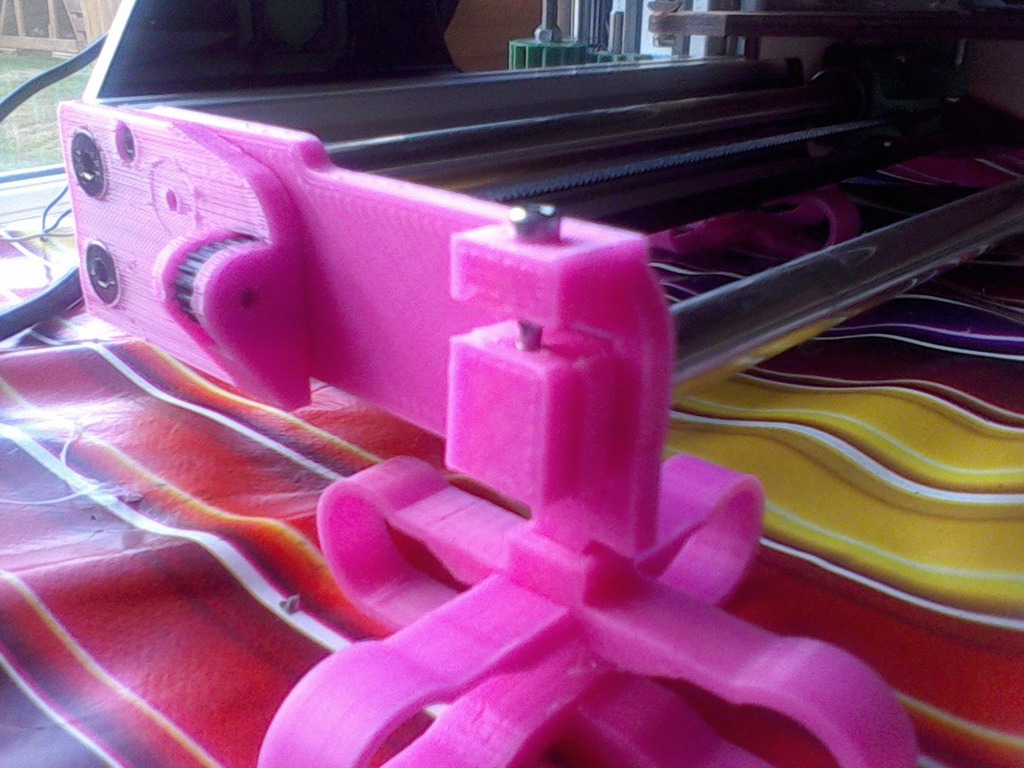
This part replaces the acrylic component for the Y idler. The front Y rod goes through the gap in the foot section and the adjuster block pushes onto the end of the rod, allowing you to fine-tune the height of the rod to eliminate any twist and achieve a level bed at the front. You will also need an M3 bolt, which I have used a cap head for, as seen in the picture, and an M3 nyloc nut. This assembly passes through the hole in the top of the idler bracket, through the adjuster block, and secures it with the nut underneath. By tightening or loosening the bolt, you can then move the rod up and down.
With this file you will be able to print Ormerod 2 twisted Y rod fix with your 3D printer. Click on the button and save the file on your computer to work, edit or customize your design. You can also find more 3D designs for printers on Ormerod 2 twisted Y rod fix.