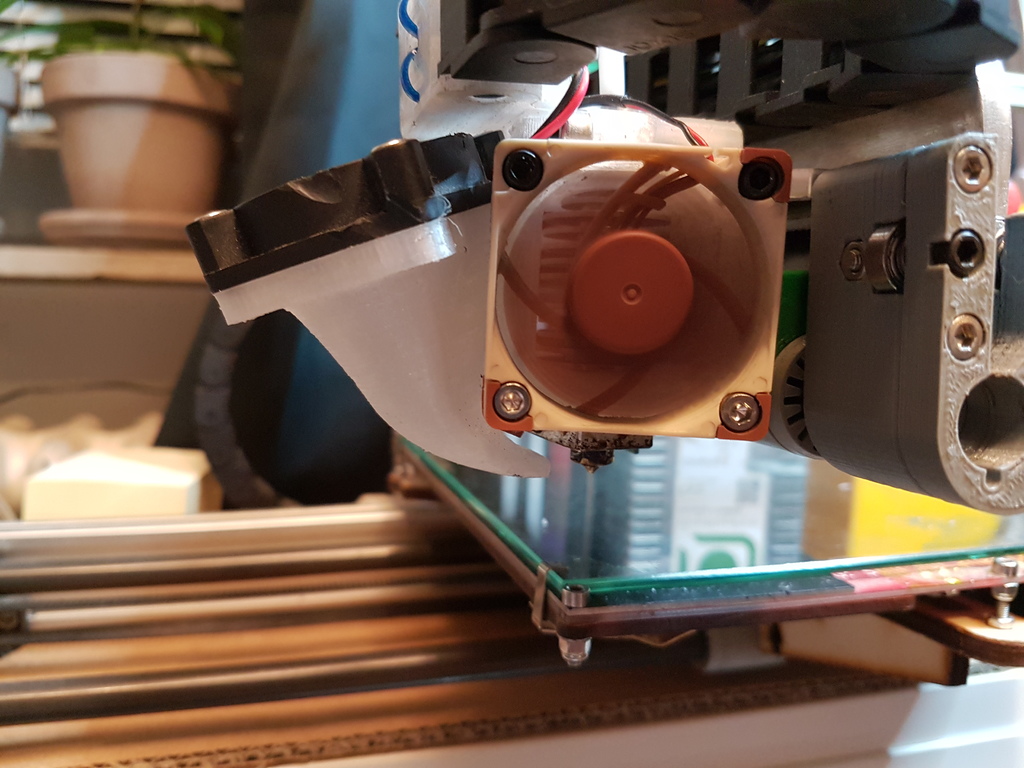
Ormerod 2 E3D V6 holder with cooling fan
prusaprinters
<p>The parts where fans are mounted should be printed with that contacting face against the build plate. The segment that is mounted onto the original ormerod holder should be printed on its back.</p> <p>After having spent too much time editing feature trees in solidworks i have given up adjusting the shape of the air duct and resorted to sand .5mm off the tip so it will not interfere with the object being printed.</p> <h3>Print Settings</h3> <p><strong>Printer:</strong></p> <p>Ormerod 2 528.4</p> <p class="detail-setting rafts"><strong>Rafts: </strong> <div><p>Doesn't Matter</p></div> <p><strong>Supports:</strong></p> <p>Yes</p> <p class="detail-setting resolution"><strong>Resolution: </strong> <div><p>0.1-0.2mm</p></div> <p><strong>Infill:</strong></p> <p>myes</p> <p><br/> <p class="detail-setting notes"><strong>Notes: </strong></p> </p><div><p>I printed the "back" and duct with support to avoid ovalizing the hole where the heatsink is nested into.</p></div> Post-Printing ============= <p>Remove any support, sand the inside where air will flow, drill out the holes and tap them. The holes are: 5mm through hole, M5 tapped holes and M3 tapped holes.</p> <p>The "front" part is mounted onto the gantry with the countersunk screws.</p> <p>Unscrew the heatsink from your hotend and mount it on the inside of the "back section". After this is done you can screw the hotend back onto place.</p> <p>The "back" part is mounted onto the "front" part with two M5 screws. The airduct is attached with two M3 screws, one on the side and the other sitting in the 40mm fan.</p> </p></p> Category: 3D Printer Parts
With this file you will be able to print Ormerod 2 E3D V6 holder with cooling fan with your 3D printer. Click on the button and save the file on your computer to work, edit or customize your design. You can also find more 3D designs for printers on Ormerod 2 E3D V6 holder with cooling fan.
