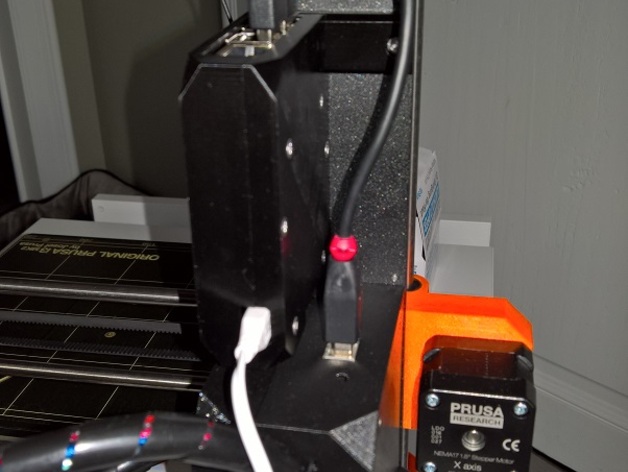
Original Prusa MK2 style Octopi cover
thingiverse
Recently upgraded my Prusa i3 Plus to the MK2 model and felt I needed an Octopi cover matching the sleek new Prusa style. You'll need two M3 hex nuts, each 10mm long, four M3 countersunk screws, also 10mm, and two M3 countersunk bolts, one of which is 16mm long. Any M3 screw will do as long as it's the right length; it's just for show. First, mount the Raspberry Pi at the bottom using four M3 x 10 screws - you won't need nuts because the screws will create threads in the PCB mounting holes. Next, attach the top to the chassis with the two M3 hex nut 10mm bolts. To finish, screw the bottom onto the top with the Raspberry Pi securely fastened using the two M3 countersunk 16mm screws. Once you've connected your Wi-Fi adapter, power cable and USB cable, you're done. Enjoy! Print Settings: Printer: Original Prusa MK2 Rafts: No Supports: No Resolution: 200 um Infill: 20%
With this file you will be able to print Original Prusa MK2 style Octopi cover with your 3D printer. Click on the button and save the file on your computer to work, edit or customize your design. You can also find more 3D designs for printers on Original Prusa MK2 style Octopi cover.
