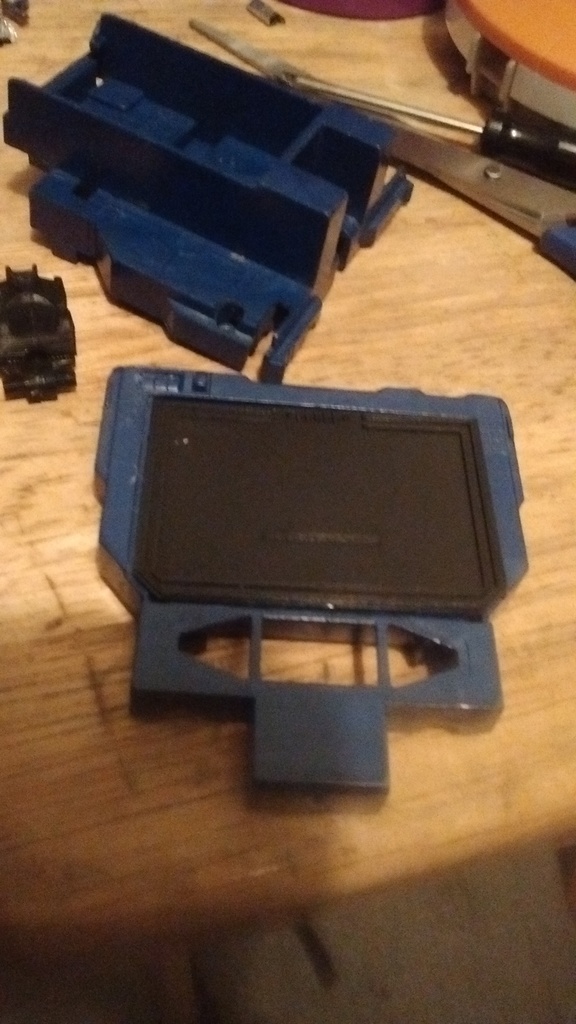
Original G1 Soundwave Cassette Window
thingiverse
Restoring my old G1 Soundwave continues with a focus on rebuilding the missing internal components. To achieve this, I'm using Blender 3d software to recreate parts based on reference photos and precise measurements taken from my original Husk of a Soundwave. People often ask why my restored Soundwave is missing certain internal parts. The answer is straightforward: as a kid, I enjoyed taking apart toys like this one, but sometimes the parts would get lost or damaged due to loose connections. My dad even had to hide tools from me to prevent further disassembly! This post marks the second part of my restoration project. The first phase involved rebuilding Soundwave's head, which can be viewed on a separate page. For reference, that page also lists the remaining parts I need to create before completing this restoration. I'm excited to see my G1 Soundwave return to its former glory, and I appreciate everyone's interest in this project!
With this file you will be able to print Original G1 Soundwave Cassette Window with your 3D printer. Click on the button and save the file on your computer to work, edit or customize your design. You can also find more 3D designs for printers on Original G1 Soundwave Cassette Window.
