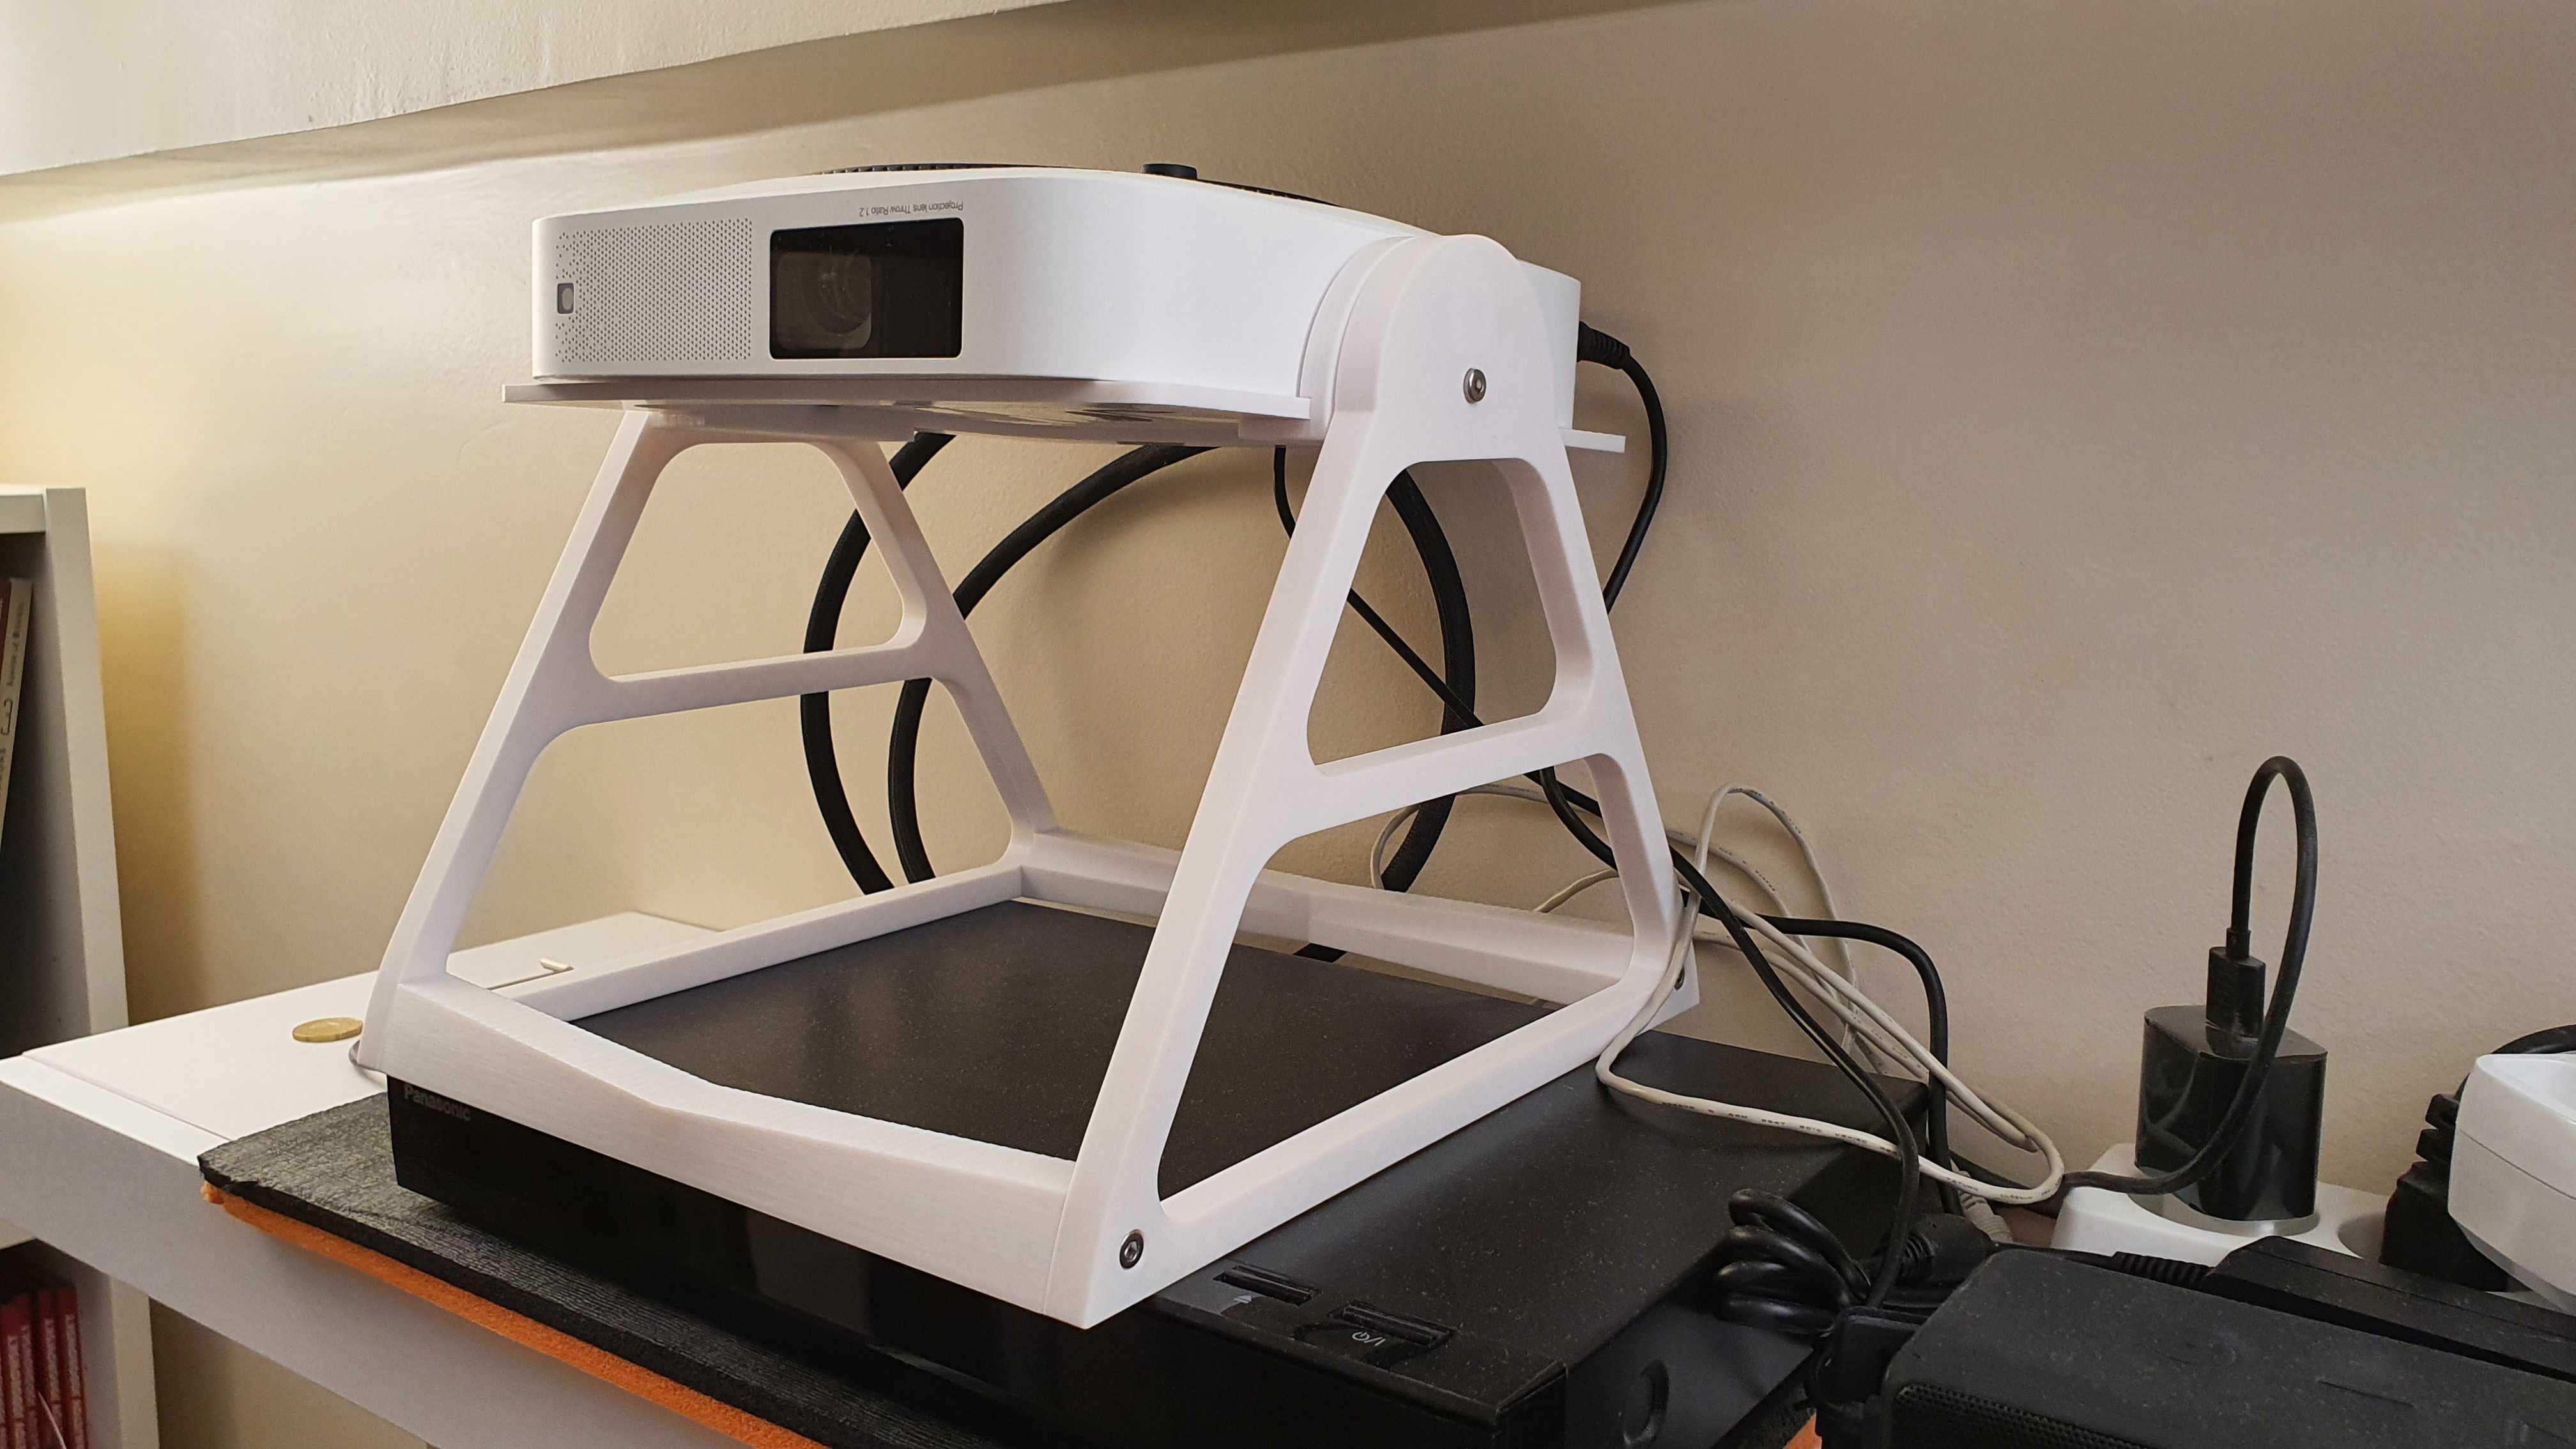
Orientable stand for video projector
prusaprinters
<p>Designed as a stand for the awesome XGIMI Elfin Portable Videoprojector whose size is 19.2 x 19.4 x 4.8 centimeters and weights less than 1kg, but the stand can surely bear heavier devices, just not sure how heavier.</p><p>Since I set it on a shelve near the ceiling, I set the projector upside down (as if it were attached to the ceiling), I designed the “tray” for the top (flat) surface of the projector. Not sure how it would fit the bottom side that features small feet, but you can just easily fill the void in the middle to accommodate anything.</p><p> </p><p>The most difficult part when designing this was naming the parts because I lack the vocabulary :) so bear with these silly names:</p><p>You will need to print two “baseRod.stl”, two “flank.stl”, two “sidePole.stl”, two "pivot.stl" and two “pivot(1).stl”, one “tray.stl”</p><p>The pivot is a big printed screw, printed in two halves horizontally rather than one vertical print, so that the layer orientation make it sturdier (much sturdier actually)</p><p>You need not even glue them to use them. Just put one “pivot.stl” along with one “pivot(1).st”, add a drop of oil, and screw in the “sidePole.stl” threaded hole.</p><p>Caution: Do not tighten too much, you may be unable to unscrew it if needed without breaking all.</p><p> </p><p>Assembling using hex 4mm nuts and bolts:</p><p>Two M4*8mm to block the position</p><p>Four M4*20mm to assemble to bottom rods to the side poles.</p><p>Six M4 nuts.</p><p> </p><p>And 2 to 6 self tapping M2*8 screws to assemble the tray and the flanks (I designed 3 holes on each flank, but used just one screw and it was enough)</p><p> </p>
With this file you will be able to print Orientable stand for video projector with your 3D printer. Click on the button and save the file on your computer to work, edit or customize your design. You can also find more 3D designs for printers on Orientable stand for video projector.
