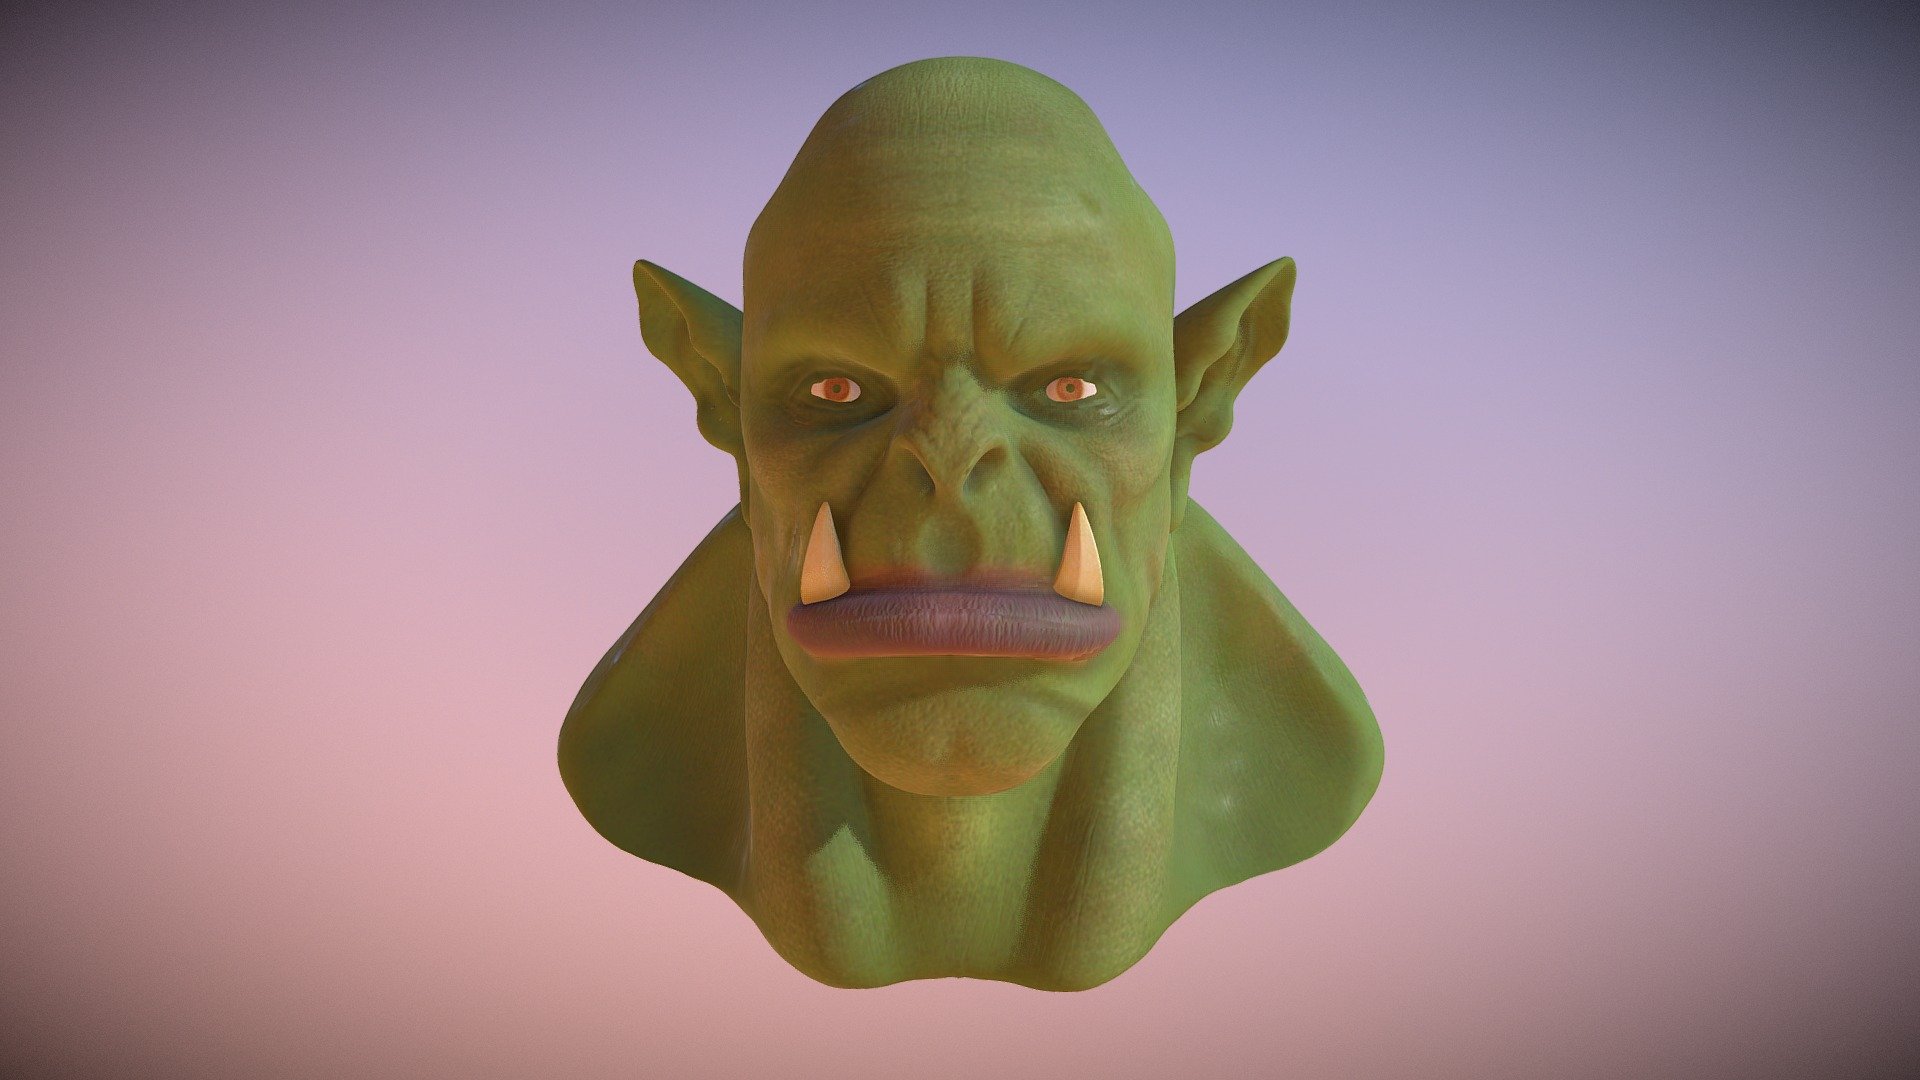
Orc bust
sketchfab
Here's a character tutorial for Blender enthusiasts! In this comprehensive guide, you'll learn the ins and outs of sculpting characters in one of the most popular 3D modeling software programs out there - Blender. Whether you're a seasoned pro or just starting out, this step-by-step walkthrough will have you creating lifelike characters in no time. **Step 1: Setting Up Your Scene** Begin by launching Blender and setting up your scene for character sculpting. You'll want to create a new project, selecting the 'Units' option as 'Metric' or 'Imperial', depending on your preference. Next, switch to the 'Object Mode' and click on the 'Cube' button in the top-left corner of the screen to create a basic cube. This will serve as the foundation for our character model. **Step 2: Adding Subdivision Surface** To give your character some real depth and detail, it's time to add subdivision surface. Select the cube by clicking on it, then navigate to 'Modifier' > 'Subdivision Surface'. In the modifier options window, increase the 'Levels of Detail' to 6 or 8 for a more detailed model. This will allow you to sculpt your character with greater precision. **Step 3: Sculpting Your Character** Now that we have our basic cube and subdivision surface set up, it's time to get creative! Switch to 'Sculpt Mode' by clicking on the 'Tool Shelf' icon in the top-right corner of the screen. Use the various sculpting tools - such as the 'Grab' tool or the 'Smooth' tool - to shape your character into a more lifelike form. **Step 4: Refining Your Character** As you continue to sculpt your character, pay close attention to the finer details. Use the 'Detail' brush to add subtle textures and creases to your model. You can also use the 'Pinch' tool to refine your character's features, such as their nose or mouth. **Step 5: Exporting Your Character** Once you're happy with your sculpted character, it's time to export them for further use in other software programs or games. Simply navigate to 'File' > 'Export' and select the desired file format - such as OBJ or FBX. From there, you can import your character into other software programs or use them in game development. By following these simple steps, you'll be well on your way to creating realistic characters in Blender. Remember to experiment with different tools and techniques to achieve unique results. Happy sculpting!
With this file you will be able to print Orc bust with your 3D printer. Click on the button and save the file on your computer to work, edit or customize your design. You can also find more 3D designs for printers on Orc bust.