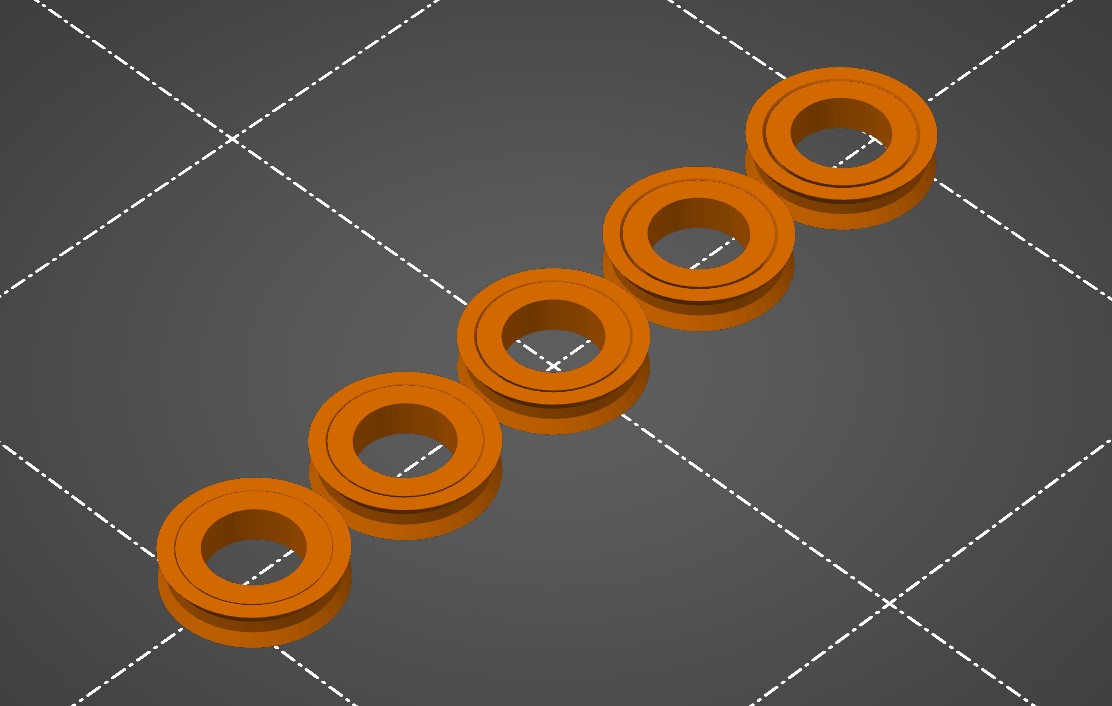
Optimized Tolerance Test
prusaprinters
<p>Don't you hate it when a ‘test print’ takes hours and use up like 10% of your filament spool? This should be faster.</p><figure class="image"><img src="https://media.printables.com/media/prints/228017/rich_content/3f209144-d881-4138-a6c0-a73ccdc18b55/hwamyeon-kaebceo-2022-09-14-140721.jpg#%7B%22uuid%22%3A%22a50681f2-ebcd-42ff-a656-fff4bea00838%22%2C%22w%22%3A1013%2C%22h%22%3A621%7D"></figure><p>The gaps between inner and outer rings are 0.1mm/0.15mm/0.2mm/0.25mm/0.3mm each(measured perpendicular to face)</p><p> </p><p>1.671mm is the width of exactly 4 perimeter lines according to the Slic3r formula.</p><p>*(When using 0.2mm layer height and 0.45 extrusion width)</p><p> </p><p>The hole in the middle should be 10mm wide. Measure that with calipers if you want more calibration data.</p><p> </p><p>By default, prusaslicer automatically bridges gaps smaller than 0.1mm(can be changed by the ‘Slice gap closing radius’ setting). Therefore, there is no point of having a 0.05mm test.</p><p> </p><p>Update: 2022/09/14 Added Bigger (and hopefully more accurate) test.</p>
With this file you will be able to print Optimized Tolerance Test with your 3D printer. Click on the button and save the file on your computer to work, edit or customize your design. You can also find more 3D designs for printers on Optimized Tolerance Test.
