OpenRC Truggy HSP Remix
thingiverse
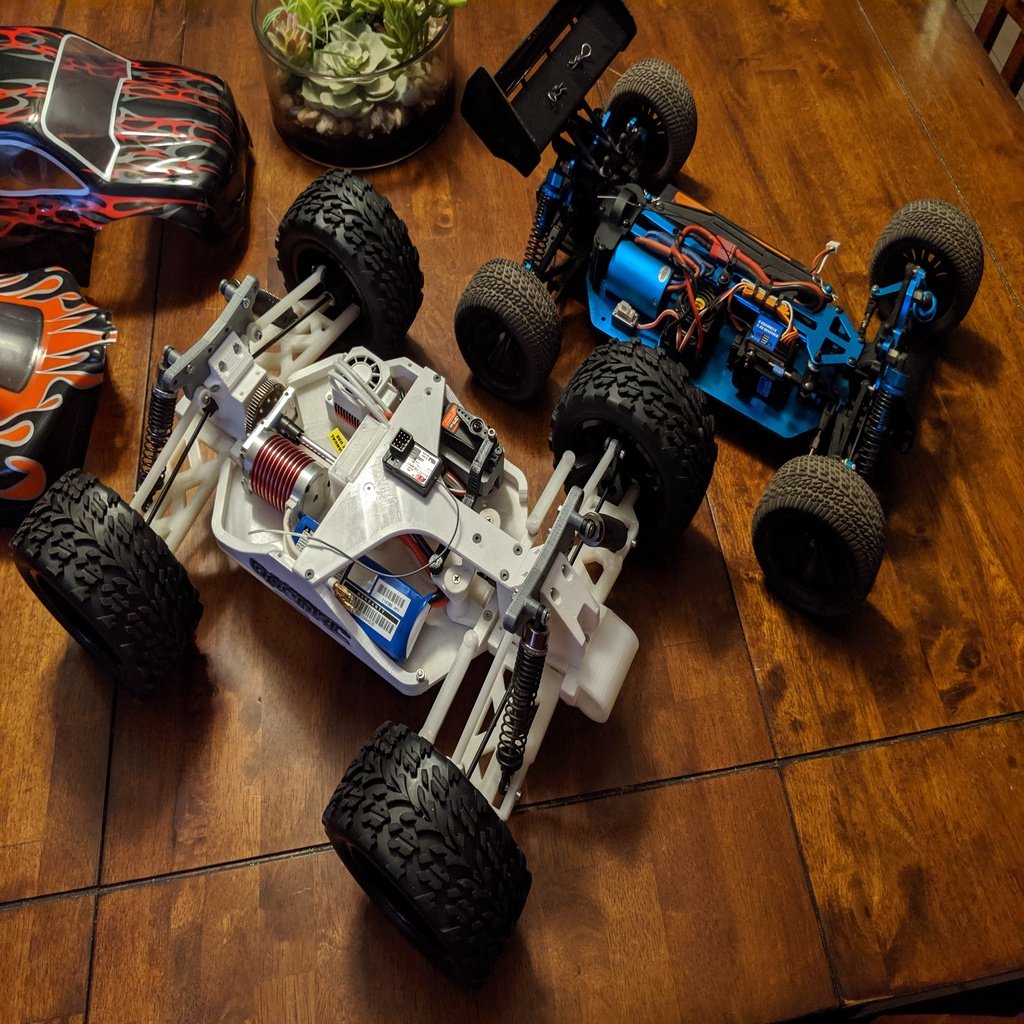
This text appears to be a set of instructions or notes for assembling a remote control car, specifically a Truggy model. The text includes a list of parts with corresponding fasteners (screws) and descriptions of how they connect together. Here are the main points summarized: **Front Assembly** * Connect the front deck plate to the front diff using CS_M3x14 screws. * Connect each wishbone pin holder to the diff using CS_M3x16 screws. * Connect the deck connector to the rear diff using BH_M3X20 screws. * Connect each body mount to the shock tower using BH_M3X10 screws. **Rear Assembly** * Connect the bumper to the chassis plate using BH_M3X10 screws. * Connect each upper and lower diff housing together using BH_M3X16 screws. * Connect the deck connector to the 03007 motor plate using BH_M3X20 screws. **Other Connections** * Connect each shock tower to the diff housing using BH_M3X16 screws. * Connect each shock to the shock tower, through the shock spacer, using BH_M3X16 screws. * Connect each shock to the wishbone using BH_M3X16 screws. **Fasteners** * 15x NUT_M3 used in the front assembly * 15x NUT_M3 used in the rear assembly * 2x NUT_M3 used to attach the servo arm to the servo horn (double nutted together on the BH_M3X10 screw) The text also mentions some upgrades and changes made to the design, including a new two-piece wishbone design, updated C-hubs with 6mm balljoints, and an increased steering linkage length.
With this file you will be able to print OpenRC Truggy HSP Remix with your 3D printer. Click on the button and save the file on your computer to work, edit or customize your design. You can also find more 3D designs for printers on OpenRC Truggy HSP Remix.