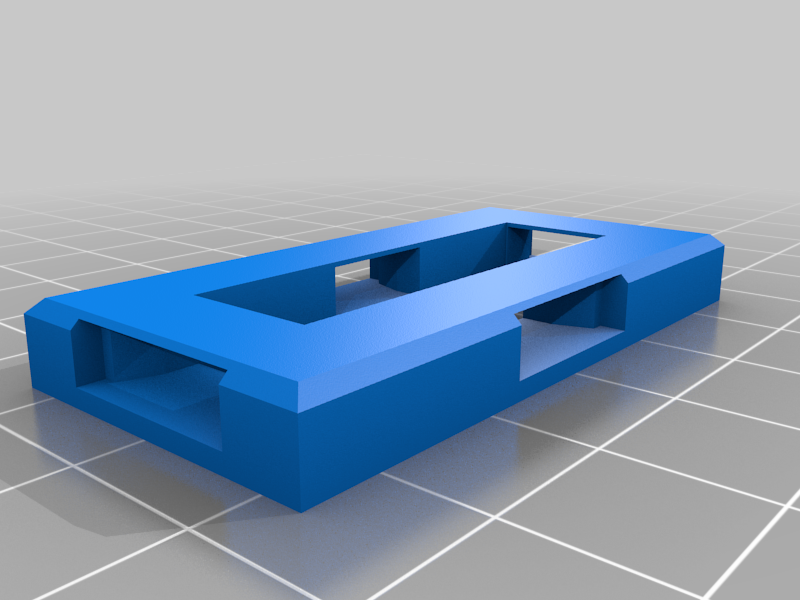
OpenForge/OpenLock bases chamfered for 3D pen welding
thingiverse
A few months ago, I impulsively bought a 3D pen that was practically being given away in a bin. It came with 1.75 mm filament, the same type used by my home printer, which meant I had an abundance of scraps from the Bowden tube and other leftovers. For about two hours, it was great fun, but when I owned a 3D printer, it became redundant and useless. So, I put it in a drawer and forgot about it. Later, I started printing OpenForge pieces for DnD and needed a way to join the walls/tiles with the bases without using too much cyanoacrylate. I thought I'd try welding them together with my rather useless 3D pen. It worked somewhat, but the joints were weak because the PLA had nowhere to go. To achieve sufficient heat buildup, I needed to build up enough PLA with the pen. However, flush joints didn't allow this, so I experimented with chamfering the top edges of the bases with a knife. And now the welding joints seemed to hold together. Whittling away with a knife can be enjoyable at first, but it gets tedious after a while. So, I decided to chamfer DevonJones' base pieces in Sketchup once and for all. Here are some tips if you want to try 3D pen welding: Reduce the 3D pen flow to fairly low. You want to add material and heat over a little time. The pen's tip is hot, and will preheat the surfaces you want to weld. This is crucial to make the PLA fuse properly. My pen has two modes of operation. A short click on the extrude button starts automatic extrusion. It feeds filament by itself until I press the button again. If I press and hold the button down, it only extrudes as long as I hold the button. I prefer to use the latter when I weld, as it feels like I have more control. My pen retracts the filament quite substantially every time I let go of the feed button. When I weld, I keep the tip at an angle into the joint, making good contact with the two surfaces I want to join, and facing me, so I can see when it starts to extrude, and how much PLA I'm filling into the weld. When it starts extruding filament, I let the filament build up a blob in the gap between the pieces before I start moving the tip slowly along the joint, making sure that I fill the available space along the chamfered edge. I keep the tip in contact with the pieces I'm welding the whole time, to keep them heated. This seems to do the job. There will probably be some messy welds that may need some work afterwards. I just cut them flush with a knife. A Dremel would probably do the job faster or neater or both, but mine's in the garage, two flights of stairs down, so I'm not bothered. If you have any experience in welding with a 3D pen and suggestions as to how it can be done better, please let me know in the comment section. I only have a couple of days of experience with this. Pro tip: If you use adaptive slicing (I'm using Slic3r, where this is an option), the bridging of the flimsy top layers above the openlock openings will work better. Adaptive slicing really can't go wrong with parts like this. When I wasn't using adaptive slicing at 0.2 mm layer height, the slicer didn't create G code to bridge the gaps properly, making a right mess. Edit: Having tested the chamfered bases, I have to say that this works. The parts stick really well together. The welds don't even stick out that much. I just have to do some minor removals of excess plastic in some areas. I'm pretty pleased with this fix. The pictured part is one of DevonJones' 4x1 cave walls welded on to one of the chamfered bases. Couldn't budge it with a fair amount of force.
With this file you will be able to print OpenForge/OpenLock bases chamfered for 3D pen welding with your 3D printer. Click on the button and save the file on your computer to work, edit or customize your design. You can also find more 3D designs for printers on OpenForge/OpenLock bases chamfered for 3D pen welding.
