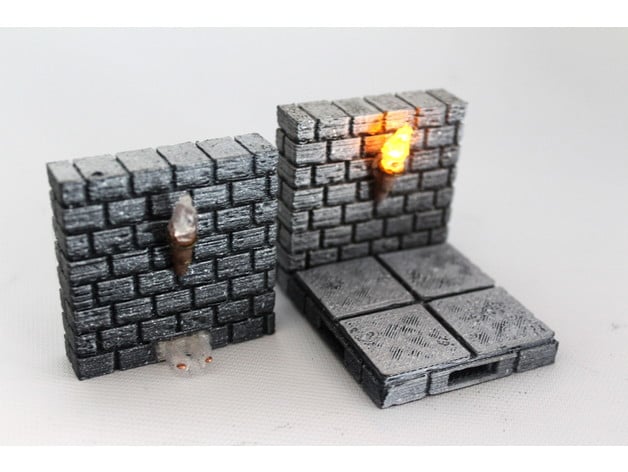
OpenForge Cut-Stone OpenLOCK Torch Wall
thingiverse
This is a premium OpenLOCK wall tile featuring an integrated LED torch. To power it, simply connect it with a battery floor tile using a powered OpenLOCK clip. For more information on how to get started with OpenForge, check out our comprehensive tutorial series. To learn about licensing and selling OpenForge prints, please visit our license FAQ page. As an open-source project, OpenForge relies on patron support to continue delivering high-quality gaming terrain designs. By becoming a patron, you'll help me create more sophisticated tiles with intricate details. For updates on OpenForge and Masterwork Tools, follow us at: Online catalog and backer site Website Forums (primarily Facebook) Twitter Facebook **Getting Started** To assemble the wall tile with LED torch, you will need the following supplies: Wall printed parts and torch printed part Pin Vice (optional) Aluminum foil strip, 3 inches wide Hobby knife or wire cutters to clip aluminum foil to length Hot glue gun and hot glue Walmart tea light votive candles (recommended for their ease of use) **Assembly Instructions** 1. Begin by clearing out the holes in the torch using a pin vice or a makeshift drill made from copper wire. 2. Run the LED leads through the torch, making sure they are properly seated and not reversed. 3. Test the circuit against a powered battery base with the torch facing forward to ensure proper alignment. 4. If the torch is not lit, flip the battery base upside down while keeping the torch right-side up; this will establish the correct circuit. 5. Paint the torch as desired, using an umber brown and dry brush for added realism. **Final Touches** 1. Use hot glue to shape a flame around the LED, adding a toothpick or similar tool to help achieve the desired shape. 2. Once complete, use hot glue to secure the interior of the tile, ensuring that all contacts are insulated and the components are securely held in place. **Tea Light Assembly** To assemble the tea light, follow these steps: 1. Remove the LED from its plastic casing, taking care not to damage any leads. 2. Run the LED leads through the aluminum foil strip, folding them down to secure them inside the folds of the foil. 3. Use hot glue to insulate the contacts and hold everything in place. By following these instructions, you'll be able to create a functional and visually appealing OpenLOCK wall tile with an integrated LED torch. Happy crafting!
With this file you will be able to print OpenForge Cut-Stone OpenLOCK Torch Wall with your 3D printer. Click on the button and save the file on your computer to work, edit or customize your design. You can also find more 3D designs for printers on OpenForge Cut-Stone OpenLOCK Torch Wall.
