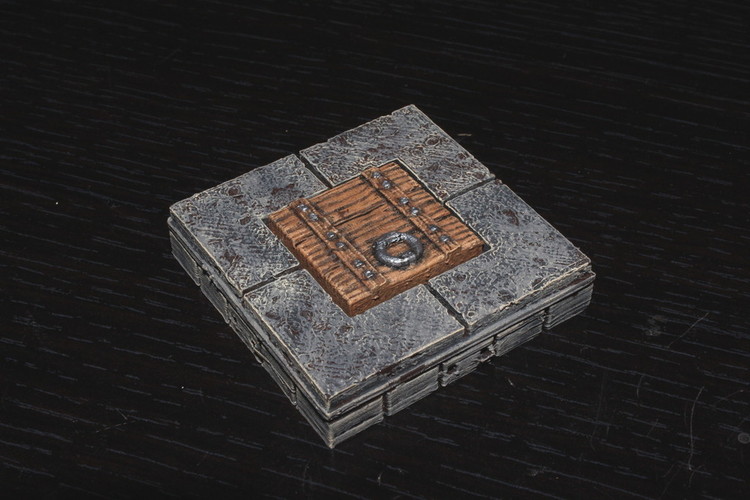
OpenForge 2.0 Trap Door
pinshape
SummaryThe working trapdoor is available in two styles - cut-stone and wood. To make this functional, both styles must be created in OpenForge 2.0 style, as there's no full_base option (ping me if you only need a non-working trapdoor for the 1.0). I highly recommend printing the trapdoor using the trapdoor_upright file to get better detail on wood grain when it's aligned with the z axis. Parts for building this next to a wall are included in their own section of the wall construction kit. OpenForge is now supported by patrons, and I use these resources to create more advanced tiles with higher levels of detail. Please support me so that I can deliver an ongoing stream of awesome gaming terrain. Post-Printing Assembly Underneath the floor tile, there's a recess for holding the hinge. Straighten and cut a paperclip to fit this recess, then slide it into the hole on the side of the trapdoor. Depending on your printer's bridging capabilities, you may need to use an xacto knife to clean up the recess and a drill or pin vice to clean out the hole in the trap door. Place the trapdoor in its final position within the floor tile, with the hinge running through it. Insert any magnets you want to use into the base. Secure the floor to the base using cyanoacrylate glue (superglue), trapping the hinge inside. Note that the metal hinge will attract the magnets, so attach the floor to the base quickly or risk creating a messy situation.
With this file you will be able to print OpenForge 2.0 Trap Door with your 3D printer. Click on the button and save the file on your computer to work, edit or customize your design. You can also find more 3D designs for printers on OpenForge 2.0 Trap Door.
