OpenCADE Expansion Pack
thingiverse
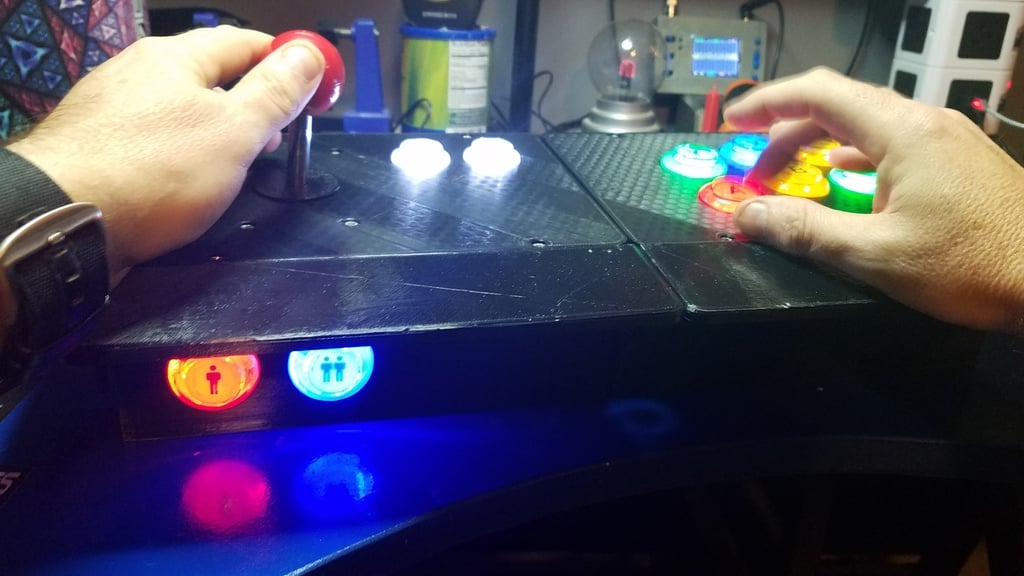
New features for the OpenCADE project will be added here moving forward. If you want to stay informed about enhancements. If you'd like to add suction cups to your base, please see this: https://www.thingiverse.com/thing:3483663 The items listed in this listing are expansion components for OpenCADE http://wagnerstechtalk.com/opencade . You'll need OpenCADE here: https://www.thingiverse.com/thing:3445410 to use these components effectively. If there's interest, I might provide a video in the future explaining how the components in this expansion pack can be used. Please comment if you're interested. New Expansion Pack video that explains available options: https://youtu.be/6GlNHEe5zjA Please also see this video on building the base unit (adding buttons, joystick, RPi, etc.): https://youtu.be/Lan0X_Z6j-c unless you already have experience building arcade control panels. After printing one or more bases, you can print a left/right arm rest and one or more middle arm rests to extend the control panel. Use M3 screws and nuts to secure the pieces to the base. These components, combined with the base, will make the control panel similar in dimensions to an actual arcade control panel. Keep in mind that there's no standard size for control panels, but what this expansion provides is closer to typical control panels. In addition, you'll also find a 2 stick panel. This was created to allow you to build a dual-joystick configuration for playing games such as Robotron, Krull and others. You can accomplish the same by printing two bases and two sets of controls but if you really want a special-purpose control panel just for those 2 stick games, this is a solution. You'll need 2 joysticks, 2 encoders and 2 connections to RetroPie. You'll also need the base with two buttons to set up in RetroPie, wire each button to each of the 2 encoders. This was requested as an enhancement and was added. An empty control panel with just screw holes is provided here to allow you to import into your own 3D modeling software, drill the holes in any arrangement you wish and print it for use with OpenCADE. This gives you complete control over how your control panel is configured. HOW TO: Build an Extended 1 Player Console 1. Take two bases and bolt them together side-by-side. 2. Mount the Pi and encoder on the right base. 3. If the cable for the joystick won't reach from the left side to the right, you'll need an extra joystick cable. I bought a 5 pack on Amazon for a few bucks. To easily connect the two joystick cables together, I just used some header pins I had and wrapped electrical tape around them to make a longer joystick cable. 4. Connect all the right-side buttons to the encoder. 5. For the four left-side buttons, cut each of the button cables about an inch away from the connector. Then cut three wires for the red/yellow/black wires about nine inches long and extend the length of the cable (I soldered them, but you could crimp them as well). Repeat for all two or four buttons (depending on what base you used). 6. Assemble everything just like in the video and you should be good to go. You can add the sides like I did in the picture to extend the panel. It will take a few additional items to build: 1. Extra joystick cable. 2. Header pins (just cut however many pins that are needed, think it's four). 3. Electrical tape. 4. Extra small wires to extend the buttons.
With this file you will be able to print OpenCADE Expansion Pack with your 3D printer. Click on the button and save the file on your computer to work, edit or customize your design. You can also find more 3D designs for printers on OpenCADE Expansion Pack.