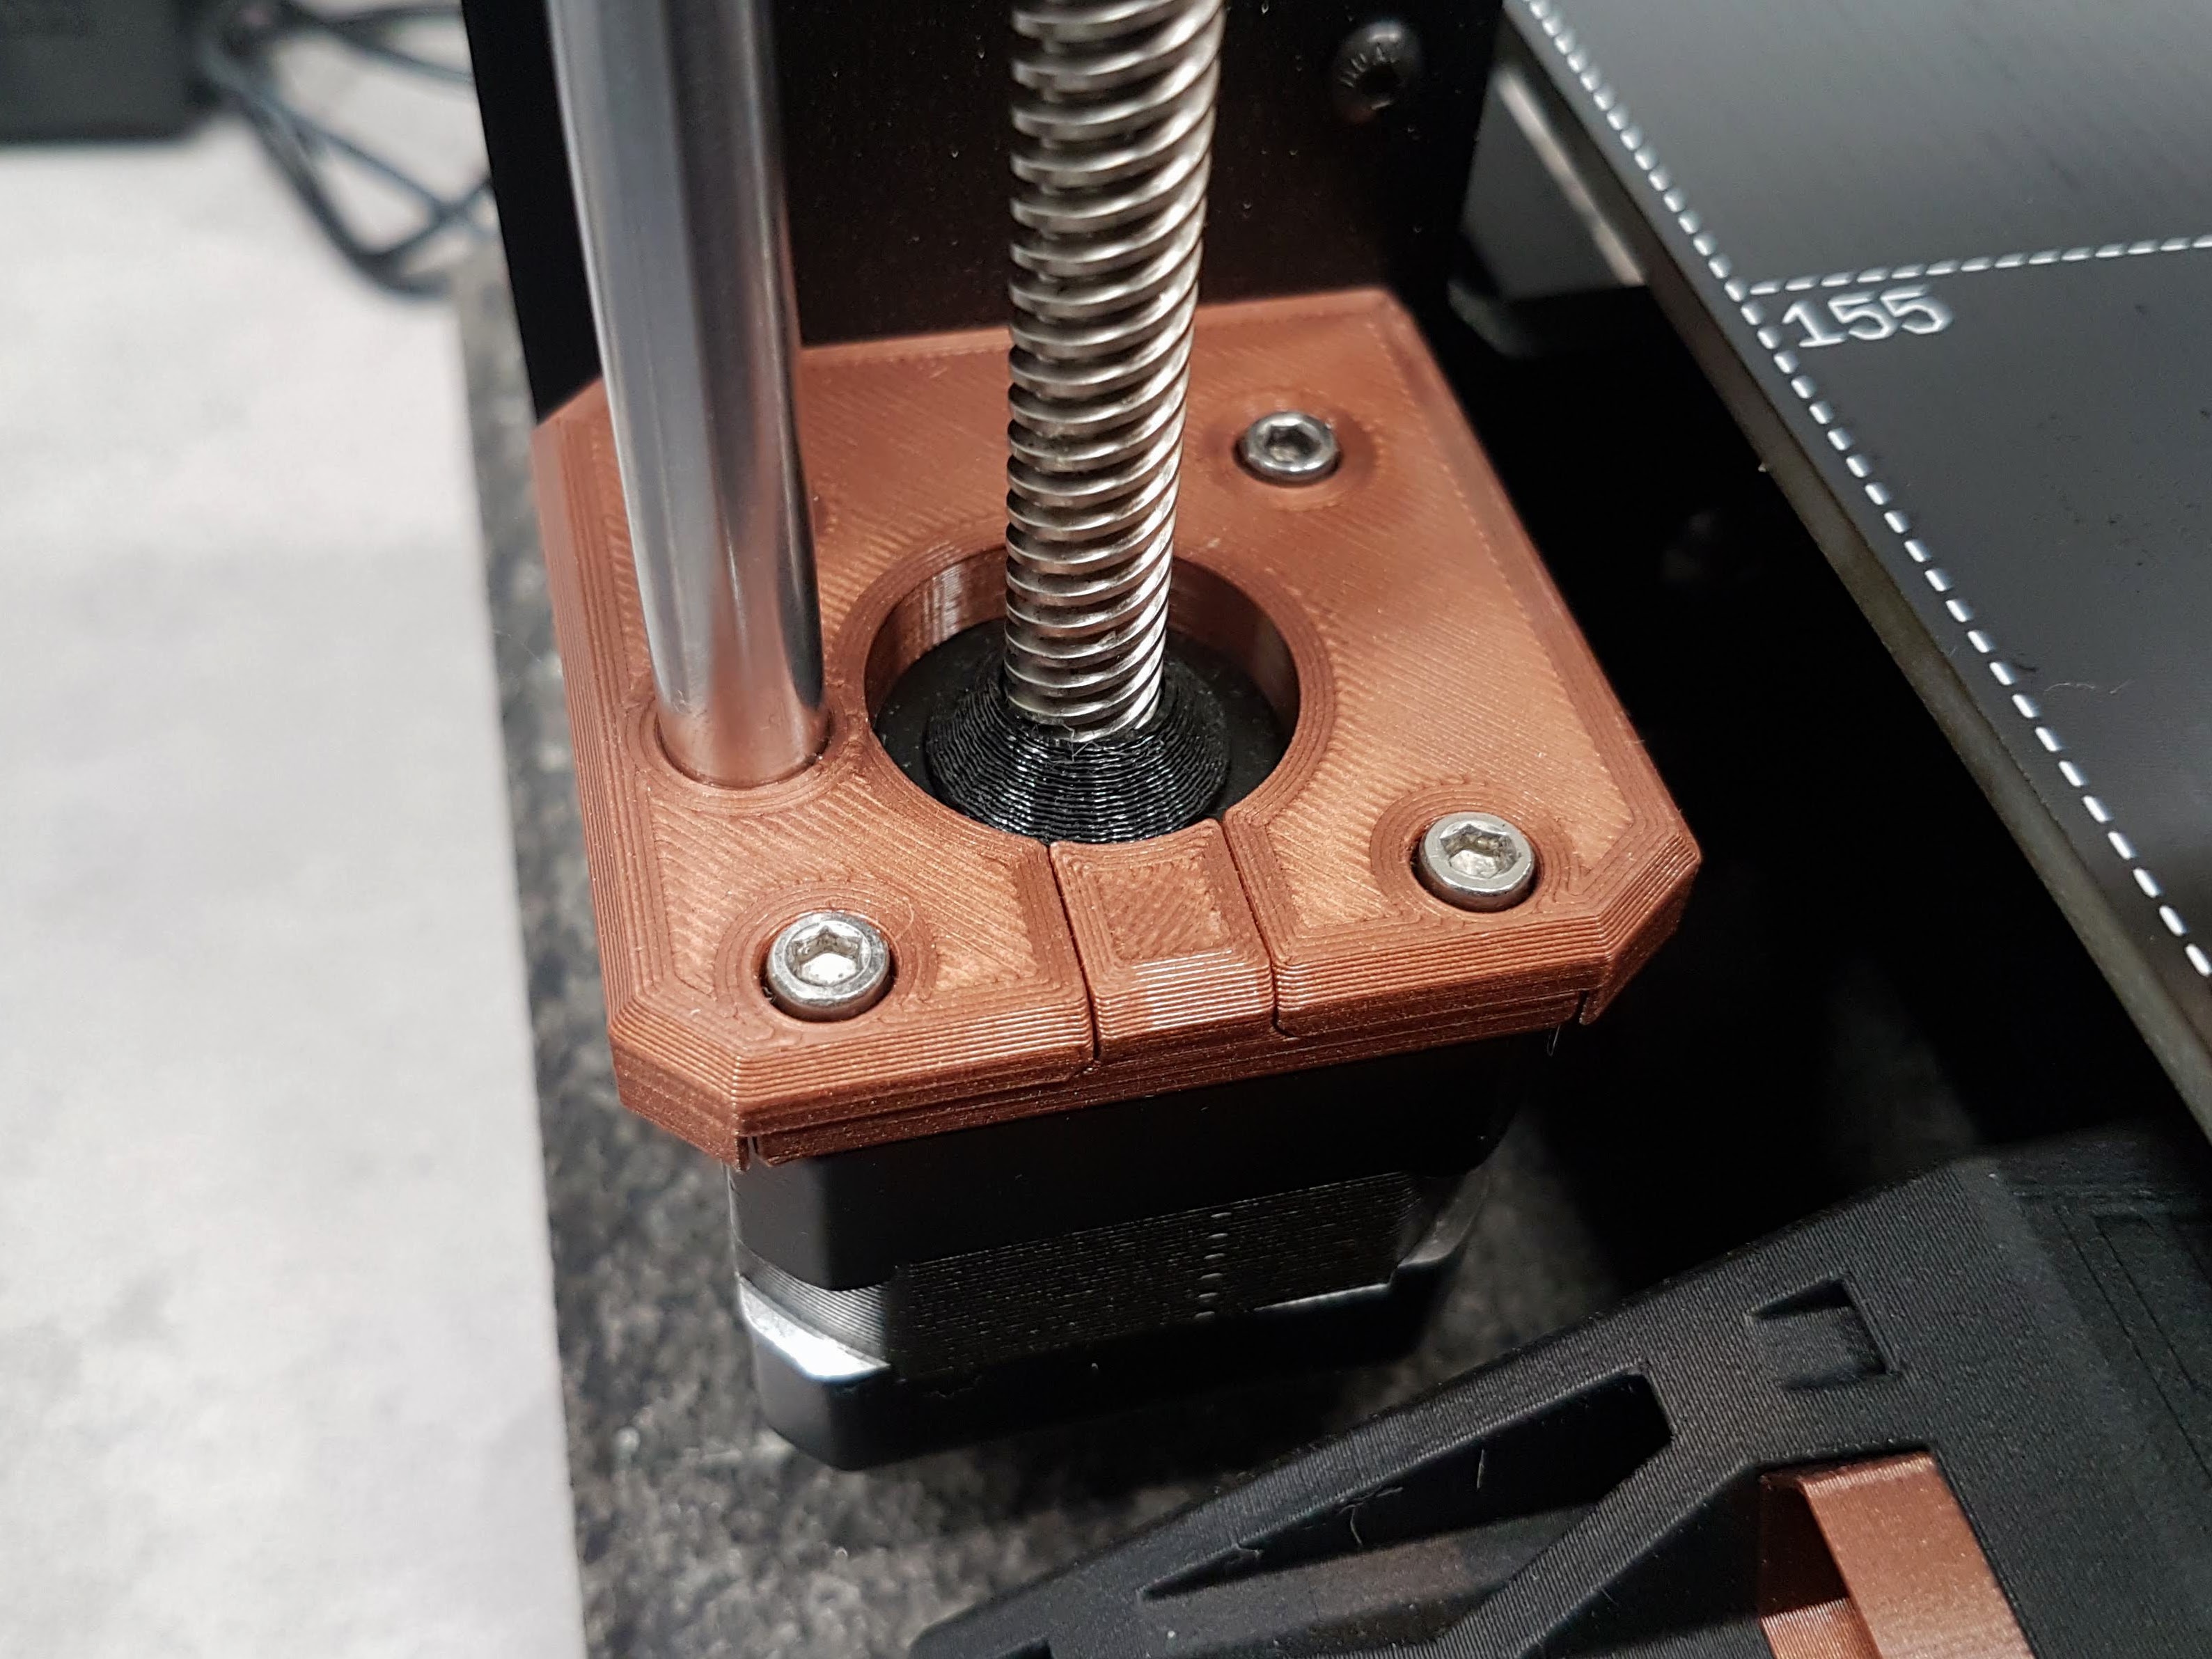
Openable Z Axis Mount | MK3/S+ Motor Bracket
prusaprinters
<p><i><strong>Note:</strong></i> This design is not mine. The original creator of these parts is <a href="https://www.thingiverse.com/pekcitron/designs">pekcitron</a>. The parts were reworked by <a href="https://www.thingiverse.com/jltx/designs">jltx</a> and uploaded <a href="https://www.thingiverse.com/thing:2779123">here</a>. Many of you will never find / have found these parts on Thingiverse, but since I think this upgrade makes a lot of sense I uploaded it here for you.</p><p>These Z-motor mounts are openable which simplifies the removal of the entire X-axis and the Z-spindles enormously. This makes it much easier to get to the bearings for maintenance.<br>I have been using them for a long time and in my opinion these parts should be standard on this printer.</p><p><i><strong>Don't separate the models into individual objects. They contain many small parts to reinforce the part in certain places. Use the given printing parameters to achieve the necessary stability.</strong></i></p><p><strong>If you like, have also a look at </strong><a href="https://www.prusaprinters.org/social/38556-3d-cave/prints?o=download_count"><strong>my models</strong></a><strong>!</strong></p><p><strong>Original description and printing instructions:</strong></p><p>Thanks to Pekcitron for the great design. The stock mounts have an error and are too loose which this addresses (see his desciption, and also his excellent photos). I tweaked a couple things and added MK3 Z tops. On the motor mount, I recessed the screw heads so you can reuse the stock M3x10. I also changed the fixed rod hole to 8mm (came out perfectly tight) since I found the other too tight. For the Z tops I tighten the hole to 8mm to match. On the left I tightened up the screw holes. On the right they are looser to enable axis alignment (see assembly instructions).</p><p>These are designed to print in PETG. ABS will shrink and be too tight. I changed several settings for optimal print:</p><ul><li>0.2 layer</li><li>3 perimeters</li><li>40% cubic infill</li><li>slowed first layer to 20 mm/s</li></ul><p>I included a full plate for convenience.</p><p>Suggested assembly:<br>remove x mount and z motors and rods. Don't loose hex nuts that hold T-nuts. Tip: cut hole in front of mount (similar to new design) to remove motor easily.</p><p>Now install new motor mounts on frame and tighten securely. Screw in motors to new mount, not forgetting the extra front filler piece, and tighten. Remount X axis <strong>without</strong> T-nuts over trap screws of motors, rest on a cloth on bed. Make sure belt is on tight since it keeps the span locked and uniform. Gently slide smooth rods through bearings and rest on receiver holes. Slide a hard support (about 22 mm) under the motor and press the smooth rod straight down into receiver hole. It will be very tight and snap in. Do same on other side.</p><p>Now screw on T-nuts to motor rod about an inch from the top. Don't attach to X yet. Install upper left Z top. Do <strong>not</strong> press all the way down on smooth rod since there should be a small gap when level. Screw firmly to frame. Do same on right but screw loosely to frame. Gently slide the X gantry up and down and make sure it feels perfectly smooth and no binding. Now lift to top and screw in T-nuts to hold it at top. The sets the span between the smooth rods at the top so tighten down the right side Z top.</p><p>You now have an aligned and rigid Z axis. You should find no play in the movement. As a bonus, my printer is even a hair quieter than it already was.</p>
With this file you will be able to print Openable Z Axis Mount | MK3/S+ Motor Bracket with your 3D printer. Click on the button and save the file on your computer to work, edit or customize your design. You can also find more 3D designs for printers on Openable Z Axis Mount | MK3/S+ Motor Bracket.
