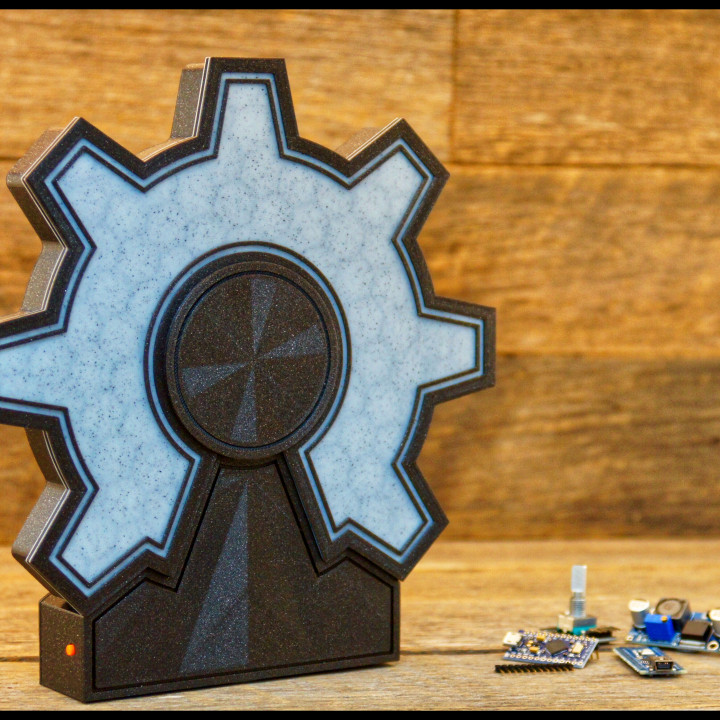
Open Source Hardware Logo LED lamp
myminifactory
The spark for my project ignited when I stumbled upon Joe Casha's (3D Maker Noob) Arduino LED Mood lamp video on YouTube. This initial concept inspired me to create a design centered around the versatility of Open Source Hardware, which has become a cornerstone of my work as an electrician in the Fire System industry. With two years of 3D printing experience under my belt, I've had the privilege of working with both MK2s and MK3s printers. My interest in 3D printing began with designing specialized tools, which is essential to my job as an electrician. Over time, I developed a passion for printing as a creative outlet and sharing my successes through online forums and websites. Every aspect of my design relies on Open Source or has been printed using an Open Source tool. Previously, I designed an Open Source logo to adorn my wall, and I thought it would make an attractive LED lamp for my shelf. Using Fusion360, I crafted the 3D model, which required multiple prints, including test segments cut in my slicer to ensure secure electronic component fittings. This method saved me time and filament. I experimented with various finishes to create a visually appealing and professional end product. I mixed different filament colors with layer changes and tested the effects of distinct print bed surfaces. I even sampled different top and bottom layer finishes, which exceeded my expectations. I used PLA Prusa Galaxy Black, 3DFillies Marble and Black, and PETG Prusa Orange and Black. The lamp's design is versatile and adaptable, capable of holding different diffusers from 2mm to 4mm thick, depending on the desired effect. These can be easily swapped out as the front ring secures the diffuser in place. Initially, my model incorporated a friction fit, but this proved impractical due to the varied tolerances of 3D printers. Instead, I opted for a design that screws together using 9x M3 round head screws: 3 for the logo holder, 3 for the rear cover, and 3 for the LED cover. The black screws blend seamlessly into the design, ensuring an aesthetically pleasing finish. My final choice of diffuser was the one with the black hexagonal infill. To enhance usability and functionality, I added a RF remote relay, allowing me to place the remote on my desk and the lamp on a high shelf. The relay can be wired in parallel with the tactile button to cycle through different LED patterns or turn the lamp on/off. It can even be set up to change brightness. I connected the power supply to a smart switch, enabling me to control the lamp using Google Home. Although I left the tactile button intact, I wired the remote relay to it to change LED patterns, as accessing the shelf is difficult. The electronics used in my design include an Arduino Nano, LM2596 DC-DC Buck converter, tactile button, DC Jack, WS2812B LED strip (each LED can be cut off to achieve the correct length), 12DC 433 MHz wireless remote kit, and a 12Vdc power supply. Following the completion of the lamp project, I undertook a second mini project: designing a light box to capture clearer photographs. This project allowed me to apply my understanding of design and electronics while expanding my knowledge of Arduino and coding. In the same way that Joe's YouTube channel inspired my initial design, I hope that my ideas can inspire others to spark further creativity. 3D design printing is a medium only limited by imagination and is collaborative in that any idea can be reshaped and refined by others. As a bonus, I've shared two projects: https://www.myminifactory.com/object/3d-print-light-box-led-light-holders-100613 and https://www.myminifactory.com/object/3d-print-customizable-led-lamp-101016.
With this file you will be able to print Open Source Hardware Logo LED lamp with your 3D printer. Click on the button and save the file on your computer to work, edit or customize your design. You can also find more 3D designs for printers on Open Source Hardware Logo LED lamp.
