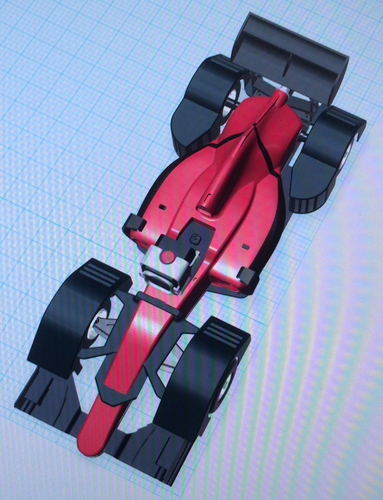
open rc f1 Air-ram fenders
pinshape
Installing front and rear air-ram fenders is a relatively simple process that can be completed with minimal hassle. The first step involves removing the rear wing and rain light from the car frame, making room for the new fender to be installed. Next, slide the rear air-ram fender onto the frame, taking care not to scratch any of the surrounding components. Once in place, secure the fender with a clip that is provided specifically for this purpose. Finally, reattach the wing and rain light, bolting everything securely to the car's frame. Installing the front air-ram fenders is even easier than the rear ones, requiring only a simple press-fit onto the car's body. The new fenders will provide a sleek and aerodynamic appearance to the vehicle, enhancing its overall style and performance. When it comes to printing the fender parts, make sure to use a layer height of 0.20mm for optimal results. This will ensure that the parts are printed with precision and accuracy, resulting in a high-quality finish. To prevent any potential issues during the printing process, consider using supports to hold the parts in place. By doing so, you can avoid any warping or deformation of the fenders, ensuring that they turn out perfectly every time.
With this file you will be able to print open rc f1 Air-ram fenders with your 3D printer. Click on the button and save the file on your computer to work, edit or customize your design. You can also find more 3D designs for printers on open rc f1 Air-ram fenders.
