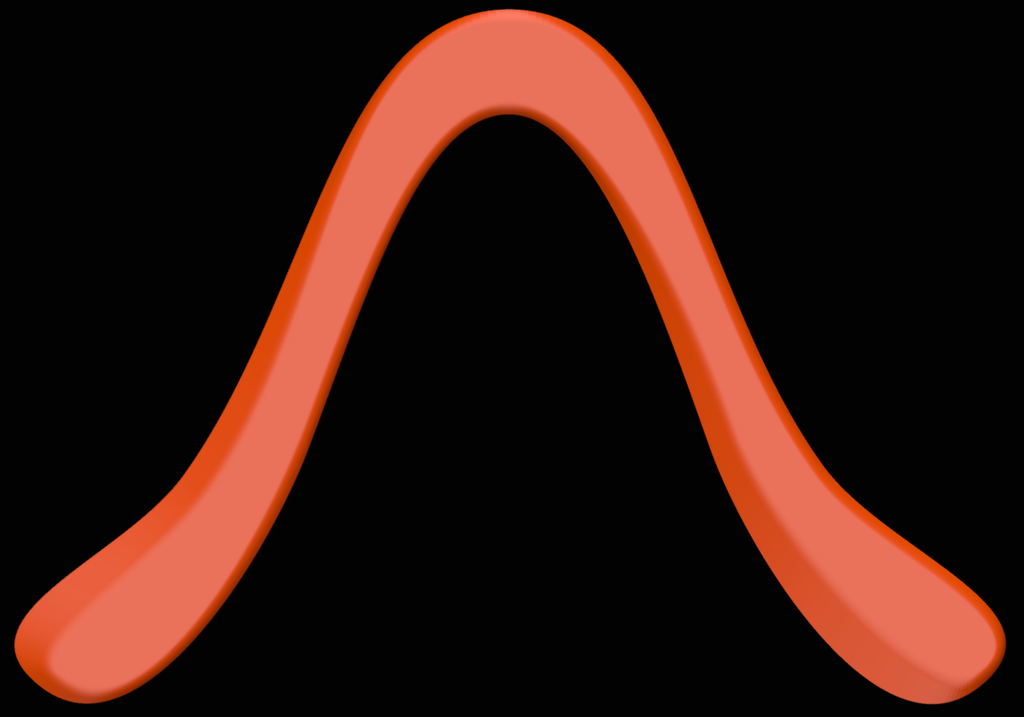
Omega Boomerang in Blender and Sverchok
prusaprinters
<p>This omega boomerang is pretty similar to some of my previous designs. It was made differently, though – it uses the fantastic <a href="https://github.com/nortikin/sverchok">Sverchok</a> plugin, which enables parametric modeling in Blender.</p> <p>Throw low and with a bit of layover. Should do a nice, low mid-range circle.</p> <h3> How I Designed This</h3> <p><p class="detail-caption"><strong>Draw two Bezier curves in blender.</strong></p> <div><p>Draw two bezier curves that define the overall outline of the boomerang, as well as the outline at the top surface of the boomerang. This also defines the shape of our airfoils.</p></div> <p class="detail-image"><img src="https://cdn.thingiverse.com/assets/55/42/33/ca/10/sverchok-02-curve-input.png"/></p> <p class="detail-caption"><strong>Import these into Sverchok, and translated them upwards a little.</strong></p> <div><p>Create a new Sverchok node graph and import the Bezier curves. We need three curves in total: the original outline, the original outline translated upwards about 1 mm, and the inner line translated upwards about 4 mm. The nodes on the left are just for convenience, so that we can specify those two measurements in scalar values as millimeters (and not as vectors in meters).</p></div> <p class="detail-image"><img src="https://cdn.thingiverse.com/assets/d2/90/57/00/9b/sverchok-03-evaluate-curves.png"/></p> <div><p>This is what the three curves will look like; here is a view of the lead arm tip. The two outlines define the trailing edge thickness, and the top outline defines the airfoil shape.</p></div> <p class="detail-image"><img src="https://cdn.thingiverse.com/assets/c1/48/b1/09/e7/sverchok-04-main-loft.png"/></p> <div><p>This is where the magic happens. We evaluate the three curves, which yields a grid of points along the three outlines. We join these up using a UV Connection node. Before that, we chop off one point of each curve, otherwise we will end up with double vertices at the seam, which irritates our slicer software when printing.</p></div> <p class="detail-image"><img src="https://cdn.thingiverse.com/assets/42/8d/7d/63/57/sverchok-05-uv-connection-out.png"/></p> <div><p>This is our result after the UV Connection node.</p></div> <p class="detail-image"><img src="https://cdn.thingiverse.com/assets/79/ac/ce/b2/08/sverchok-06-inside-out.png"/></p> <div><p>The mesh looks good, but the top and bottom surfaces are inside out. We fix that with a Recalc Normals node.</p></div> <p class="detail-image"><img src="https://cdn.thingiverse.com/assets/3a/65/74/a6/90/sverchok-07-mesh-fixes.png"/></p> <p class="detail-image"><img src="https://cdn.thingiverse.com/assets/9e/4d/f8/73/ea/sverchok-08-bevel.png"/></p> <div><p>Our final step is to bevel the top surface, yielding a nice leading edge. To do that, we select the top surface by its surface normal, get an edge mask from that, and bevel those edges.</p></div> <p class="detail-image"><img src="https://cdn.thingiverse.com/assets/65/ec/2f/5c/18/sverchok-09-bevel-results.png"/></p> <div><p>This is our final result after beveling.</p></div></p> Category: Sport & Outdoors
With this file you will be able to print Omega Boomerang in Blender and Sverchok with your 3D printer. Click on the button and save the file on your computer to work, edit or customize your design. You can also find more 3D designs for printers on Omega Boomerang in Blender and Sverchok.
