Oldie Vice V2
thingiverse
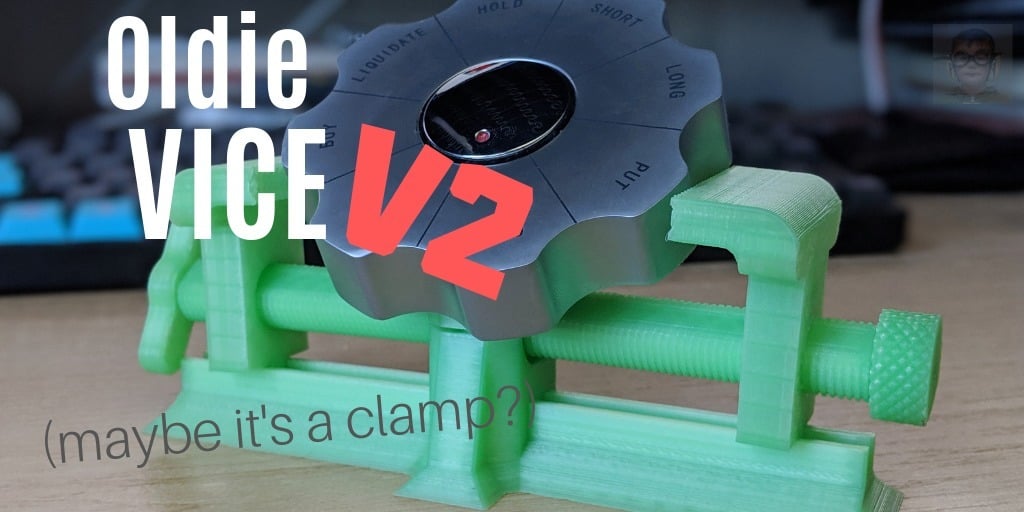
The text describes a 3D printed vice assembly, providing detailed information on the print settings and requirements for each component of the assembly. The assembly consists of several parts, including baseBottom.stl, baseTop.stl, xxxClamp.stl, thread.stl, threadEndKnob.stl, and threadEndRound.stl. The text provides recommendations for printing each part, including layer height, infill percentage, and external fill pattern. It also notes that some parts require a higher number of perimeter layers due to the stress they will be under when tightening the vice. The entire assembly can be printed at once using a single setting, which produces a completely functional vice. The recommended settings for printing the entire assembly in under 8 hours are: * Layer Height: .15 * External Fill Pattern: Concentric * Infill: 30% The text also provides links to download the model and view the project on various platforms. Here is the main content of the text with the unnecessary information removed: ### baseBottom.stl External Fill Pattern: Concentric, Super easy print and could easily be printed at .3 mm if you wanted to. This part is really strong and doesn't come under much force ever, but giving it a large amount of bottom layers could add some weight to the print which definitely imporves functionality. ### baseTop.stl External Fill Pattern: Concentric, Since this print has the tiny prongs anything higher than .2 mmm could make them super brittle. If you plan on gluing the model together, then this doesn't matter. ### xxxClamp.stl Since these have threads, I would print them at a small layer height, but since this thread is so large in diameter, you should be able to get away with a bigger layer height. ### thread.stl The lower the layer height, the better the thread will turn out. The Ender 3 printed correctly at .1 mm even using a cheap filament. Do keep in mind that this only has about 150 mm^2 of area touching the build platform and if you have a printer where the build platform moves for the x-axis or y-axis 10 hours of moving back and forth can quickly knock it loose. So, if you have issues with prints adhering I would use a raft, and to be safe maybe even print the thread separate from the rest of the assembly. ### threadEndKnob.stl This part can do under a ton of stress when tightening the vice so a high number of perimeter layers is definitely recommended. ### threadEndRound.stl This part can do under a ton of stress when tightening the vice so a high number of perimeter layers is definitely recommended. The knurling also comes out really well on layer heights less than .20 mm, but should turn out with any layer height. ### Entire Assembly at Once, Single Setting Build time: 7 hours 28 minutes Plastic weight: 66 g Layer Height: .15 External Fill Pattern: Concentric Infill: 30% These are the settings to use for printing the entire assembly in under 8 hours. This produced a completely functional vice. ## Download Find this Model on my Thingiverse Check out this Project on my GitLab Check out this Project on my Blog
With this file you will be able to print Oldie Vice V2 with your 3D printer. Click on the button and save the file on your computer to work, edit or customize your design. You can also find more 3D designs for printers on Oldie Vice V2.