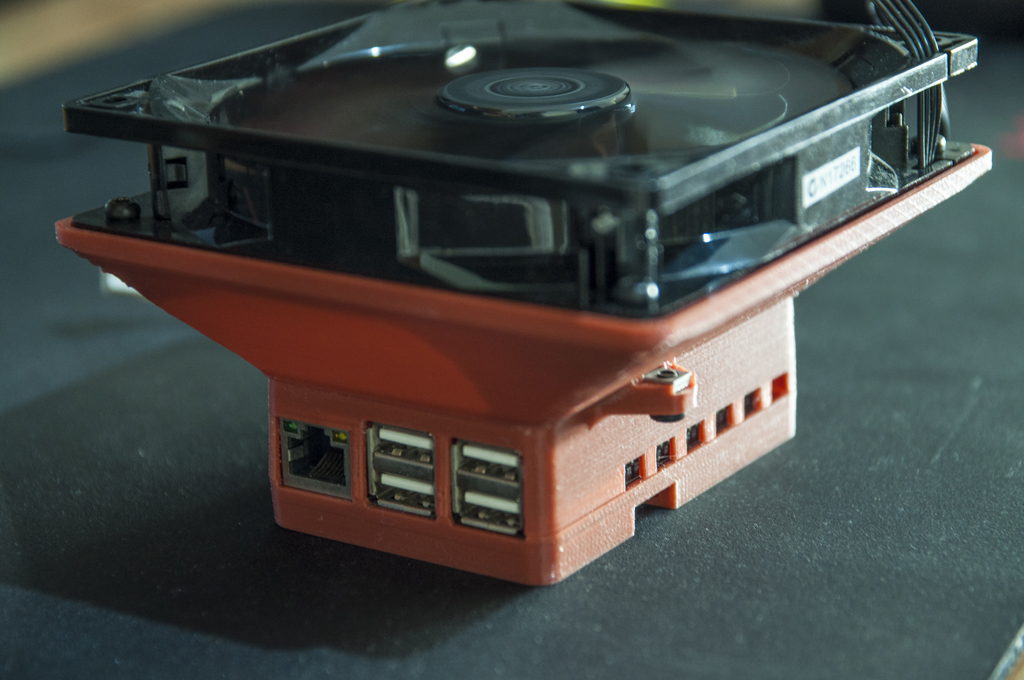
Odroid C2 Case (120mm fan cooling)
thingiverse
I modified the original design of the .step file provided by hardkernel to improve its fit and functionality when printed. I added more cooling holes on top and sides to accommodate active cooling and ensure a snugger assembly. To attach the air duct to the top, I used meccano bolts, which were readily available in my workshop. The hole sizes for the fan and air duct are 4mm in diameter. The base screws require 2.5mm holes, but it's recommended to use 2mm diameter screws that are 5mm long (max) with a maximum 5mm diameter head size. Wood screws are preferred, but I used old laptop screws as substitutes. All hole sizes can be modified if needed, and the .step file is available for easy editing. The printing settings allow for a 0.2mm layer height, which works well for all objects. I successfully printed the air duct without any support material using 2 perimeter shells with an "inside-out" print direction. There was minor warping on the outside corners towards the top, but it's sufficient. To reduce vibration sounds and take advantage of the bottom air vents, rubber feet should be used to elevate the Odroid. If desired, the cooling fan can be connected via USB, although it will likely operate at 5V instead of 12V.
With this file you will be able to print Odroid C2 Case (120mm fan cooling) with your 3D printer. Click on the button and save the file on your computer to work, edit or customize your design. You can also find more 3D designs for printers on Odroid C2 Case (120mm fan cooling).
