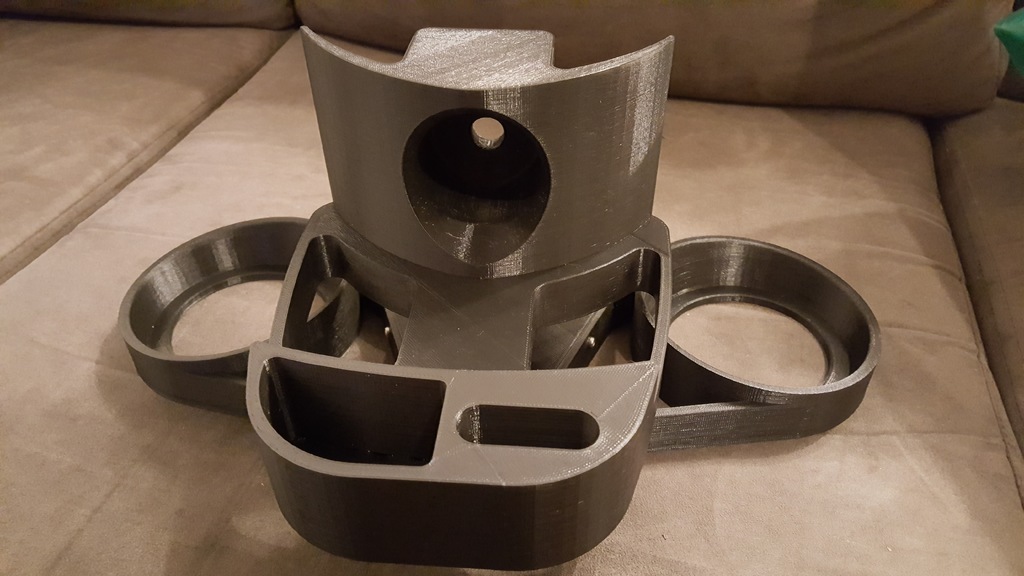
Oculus Stand - Screw Version
thingiverse
I wanted to avoid gluing my project together, so I opted for a more secure approach by printing it with nuts and bolts instead. Here's the list of materials I used: 8 square 3mm nuts 7 M3 x 10mm bolts 1 M3 x 14mm bolt To assemble my project, I simply paused the Gcode before the layer that covers the nuts and inserted them at that time. Then, I resumed printing without any issues. Before attaching the nuts, I cleaned and heated them in the oven to a temperature similar to the one used for printing. This ensured that the plastic adhered well to the tops of the nuts. I removed the controller stand from my previous print and created a new version that doesn't require it. My friend won't need to use a controller, so this modification was necessary. However, I did add the controller stand back into the design and adjusted its position. Please note that this change has not been tested yet, and I take no responsibility if it doesn't work as intended (although it looks promising from my perspective). When printing my project, I only used support material in the large hole on the mount. To achieve a good finish without sacrificing print time, I employed multiple processes during the printing process.
With this file you will be able to print Oculus Stand - Screw Version with your 3D printer. Click on the button and save the file on your computer to work, edit or customize your design. You can also find more 3D designs for printers on Oculus Stand - Screw Version.
