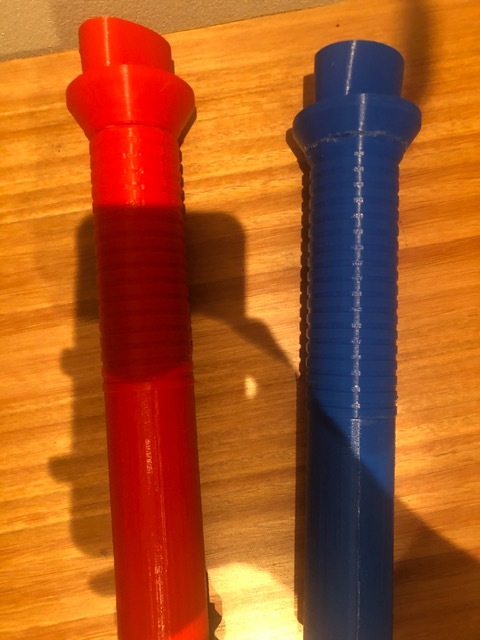
oculus quest beat saber lightsaber handle
thingiverse
I'm sorry in advance if some of the measurements are incorrect because I did this for a friend about a year ago, but if there are any errors please tell me so I can improve the design. When making the left handle dont forget to flip the design! Assembly: when making the handles you will need some type of strong string, a nut and a bolt, i forget what size bolt but it has to be 100% thredded and able to reach the top of the channel inside the chasis of the handle. This bolt will then be slotted into the pumel portion and kept in place with the hexagonal piece. The nut goes into the piece with 4 prongs and can be glued down. Screw this peice onto the bolt and put it up the bottom end of the main chasis and into the channels (this can be a bit fineky) until it stops at the very top. Now take it out and start to measure the rope: 5mm (length of small cylinder that goes into small slot under battery shroud) + length of 4 regular knots + 2x 13cm (this may be more or less if you find it difficult to reach the cylinder or to tighten). Look at image in post for better understanding. the lengths do not need to be too specific as when you start to screw the pommel, it tightens the rope and keeps the controller securely down. After you have completed assembly, you are now ready to use. Slot the cylinder into the place under the battery cover where the end of the wrist strap usually goes, place the shroud back down and then screw the pommel tightly until the controller doesnt move when you shake it. You are now ready to use the handle in beatsaber or any other game!
With this file you will be able to print oculus quest beat saber lightsaber handle with your 3D printer. Click on the button and save the file on your computer to work, edit or customize your design. You can also find more 3D designs for printers on oculus quest beat saber lightsaber handle .
