Oculus CV1 Air flow Duct
thingiverse
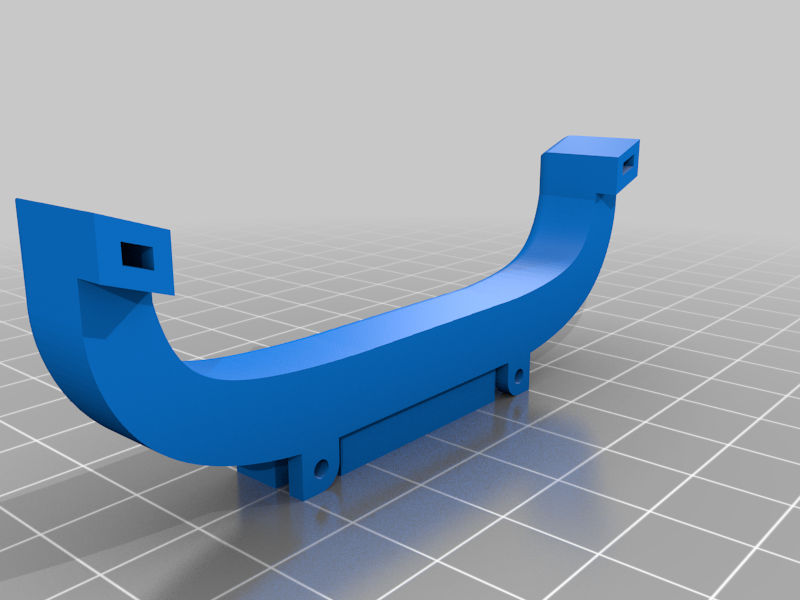
Like everyone else, I was fed up with my VR headset getting scorching hot and humid inside after just a short time. As someone who can easily spend three plus hours in VR sculpting without taking a break, it was no longer fun for me. So, I decided to take matters into my own hands and came up with this simple duct to fit a blower motor - the stock cooling blower from my CR-10s after I had upgraded the print head. I powered the blower using a USB cable, which required drilling two holes in the Oculus face shield to allow air to circulate. To secure the duct, I used a third-party, narrow cushion ring that I don't recall the brand name of. The measurements may be slightly off from the original design, but they should still be accurate enough. The blower can be either press-fit or secured using the screws that came with it from the CR-10. I opted for a press fit and used some aluminum tape to keep everything in place. No mounting is provided at this time since the double-sided tape I used to mock up the design worked so well that I just left it as is. You may need to add a small amount of glue or adhesive to secure the ends of the duct to the cushion rings, as this was not designed to be an easy, snap fit. My goal was to create a quick and simple way to cool my face without having to crank down the AC and blast fans at me. Now, I enjoy a gentle breeze moving through the face space at all times, making VR sessions much more comfortable.
With this file you will be able to print Oculus CV1 Air flow Duct with your 3D printer. Click on the button and save the file on your computer to work, edit or customize your design. You can also find more 3D designs for printers on Oculus CV1 Air flow Duct.