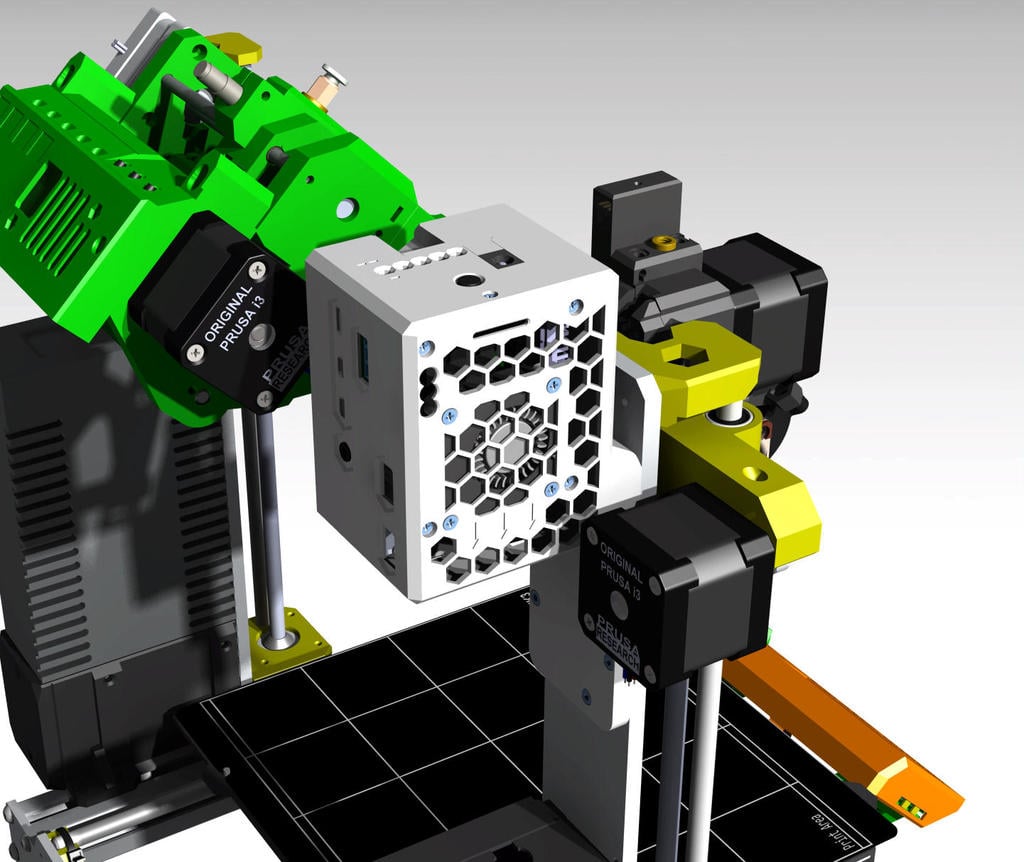
Octoshield Case for Raspberry Pi 4 for Prusa Mk3
thingiverse
I am using Octoprint (https://octoprint.org/) to manage my 3d printer and I bumped into a really nice plugin called “OctoPrint-Enclosure” (https://plugins.octoprint.org/plugins/enclosure/). I found the functionality brought by this plugin useful as I am myself using and Enclosure for my printer. The very same person who wrote this plugin, vitormhenrique, posted a thing (https://www.thingiverse.com/thing:2245493) where he was sharing his hardware set up. At this point I got really scared by the amount of cable swarming everywhere as I am myself trying to keep my “working place” as neat as possible. So, I started to look around trying to find an all-integrated solution for my enclosure. This is where I found the nice project on hackaday called “Octoshield” (https://hackaday.io/project/172223-octoshield). It is basically a HAT rerouting Raspberry Pi’s GPIO and having all electronics component already assembled (handy). So, you simply need to connect your sensor, your switch, LEDs and other fans to your Raspberry Pi and install the plugin for having everything operational (cool). Only problem is that you need to build it yourself and because I am not found of soldering tiny things I decided to “subcontract” the production of the HAT to the company mentioned in the Youtube video link of the Hackaday project. This project has been realized by goodwin for which I must give all credit to (good job). In a nutshell the “Octoshield” HAT allows you to : - Plug a temperature sensor - Plug a 5V fan to cool the Raspberry Pi - Plug a 12V fan for your enclosure - Add an input (switch or sensor) - Plug RGB LED stripes - Plug Neopixel LED stripes - Control a relay - Power the raspberry pi with a 12V power input instead of the 5V USB C. To keep things shorts, you must purchase the Printed Circuit Board (or PCB) which is cheap to be honest (You get 5 pieces for 40$ I think). Then you have the possibility either to weld all components by yourself, meaning that you must source all parts yourself, or you have the possibility to ask the PCB company to do it for you (yes!). They will source the components and have them mounted for you. This will cost you an extra 40$. Otherwise, I think you can get all component for 10$. I am attaching the component list for the HAT, other relevant information to have the HAT built and the details of the purchasing basket I used. The team is friendly, and they will help you build it easily. I must admit my interest in electronic does not go that deep, but you do not really need to know a lot to order the PCB fully assembled. Once I received my “Octoshields” (I order more than one fully assembled) and after making the different test to have all component working with “OctoPrint-Enclosure” plugin I started designing the case for the Raspberry Pi + Octoshield + All component. As mentioned, before I wanted to have enclosure function all included in a box so to have something compact and neat (bad cables, bad). For this project, my requirements were as follow (following Octoshield capacities): - Have a temperature + humidity sensor to monitor my enclosure environment. - Be able to control the printer’s PSU trough a relay (On/Off)). - Control the air management in the enclosure (Fans). - Cool down the Raspberry Pi4 (Must be done it is over heating). - Have a Raspberry Pi Cam plugged. - Have a Webcam plugged. - Have a DSI screen plugged. - Power the Raspberry Pi. - Mount it to my printer’s frame. I designed a case as compact as possible to be able to fit all component and have opening for every cables. Mounting instruction are given here below
With this file you will be able to print Octoshield Case for Raspberry Pi 4 for Prusa Mk3 with your 3D printer. Click on the button and save the file on your computer to work, edit or customize your design. You can also find more 3D designs for printers on Octoshield Case for Raspberry Pi 4 for Prusa Mk3.
