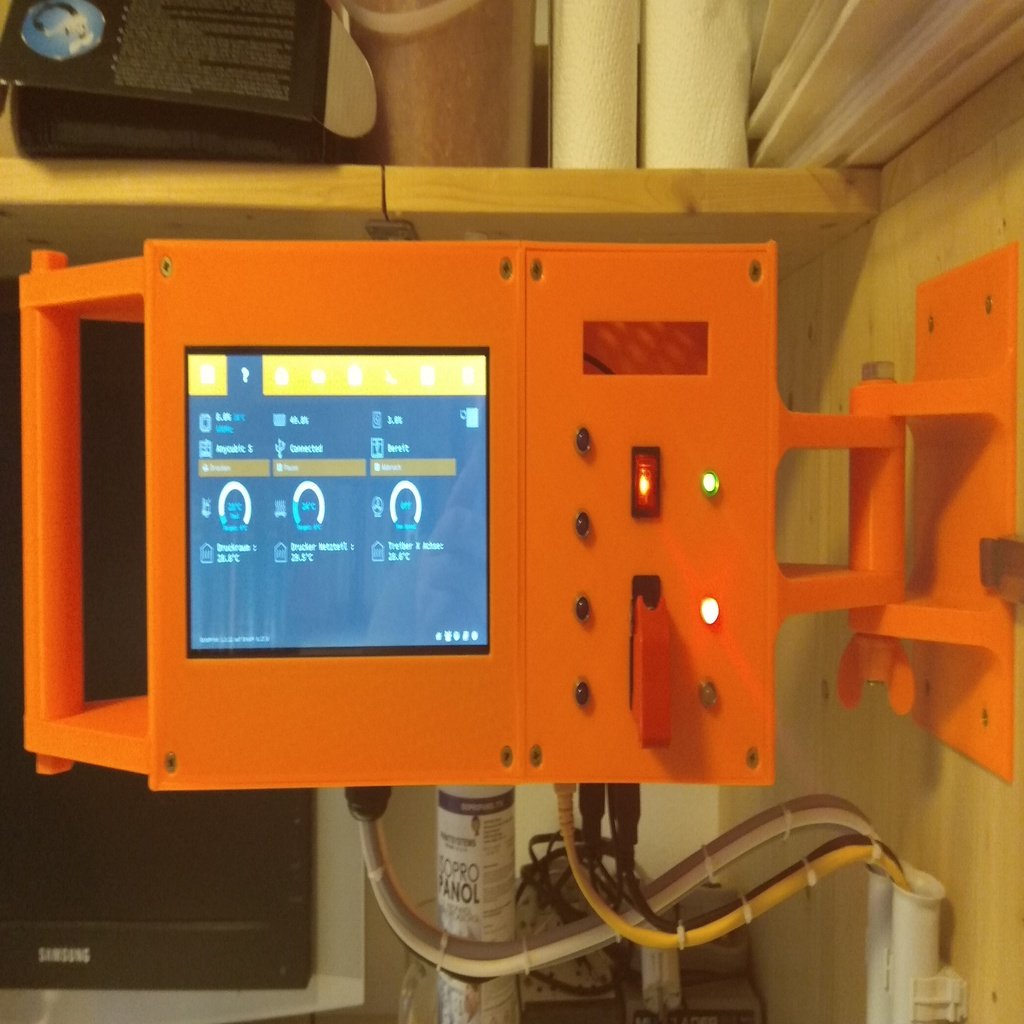
Octoprint / Octopi / Raspberry / Relay / Touch Display / Power Supply - Housing wall assembly
thingiverse
It appears that you've provided a list of items with links to Amazon and eBay, followed by instructions for setting up a Raspberry Pi 3 with Octoprint and a touchscreen interface. Here's a summary of the key points: **Items:** 1. Switching Power Supply DC 5V 4A 2. Bolt M10 100mm 3. 7" LCD HDMI Touch Screen 4. Raspberry Pi 3 **Setup Instructions:** 1. Install the Octoprint Plugin "TouchUI" 2. Install the OctoPrint-Enclosure plugin for temperature evaluation and relay control 3. Add the following entries to the config.txt file on the Raspberry Pi: * `dtoverlay=gpio-shutdown,gpio_pin=3, active_low=1,gpio_pull=up` (Raspberry PI ON/OFF switch) * `dtoverlay=pi3-act-led,gpio=23` (act LED Status extern yellow) * `enable_uart=1` (pwr LED Status extern red) * `dtoverlay=w1-gpio` (Temp. Sensor on 1-Wire bus DS18B20) * Various HDMI and display settings for the 7" LCD HDMI Touch Screen 4. Remove all "R" in front of hash signs in the config.txt file **Notes:** * The blue LEDs observe the GPIOs for relay selection. * The green LED controls the 5V Switching Power Supply. * The red LED controls the Raspberry Pi power. * The yellow LED indicates Raspberry Pi activity (ACT). * Be aware that rethreading of nuts, screws, and inside threads might be necessary. Overall, these instructions appear to guide you through setting up a custom enclosure for your Raspberry Pi 3 with Octoprint, Touch UI, and a 7" LCD HDMI Touch Screen.
With this file you will be able to print Octoprint / Octopi / Raspberry / Relay / Touch Display / Power Supply - Housing wall assembly with your 3D printer. Click on the button and save the file on your computer to work, edit or customize your design. You can also find more 3D designs for printers on Octoprint / Octopi / Raspberry / Relay / Touch Display / Power Supply - Housing wall assembly.
