OctoPi Isolator
thingiverse
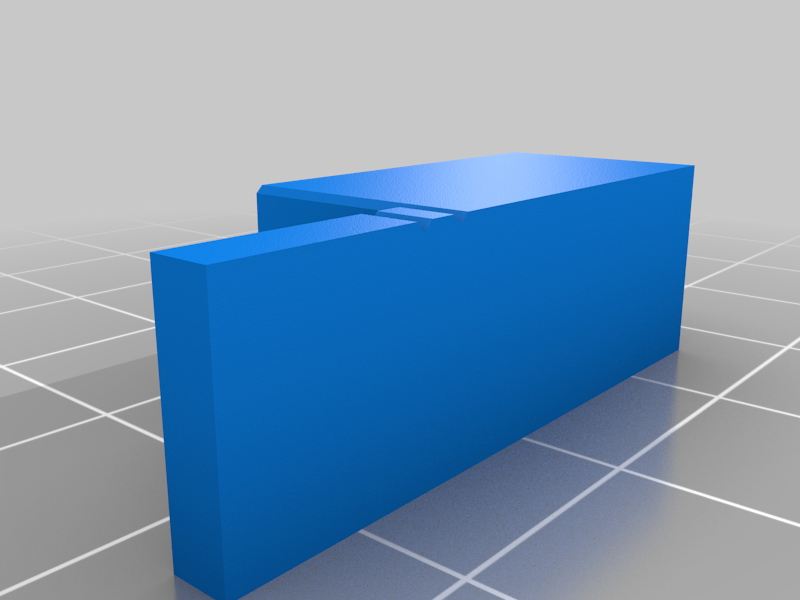
The OctoPrint system using a Raspberry-Pi provides an intelligent intermedirary between a slicer, in my case Cura, and a 3-D printer, like my Solvol SV-06. This is a very popular set up. However the 3-D printers will use the 5V from the USB cable from the Raspbery-Pi if its own power supply is yet to start. This can lead to undervoltage reports from the Raspberry Pi due to the current drain from the 3D printer. While I have not experienced any catastrophic failures of Raspberry Pis from this set up, it does concern me. So I found a piece of thin clear plastic and cut out an isolating "tab" so the Raspberry Pi 5V is totally isolated from the 3D printer. So what do we need and how do we cut it out? This print is simply a stamp that is the shape you want. Hold it on the plastic and cut around it with a sharp craft knife. The shape also has some notches that can be used to indicate where the bends are required. Holding the plastic sheet, after it is cutout, on the top of the stamp, and pressing hard on the notches with a semi-sharp tool (we don't actually want to cut it!!) it will preform the bends required. Add a bit more with your fingers as required. Position the piece of plastic on the USB-B plug and tape it in place with some thin adhesive tape and you are set to go. No more brown out reported by the Raspberry-Pi. You can test it by turning on the Raspberry-pi and not the 3-D printer. The display on the 3-D should not light up. I have found the conference name tags that are business card size is a good source of plastic, not too thick but firm.
With this file you will be able to print OctoPi Isolator with your 3D printer. Click on the button and save the file on your computer to work, edit or customize your design. You can also find more 3D designs for printers on OctoPi Isolator.
