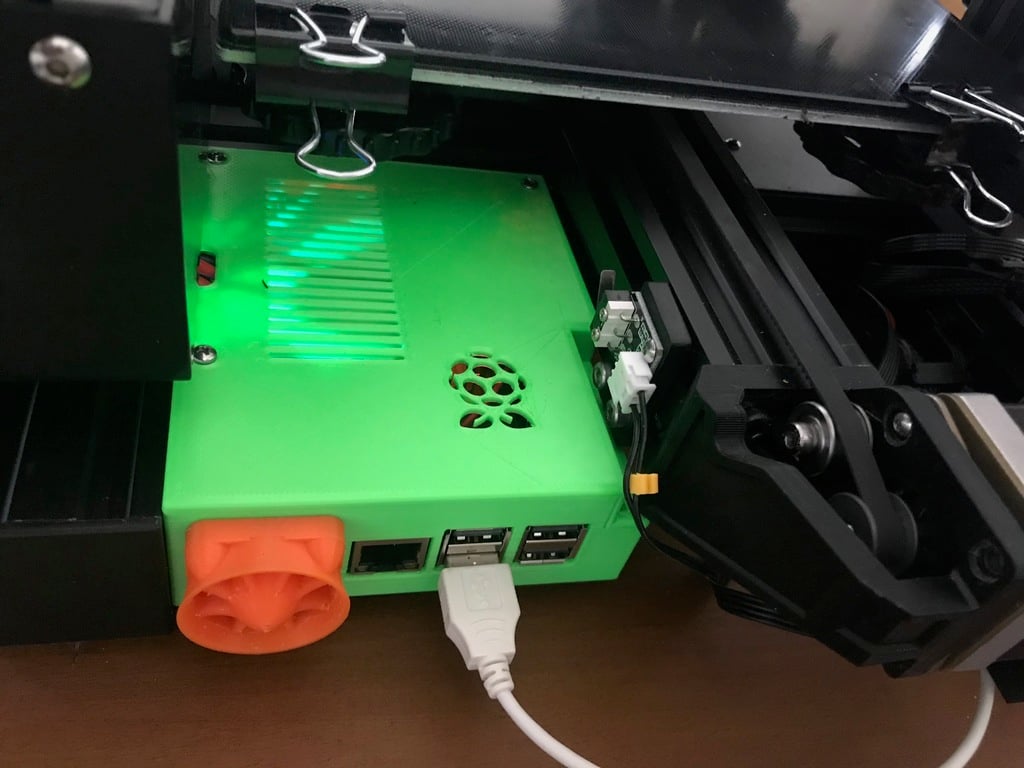
OctoPi Control Box
thingiverse
OctoPi with PSU control using the printer's power supply is a clever setup that allows the printer to be turned on remotely using OctoPi, and the entire system can be turned off for extended periods of inactivity using the printer's power switch. I've designed this control box to fit a Raspberry Pi 3 B+, one or two LM2596 buck converters, one or two relay boards, and a 30mm fan, with mounting holes for any combination of these components. The adapter has the same footprint as a single relay to fit a small power rail that I've created, but you can also solder connections directly instead of using the adapter. The LM2596 is used to convert the printer's 24v to 5.2v in order to power the Raspberry Pi and relay. The fan could be connected to this as well, but I've opted for the 3v supply from the Raspberry's board to keep the fan quieter. It's crucial to test the voltage of the converter before connecting accessories and under load to ensure that the voltage is within tolerance. To control the relay, I've installed the PSU Control plugin for OctoPi from the following link and set the switching options to control GPIO 40. You can use any pin you prefer, however. It's also essential to consider installing uhubctrl to disable power on the USB ports to prevent damaging the Raspberry Pi when the printer is turned off. Follow the readme at this GitHub link or download a new plugin from here. I've uploaded two STL files for the box: one with the case cut out for a standalone fan and one designed to use with a shroud. The design pictured can be found here, and I've also designed it to work with KrisHo1's damper mount - simply leave the corner screw out.
With this file you will be able to print OctoPi Control Box with your 3D printer. Click on the button and save the file on your computer to work, edit or customize your design. You can also find more 3D designs for printers on OctoPi Control Box.
