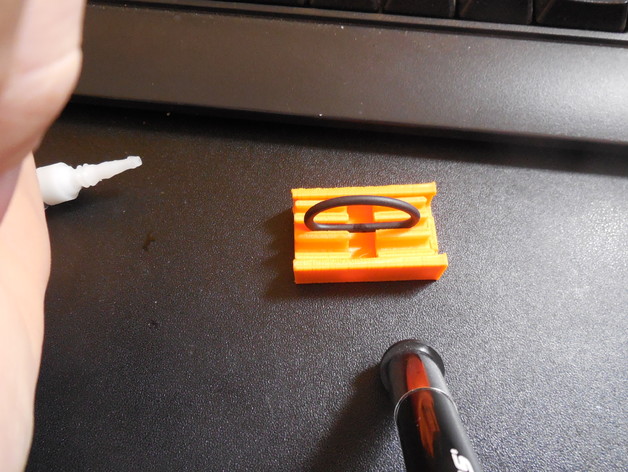
O Ring Splice
thingiverse
This is just a simple jig to help split seals with various ring sizes. The slots in it are for seal sizes ranging from 1/8" to 1/4". http://ryanfabrications.blogspot.com/2015/03/piston-test-print.html I don't guarantee any effective sealing pressure when using this method. I tested the seal's ability to prevent water flow at standard atmospheric pressure, and it seems suitable for this application. However, don't attempt this with applications that could cause harm unless you are confident in the system's construction. Instructions This jig may require some filing to ensure the carriages glide smoothly on the track. Otherwise: Seal Splitting Instructions: Step 1: Cut seal cord to the required length (as shown, 70mm). Attempt to make clean cuts by using a square cut-off method. Step 2: Press both ends of the seal cord into their designated grooves. Step 3: Apply a small amount of strong adhesive, then bring the carriages together until the seal is snug. Use a cotton swab to remove excess glue from around the joint area. Step 4: Let the assembly dry completely and remove any rough edges near the join area with a file. This DIY method allows users to create custom seal sizes without breaking the bank by purchasing expensive pre-made ones in large quantities.
With this file you will be able to print O Ring Splice with your 3D printer. Click on the button and save the file on your computer to work, edit or customize your design. You can also find more 3D designs for printers on O Ring Splice.
