NUKI Smart Lock 2.0 Cover (white)
thingiverse
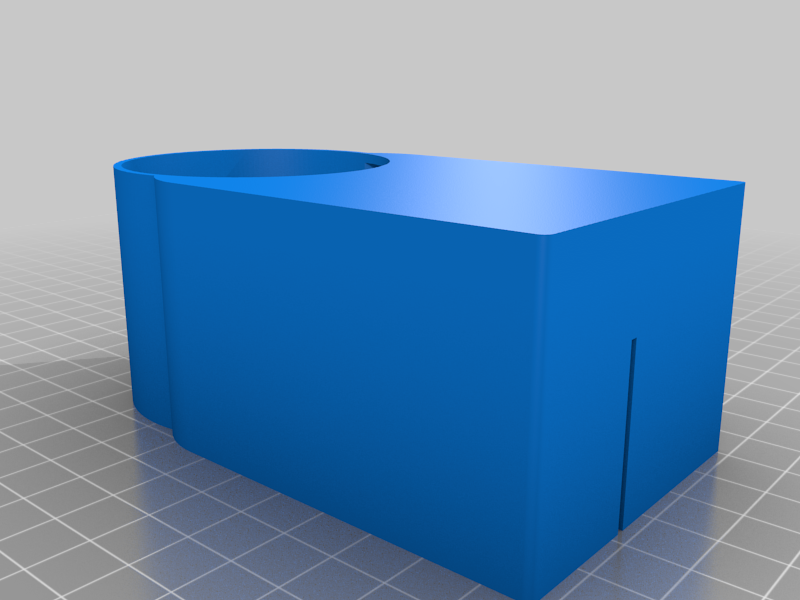
** Update: ** Thanks to an idea by Patrick from Hamburg I have made an additional, smaller design. Please read the instructions below, as there are a few things to consider with this new smaller design! I also updated the original full cover to V1.3. The only change to v1.2 is that the front wall is now reduced to 1mm instead of 2mm. ---- ### ** For all of us who have already bought a NUKI Smart Lock in black: ** Most of us owners of a NUKI Smart Lock 2.0 do not like the black lock on our ** white ** doors, right? A big black spot on a ** white ** door is really eye-catching and not so nice. This is where this cover comes in. You can print the part using ** white ** filament and just slide it over your NUKI Lock and then you're done. ### There are now two designs: - The complete cover that covers the top round non-rotating part - the small cover only covering the black part of the lock This first (big) design has an advantage: you can simply slip this onto your lock and it does not need any further treatment. The second (small) design has a disadvantage: because the is no material on the back side the side walls tend to bend outside and thus the cover doesn't hold on the lock. To prevent this - at least a little bit - see the printing and processing instructions below. At the end it depends on your decision or taste, which design you choose. For the full cover you do not need any post-processing. With the small cover you will experience the fact that the side walls will slightly bend outside on the back of the lock. Therefore the cover may not hold in place. ### Slicing Hints The designs are exactly fitting the lock but depending on your printer and material you may experience some difficulty to slide the printed covers over the lock, as ** the printed part may be very tight **. Especially if your printer is not 100% accurate or the material is over-extruded. Here are some hints how to slice this part and adopt to make the cover fitting just perfect: - for both covers you need to ** turn the part upside down ** so that the 'front' lays on your build plate. In some slicers this is a 180° rotation of the part on the x axis. - for material that tends to warp, create a 5mm brim around the part - a layer hight of 0.3mm is good enough if your printer has an overall good print quality - setting an infill is irrelevant as all walls are thin enough that no infill is needed. ** For the big, complete cover ** the following scaling makes post-processing (e.g. sanding) unnecessary: ** scale the part X: 100.5 %, Y 100.2% ** ** For the small cover ** the following scaling avoids bending the walls to the outside (therefor a little bigger size): ** scale the part X: 101.5%, Y 100.5% ** ### Getting the small version to fit So I developed an idea how the cover holds on the lock and looks perfect: Put a ** small ** strip of double-sided adhesive tape on the inside of the front wall so that it holds the cover in place. Do not take a big strip of adhesive tape because you must be able to remove the cover again to change the batteries. If the strip is too large it might not be so easy to removing the cover.
With this file you will be able to print NUKI Smart Lock 2.0 Cover (white) with your 3D printer. Click on the button and save the file on your computer to work, edit or customize your design. You can also find more 3D designs for printers on NUKI Smart Lock 2.0 Cover (white).