NUCLEUS-M ADVANCED HANDLE
prusaprinters
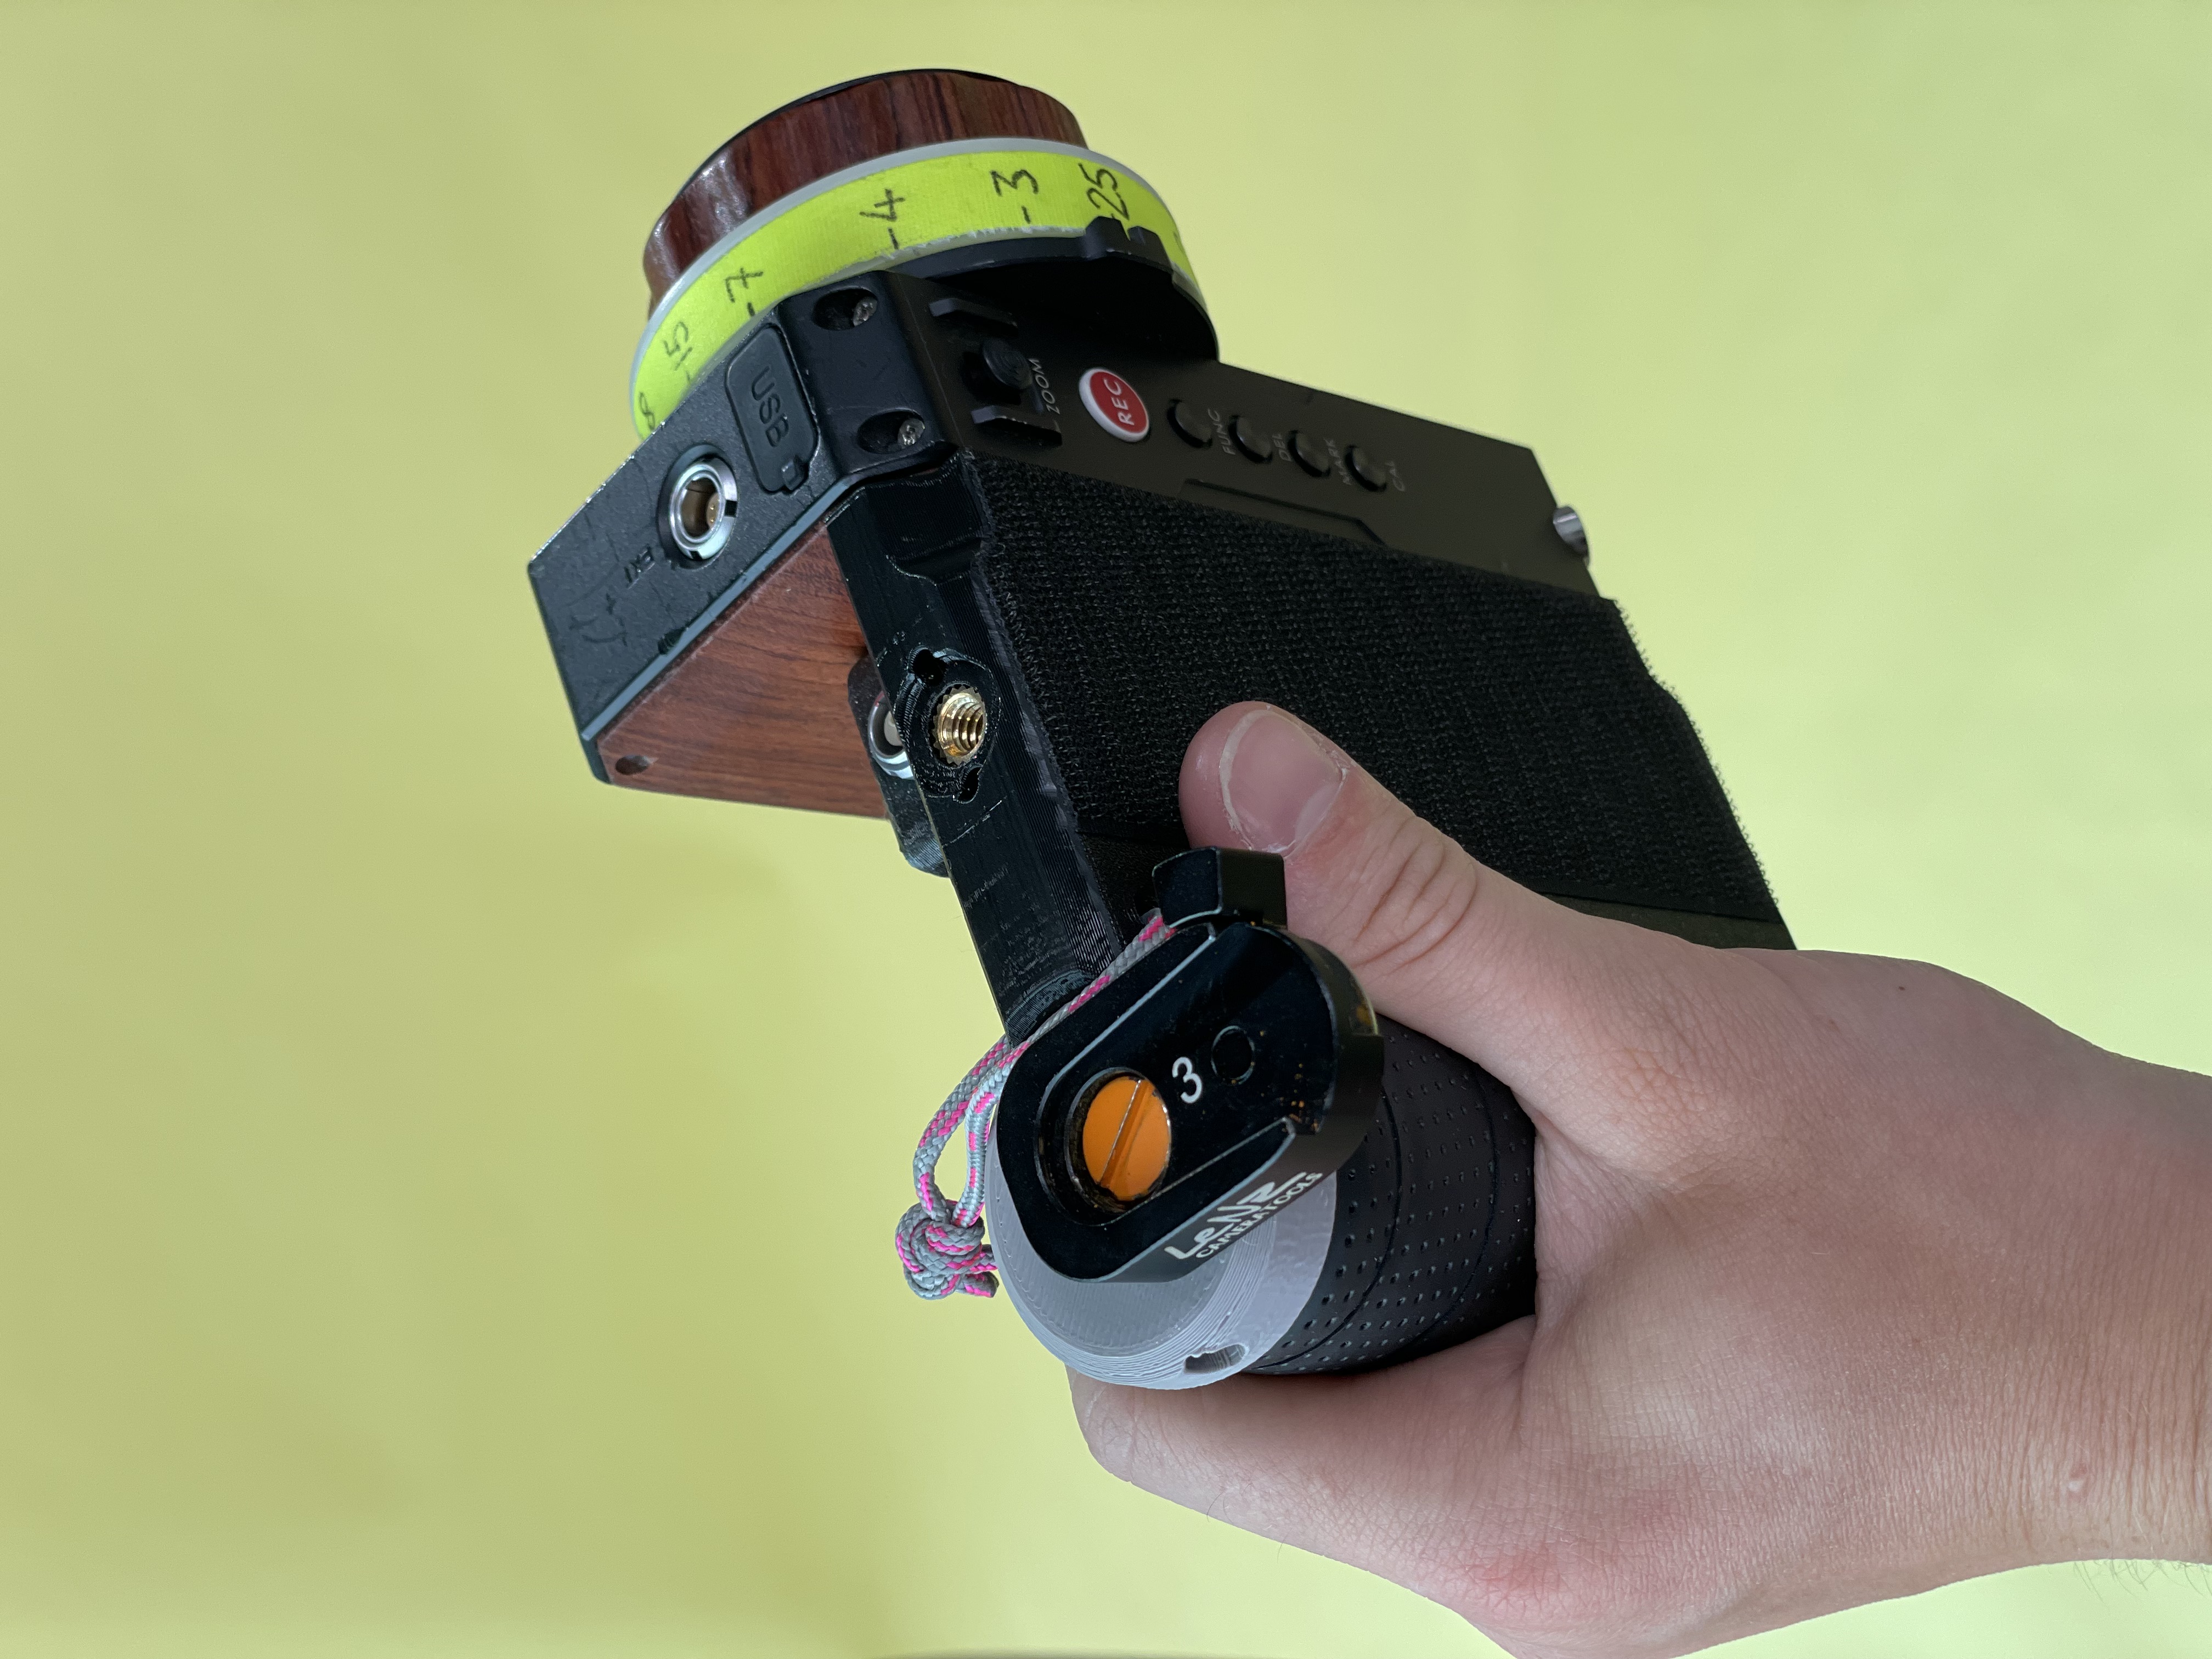
<p>The Tilta Nucleus-M follow focus is a really good tool, but his main issue is his ergonomics. <br>You either have to figure out a way to hold it like it is, buy the rosette adapter and screw in an extra handle or 3D print a fancy handle…<br><br>This one is inspired by @mathisgiebeler and @maskiims who where the first to come up with a WCU style handle for the Nucleus-M. It hase a few tweaks to make it easy to print and have some cool accessories. <br><br>A quick lexicon, all world in Bold Italic and with quotation marks like “<i><strong>body</strong></i>” are representing the STL filename<br><br>On the top you have two ¼"20 threaded insert to have your monitor or whatever. The one on the far left is meant for the monitor, the idea is to have the weight as centered to your hand as possible. <br>Both holes are Arri antitwist compatible. I would highly recommend you to use it instead of having to tighten the screw super hard to make sure whatever is mounted on top, doesn't twist… <br>There are two small rope passage on the top and bottom of the handle to have a way to secure the unit to a shoulder strap for run and gun shoots. <br>On the back of the “<i><strong>body</strong></i>” there are two holes intended for two M2 brass insert to received an “accessories” plate. currently I've designed a super simple case to fit an USB to LEMO adapter. I've made a custom cable from the 7pin LEMO on the top of the remote to 2pin LEMO. It is to power an old iPod touch I have velcroed to the “<i><strong>body</strong></i>” I use it either to control the camera from wifi or to use various app like “Lens Toolkit”<br><br>Parts Needed : </p><ul><li>2x M4x25mm SocketScrews bolt to connect the “<i><strong>body</strong></i>” to the Nucleus-M remote </li><li>2x M3x30mm SocketScrew bolt to connect the “<i><strong>handle</strong></i>” to the “body” </li><li>1x Tennis Racket Overgrip to wrap around the “<i><strong>handle</strong></i>” for comfort </li><li>2x ¼"20 threaded insert for the top mounting holes </li><li>2x M3 Hexagonal nuts. They are tightly placed in two slotted holes on the back of the “<i><strong>body</strong></i>” and are receiving the two M3x30 SocketScrew bolt to connect the “<i><strong>handle</strong></i>” to the "<i><strong>body</strong></i>" </li><li>2x small ~2mmØ rope </li><li>1x Velcro tape to mount an old phone or iPod touch to the “<i><strong>body</strong></i>” of the handle </li><li>You'll also need three Allen keys, a 1.5mm, a 2.5mm and a 3mm </li></ul><p>Extra parts needed for the back accessories plate :</p><ul><li>2x M2 threaded insert </li><li>2x M2x8mm SocketScrew bolt </li><li>3x M2x10mm Countersunk bolt </li><li>1x EEG.0B.302.CLL LEMO connector </li><li>1x USB Adapter <br> </li></ul><p>Slicer Settings : <br><br>The infill doesn't need to be super high. I would recommend to have minimum 2-3mm wall thickness and bottom/top layer <br>No need to use support <br><br> </p>
With this file you will be able to print NUCLEUS-M ADVANCED HANDLE with your 3D printer. Click on the button and save the file on your computer to work, edit or customize your design. You can also find more 3D designs for printers on NUCLEUS-M ADVANCED HANDLE.