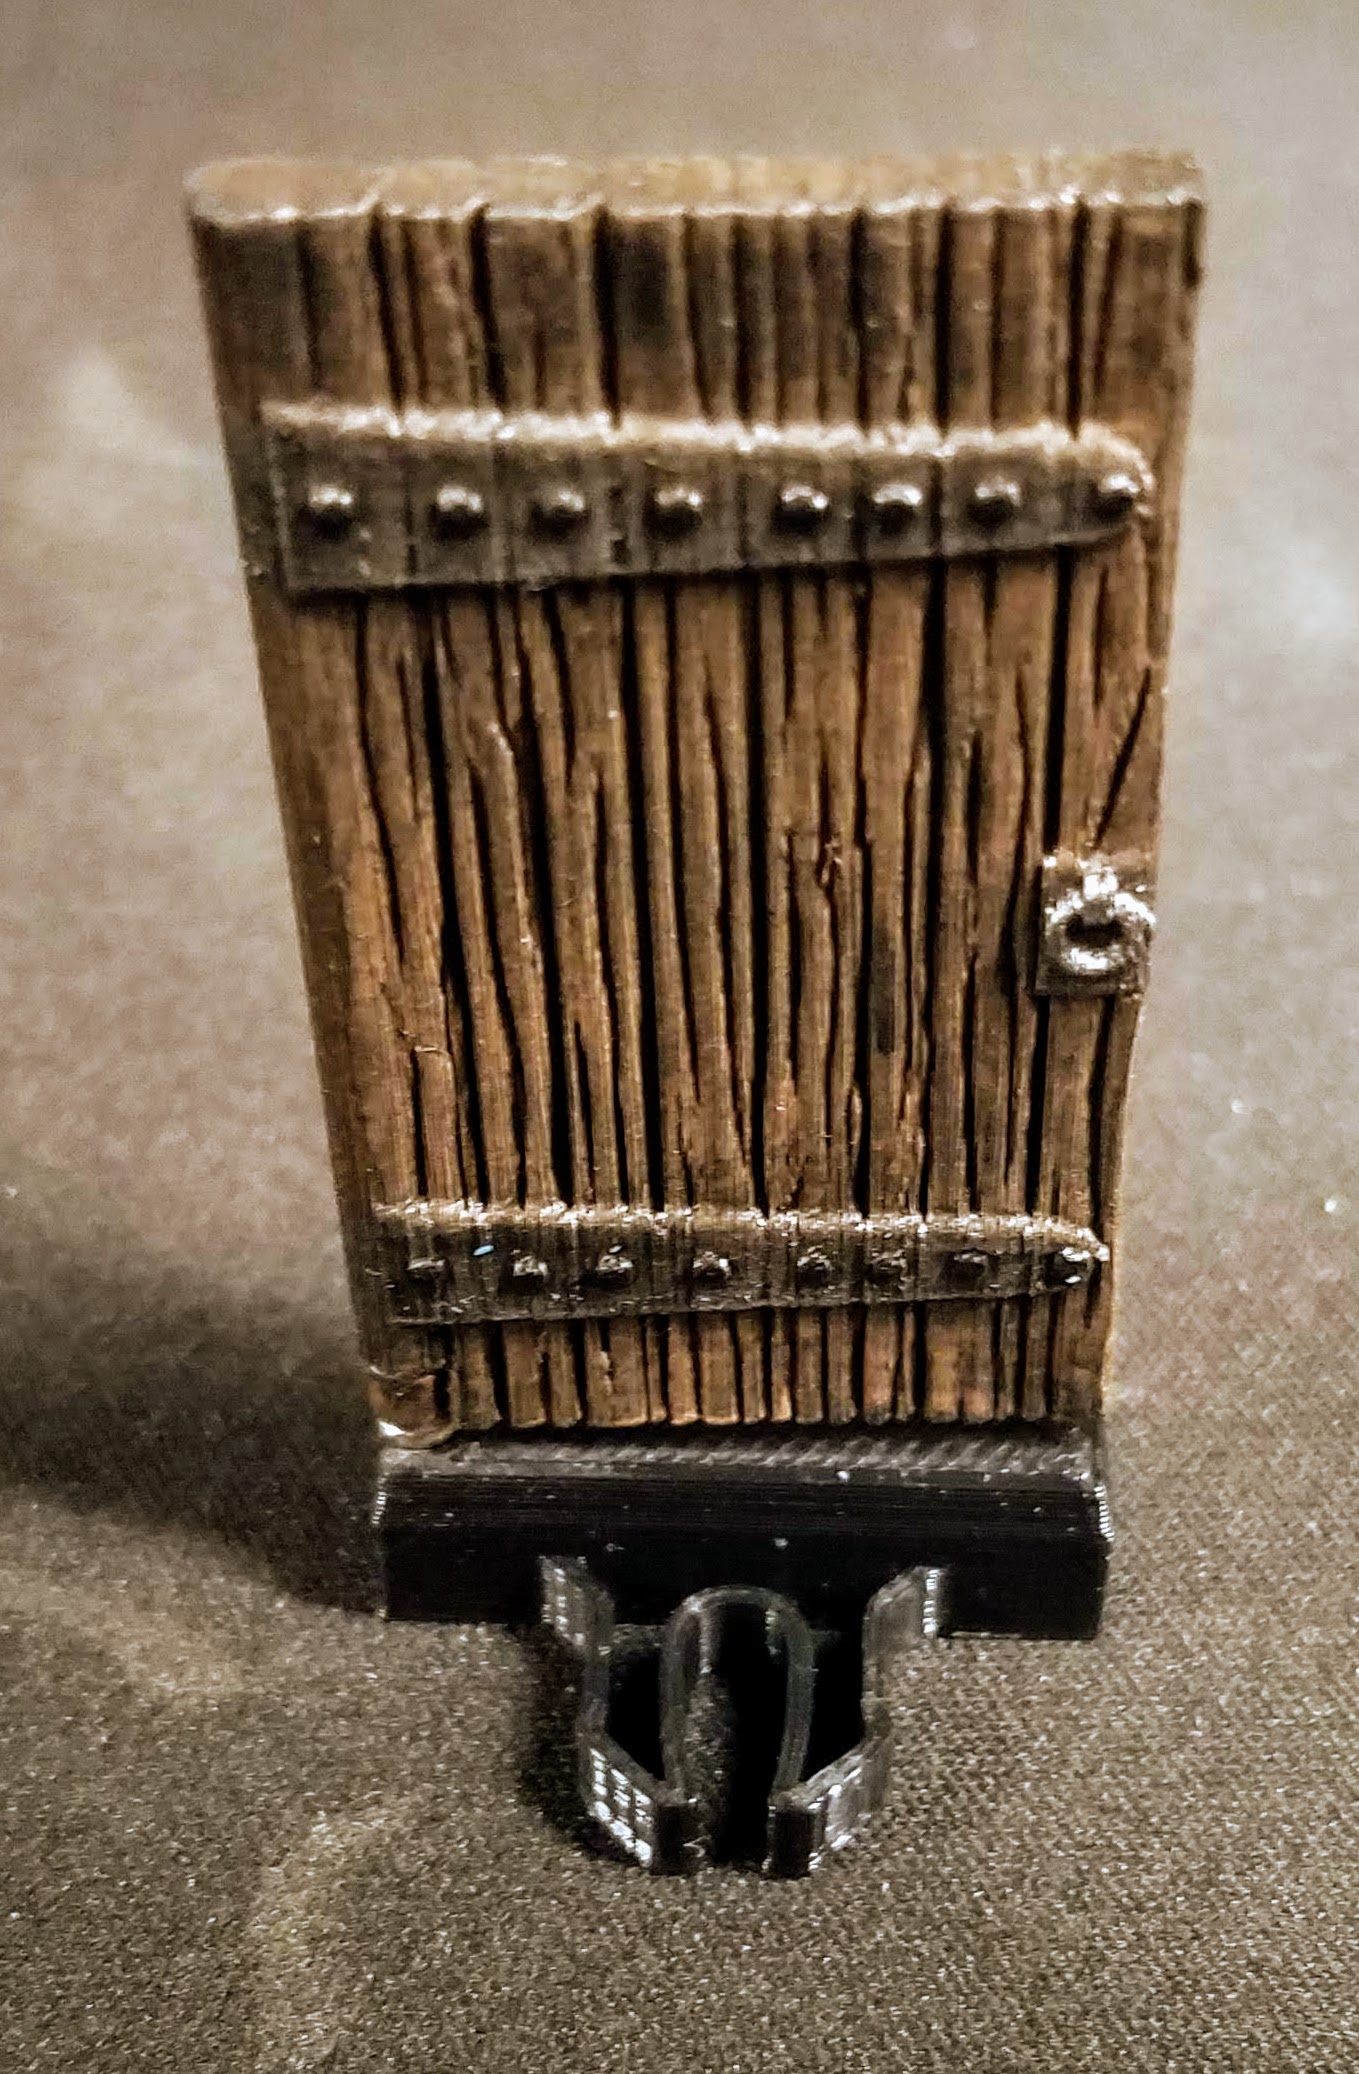
#NoWalls Magnetic Doors and Doorways (OpenLock/MagBall)
prusaprinters
<h3>NoWalls Magnetic Doors and Doorways (OpenLock/MagBall)</h3> <p>=======================================================</p> <p>Part of my <a href="/TheRooster/collections/nowalls-modular-28mm-dungeon-tiles">#NoWalls Modular 28mm Dungeon Tiles Collection</a></p> <p><strong>UPDATE:*</strong>I have added two additional tile doorways. One is full height with supports under the clips. The second is a doorway that supports the 5mm ball magnets (MagBall). There is no way to make a single part that works for both OpenLock clips and MagBall because the clip can't be a separate piece.*</p> <p><strong>UPDATE 2:*</strong>I've added an arched door and a half-arched door (to be used as a pair for a double arched door.*</p> <p><strong>Q:</strong> So if you don't have walls, how do you attach doors?<br/> <strong>A:</strong> With magnets!</p> <p>Even if you use walls, this is still the easiest method to make working doors. If you have different types of doors, you can easily swap them. Wood doors, iron doors, iron bars/jail doors, broken doors, etc. Different bases add to the versatility!</p> <p>I find eBay is a good place to find inexpensive magnets. Specifically, you'll need <a href="https://www.ebay.com/sch/i.html?_nkw=3x3mm+cylinder+magnets&_sacat=0">3x3mm cylinder magnets</a>. Today (2/4/19), I see QTY 100 for $8.25 w/ free shipping in the US. 100 is way more than you'll need, but they're useful for other things too.</p> <p>In order to make sure the polarity is consistent, I keep the magnets in a stack and press the first down into the base. You can use a tiny drop of superglue if you want. I then leave two magnets attached to the base (the first embedded and the second sticking up above the base) and remove the rest of the stack. I continue pressing the magnets in from the same end of the main stack and leaving one sticking up from each base. If I make more doorways at a later time, I first attach the main stack to one of the previously finished doorways to make sure the polarities match. Then I continue as normal, pressing a magnet into the pocket, leaving an extra magnet sticking up, and moving to the next doorway.</p> <p>Once you have a doorway with one magnet embedded, and one sticking up, you can easily add a tiny drop of superglue to the door and then place the door on the top magnet and adjust so the door is nice and vertical. Optionally you can use activator to speed up the curing time. Don't use too much superglue or you might glue the magnets together. If so, you can break them apart pretty easily and try again.</p> <p>Once cured, the door should easily rotate. Prime, paint, enjoy!</p> <p><em>I will add more door varieties as I make more. I will also add additional doorway tiles as well.</em></p> <h3>Print instructions</h3><p>Unassociated tags: #NoWalls</p> <h3>Category: Toy & Game Accessories Notes</h3> <ul> <li>Files optimized for 0.2mm layer heights.</li> </ul> <ul> <li>These are designed to be printed in PLA. The clips are not terribly strong and aren't meant to be as strong as the standard clips. But they will stay in place when gaming. They are designed to allow for a new room to be easily attached on the gaming table once the door has been opened.</li> </ul> <ul> <li>I print both files as-oriented. I find the door looks best printed in this orientation because the layer lines match the wood grain. I post-process the door slightly with a deburring tool or a knife where it attaches to the build plate to soften that edge a bit.</li> </ul>
With this file you will be able to print #NoWalls Magnetic Doors and Doorways (OpenLock/MagBall) with your 3D printer. Click on the button and save the file on your computer to work, edit or customize your design. You can also find more 3D designs for printers on #NoWalls Magnetic Doors and Doorways (OpenLock/MagBall).
