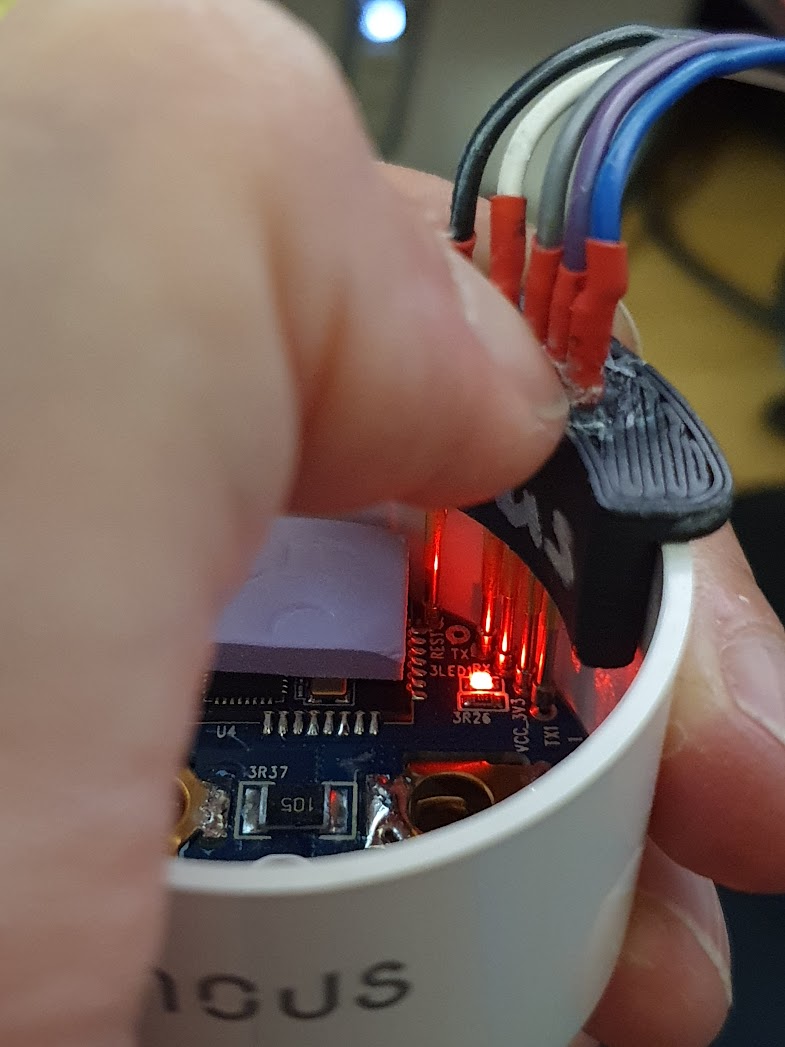
Nous A1 gen1 flashing jig
prusaprinters
<p>I need to flash several <a href="https://templates.blakadder.com/nous_A1.html">Nous A1 smart plugs with Tasmota</a> (as sold until roughly the end of 2021) to enhance the energy monitoring in my home. Tuya convert wasn't reliable for me, and I got sick of soldering on leads for my flashing adapter, so I whipped up a quick handheld jig to utilize some <i>P100-E2</i> pogo pins instead. </p><p>You might have to drill out the pin holes with a 1.4mm drill after printing (not a typo, gave a snug fit). Insert the pins, solder on leads to attach to a USB-to-serial adapter, secure everything with a bit of hot glue and you should be read to go. Contrary to me I suggest to wait until the glue really is dry to avoid CA glue on your fingers ;) </p><p>To flash, open the <strong>unplugged </strong>plug, place the pins on the pads and hold the jig with your thumb while flashing and provisioning as needed. </p><p>Designed in FreeCAD Link Branch 20220709, .fcstd file included.</p><p>Please note that Nous has changed their plug design, it now opens from the front with a triangular screw and the board layout has completely changed with no visible flash pads. You might be better served with another plug, or with buying their version that comes pre-flashed with Tasmota. It's a shame really.</p>
With this file you will be able to print Nous A1 gen1 flashing jig with your 3D printer. Click on the button and save the file on your computer to work, edit or customize your design. You can also find more 3D designs for printers on Nous A1 gen1 flashing jig.
