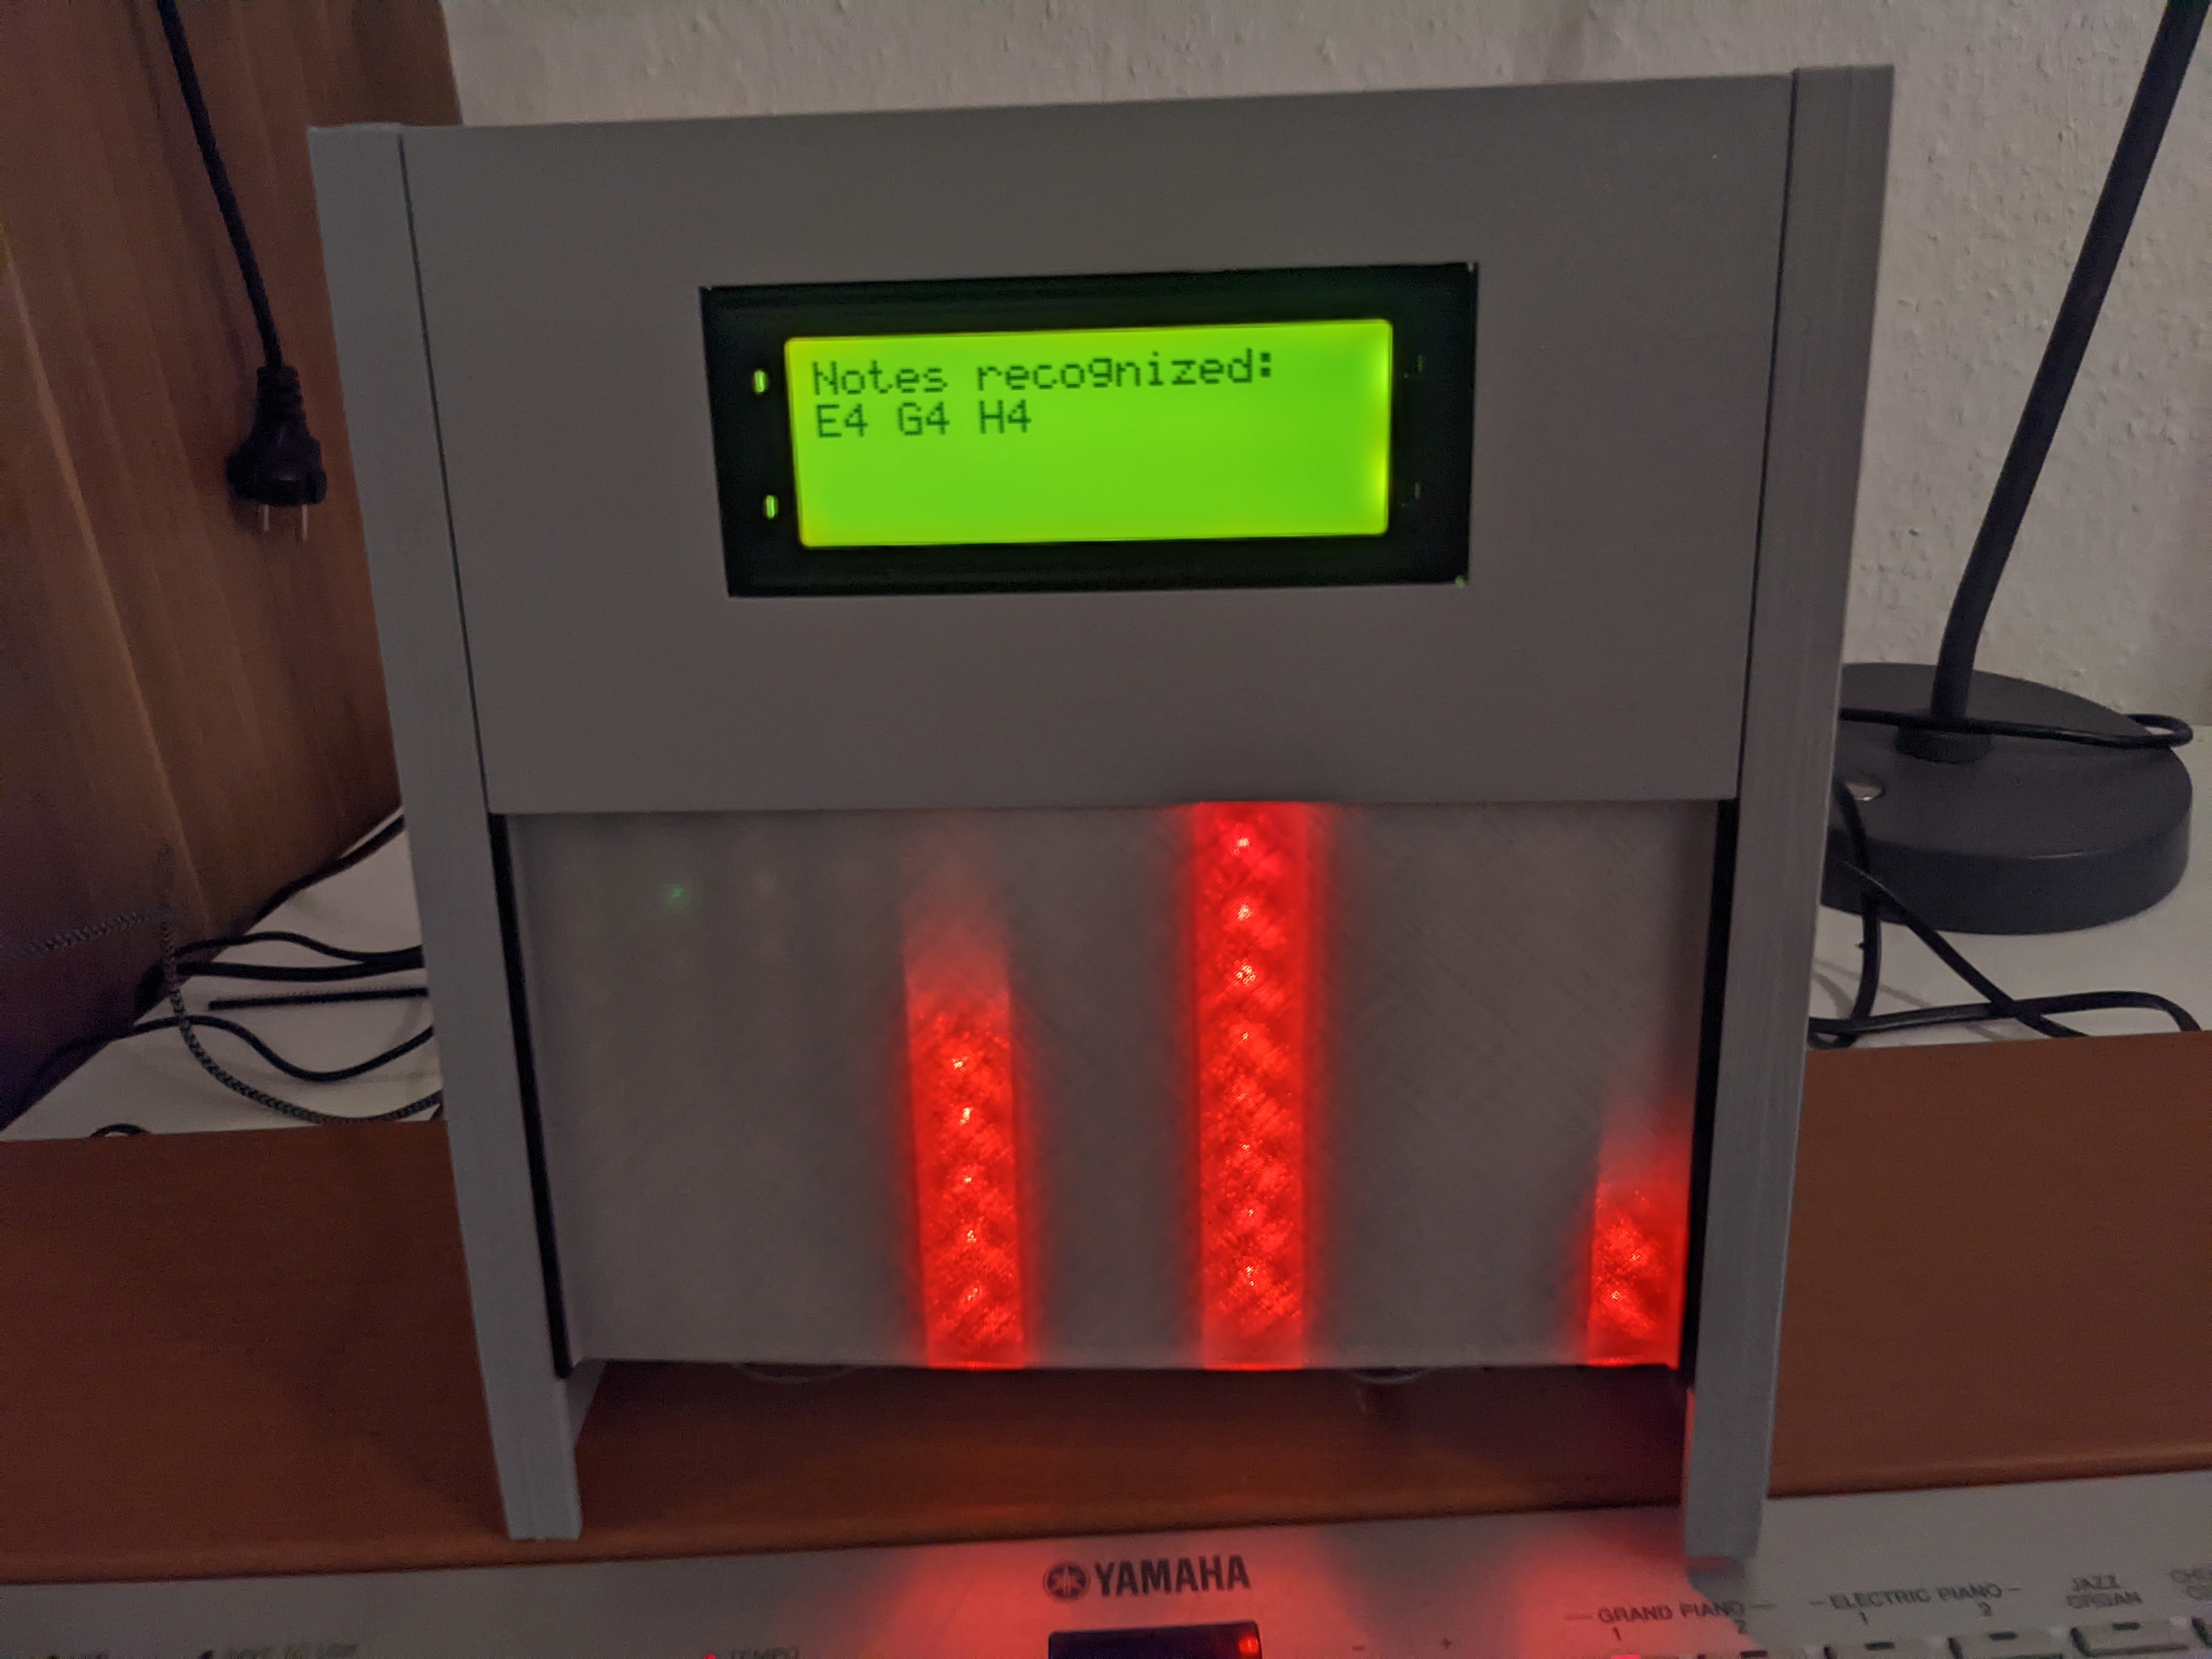

Noteanalyser
prusaprinters
<p>These are the 3D files to the <a href="https://github.com/MisterIXI/Noteanalyser">Noteanalyser project over on Github</a>. For project details check over there.</p><p>Short demo is posted here: </p><figure class="media"><oembed url="https://youtu.be/D2MXBKhizrM"></oembed></figure><h4>Components</h4><p>This project uses the following components: </p><ul><li><a href="https://www.amazon.de/BTF-LIGHTING-WS2812B-adressierbare-Streifen-NichtWasserdicht/dp/B07BTTY4FL">a 100LED/m strip of WS2812 RGB LEDs</a></li><li><a href="https://www.amazon.de/5V-10A-Switching-5-5X2-1mm-Converter-Black/dp/B092HHV4RL">a 5V 10A DC Power Supply with screw terminal for powering the LEDs</a></li><li><a href="https://eckstein-shop.de/Character20x4LCDDisplayModule2004BlackonGreen5VI2CInterfacemitHD44780">an i2c 20x4 LCD Display Module (HD44780) </a></li><li><a href="https://www.reichelt.de/mikrofon-usb-tischstaender-delock-65939-p249000.html">a USB microphone</a></li><li>a raspberry pi 4 8GB</li><li>(a custom breakout board made from perf board for easier connection, optional)</li><li>(snap-on connectors for the LED power, not needed either)</li><li><a href="https://www.ruthex.de/collections/gewindeeinsatze/products/ruthex-gewindeeinsatz-m3-100-stuck-rx-m3x5-7-messing-gewindebuchsen">19 M3 threaded inserts</a></li><li>19 M3x8 screws (some can be longer, but some are restricted by the design)</li><li>cables for the connections</li></ul><h4>Supports</h4><p>You need supports (from build plate only) for the LED- and LCD Holders since they have floating connectors on the sides. Besides that, you don't need any support.</p><p>All the holes printed fine even sideways and with 0.3mm layer height.</p><p> </p><h4>Assembly</h4><p>You basically just have to print all the parts, press the threaded inserts in and screw everything together from the sides. If you want to do the full project you have to cut up the LED strip and solder the data lines back together. We powered the segments individually, but you could normally link them back up.</p><p>The only thing to note is that you have to connect the LED ground together with the LED Data to the raspi, while the V+ and Ground of the LED get connected to the power supply.</p><p> </p><h4>Used Pins</h4><p>The pins used in the raspi are:</p><p>(bord pin# | GPIO#)<br>3 | GPIO 2 (i2c sda) for the LCD-sda<br>5 | GPIO 3 (i2c scl) for the LCD-scl<br>4 | - 5v for the LCD V+<br>5 | - Ground for the LCD</p><p>32 | GPIO 12 for the LED Data<br>34 | - Ground for the LED Ground</p><p>You could vary the GPIO 12, but that's the default in the code. The Pins for i2c communication are needed though.</p>

With this file you will be able to print Noteanalyser with your 3D printer. Click on the button and save the file on your computer to work, edit or customize your design. You can also find more 3D designs for printers on Noteanalyser.
