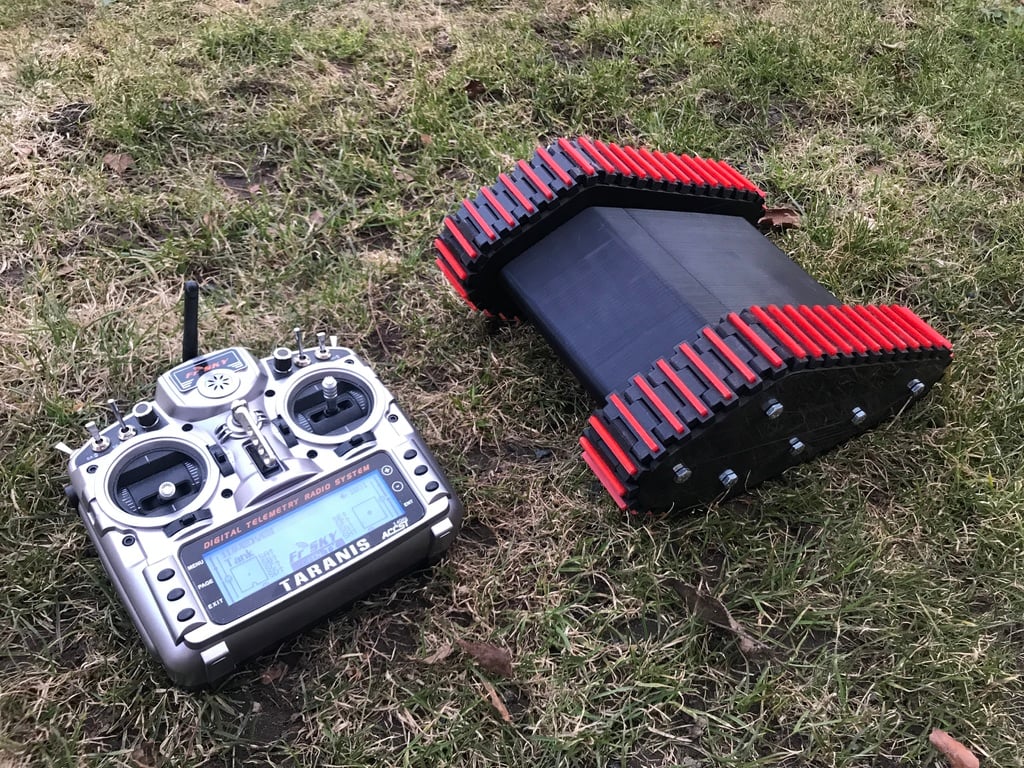
NoTankS - 3D Printed RC Tank
thingiverse
This is a guide for assembling and upgrading a remote-controlled tank. The guide includes steps for assembling the tank, mounting tracks, installing electronics, and programming the radio. Additionally, it provides warnings about potential issues with driving in winter conditions and overheating, as well as suggestions for future upgrades. ### Assembly Steps: 1. **Wheels:** Attach the wheels to the axle by screwing them onto the wheel bearings. 2. **Front and back cover:** Screw on the front and back cover of the tank. 3. **Tracks:** The track segments are put together by pressing in pieces of 3mm nylon filament. There are 41 segments per track, and it's easiest to mount the tracks when removing the back wheel, pushing it forward, and then tightening the track as the back wheel is pushed back into place. 4. **Battery holder:** Unscrew the two bottom middle bolts, mount the battery holder, and fasten it by screwing in the bolts again. Attach a velcro strap to the slots in the battery holder for holding batteries. 5. **Electronics:** Solder wires to the motors, connect battery connectors to the ESCs, and mount the ESCs and receivers onto the rc holder using zipties. Connect wires and fasten them to the holder with zipties. 6. **RC:** Program your radio with a good tank mix and go out for fun. ### Warnings and Future Upgrades: - **Caution when driving in winter:** Snow can build up and get the tracks stuck, which may cause the motor to draw too much current and burn up. Future upgrades will include making the inside and outside part bigger to cover the wheels completely. - **Heat:** When tested in the middle of a Swedish winter, temperatures were below zero degrees Celsius. In warmer locations, ventilation for the motors and ESCs may be required. Considerations have been made for adding 40mm fans on each side for better cooling. - **Drive wheel:** Experimentation has shown that having just the top wheel is less sensitive to dirt and stuff locking up the tracks. A design with a planetary gear built into the drive wheel is worth trying in the future. ### Updates: * First FPV test over 4G LTE using a raspberry pi zero w and a 4G LTE Wifi router. * Added files: notanks\_fpv1\_pizero.stl, notanks\_fpv1\_backpack.stl, and notanks\_fpv1\_drive.py (control program). * Made a youtube video about the upgrades. * Added Inserts for the tracks to improve traction in snow. * Added alternative full cover sides to prevent snow and dirt from getting into the tracks.
With this file you will be able to print NoTankS - 3D Printed RC Tank with your 3D printer. Click on the button and save the file on your computer to work, edit or customize your design. You can also find more 3D designs for printers on NoTankS - 3D Printed RC Tank.